Services/Pattern Making, Grading & Sampling
Pattern, grading and sample approval
Pattern Making, Grading & Sampling
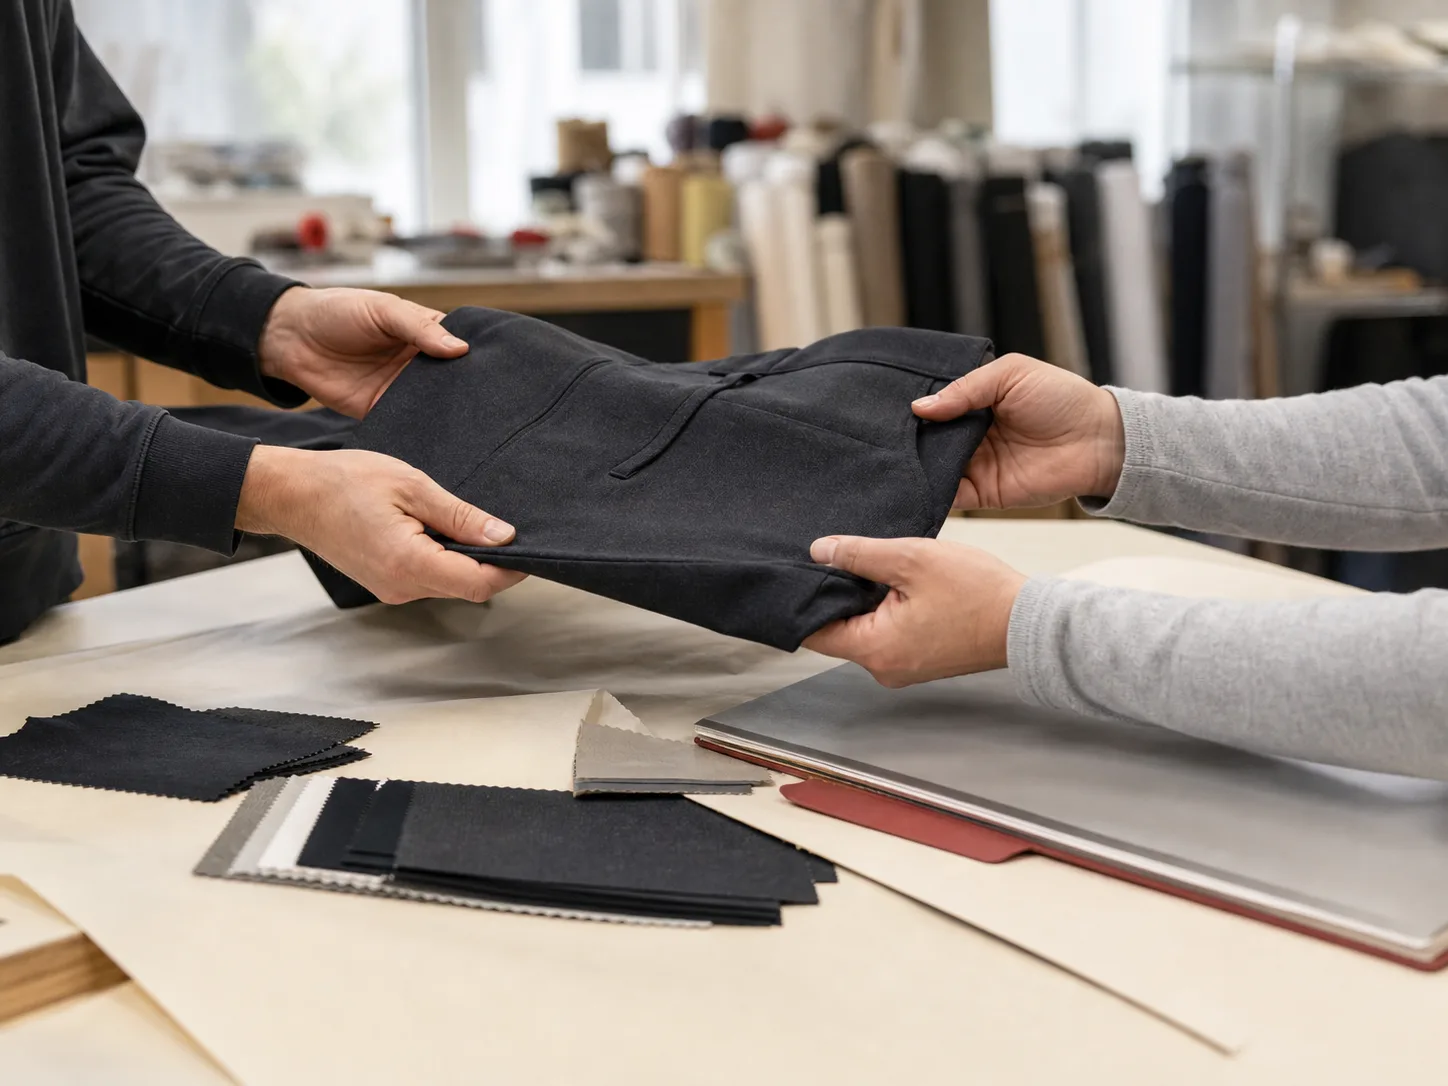
Turn a reference, existing garment, measurements or early design into a sample that can be reviewed, corrected and approved before bulk production.
Service fit
When Sampling Support Fits
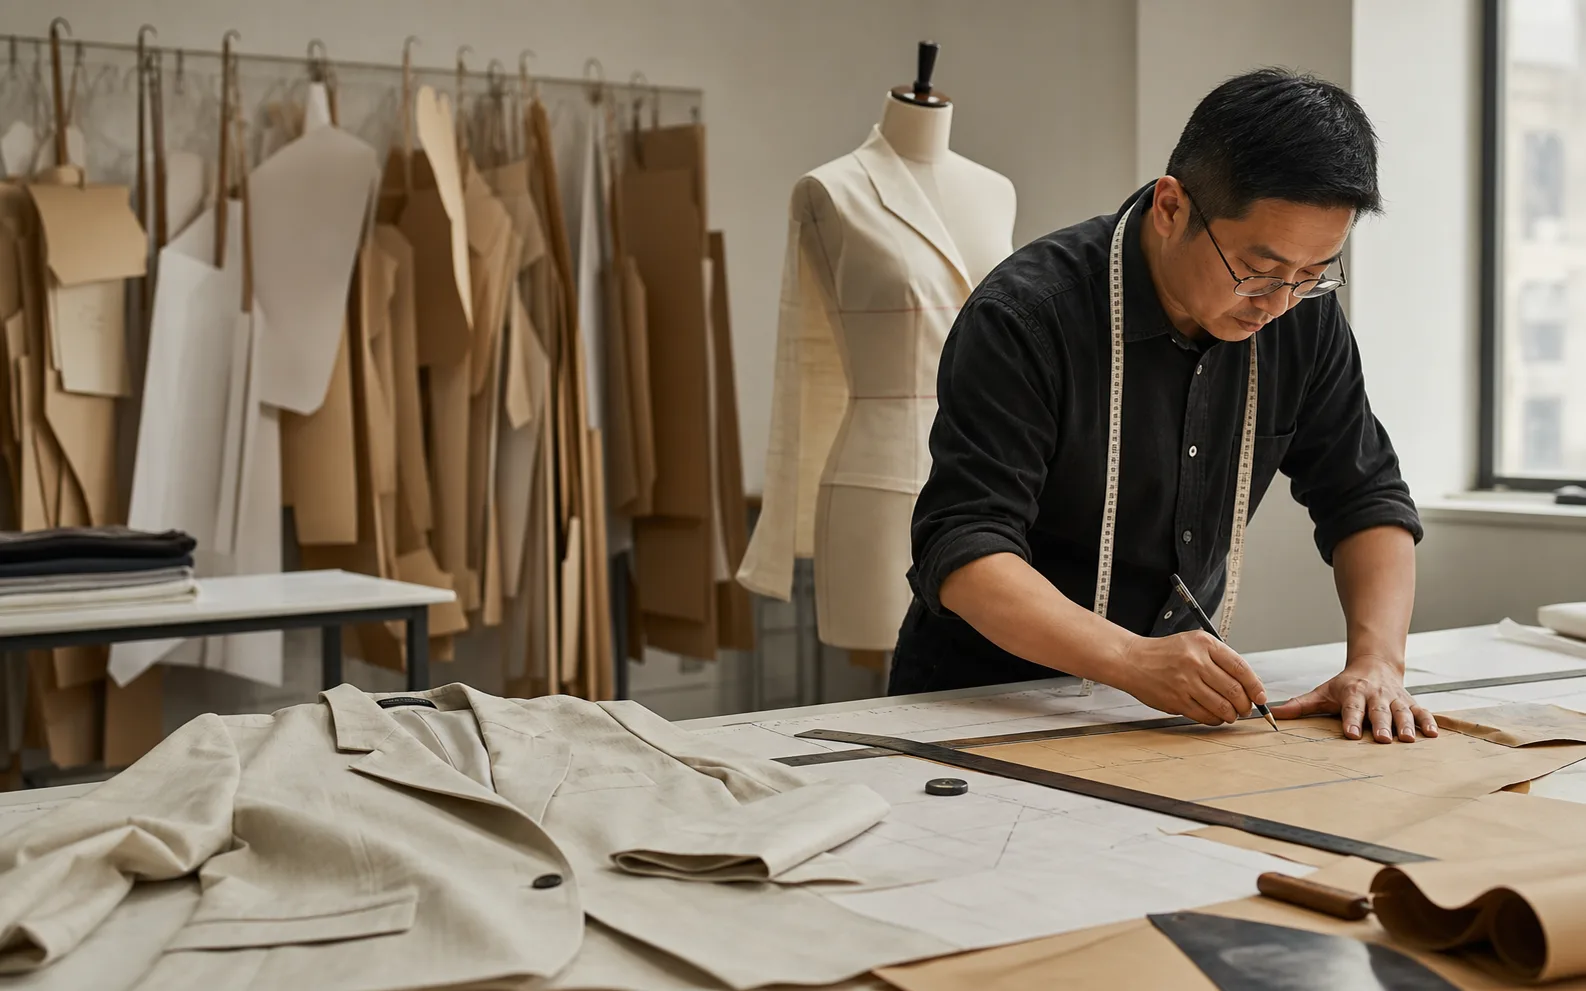
Use this route when the main question is fit, pattern, size range or sample approval.
- Existing garment — Measure the garment and mark what you want to change.
- Image or sketch — Add fit direction, size reference and visible details so the first pattern is not a guess.
- Tech pack — Check measurements, construction and material direction before sampling begins.
- Not full project planning — If product direction is still broad, start with Custom Apparel Development & Manufacturing.
- Not material sourcing alone — If the main issue is fabric or trims, use Fabric & Trims Sourcing first.
Pattern room inputs
What the Pattern Room Needs
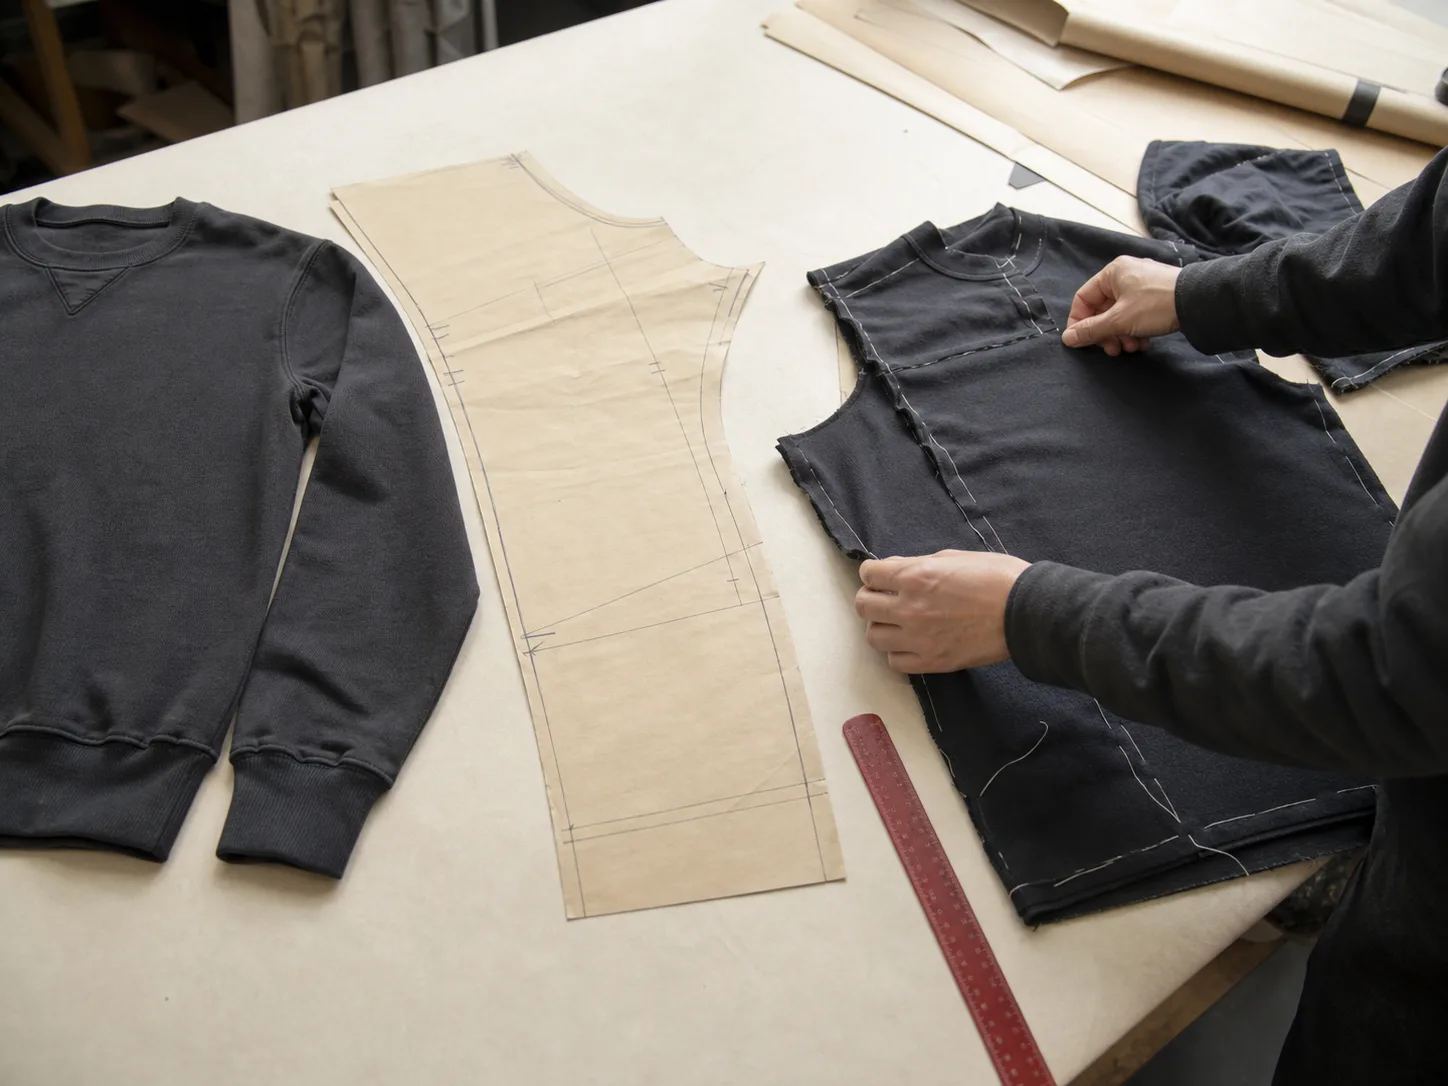
A sampling brief should make fit, measurements, construction and the review goal visible.
- 01
Reference
Send a sample, tech pack, sketch or image and say what should stay or change.
- 02
Fit direction
Slim, regular, relaxed, oversized or another reference that shows the intended shape.
- 03
Key measurements
Body length, chest, waist, sleeve, rise or other category-specific points.
- 04
Construction notes
Openings, pockets, seams, panels, collars, cuffs, hems and visible details.
- 05
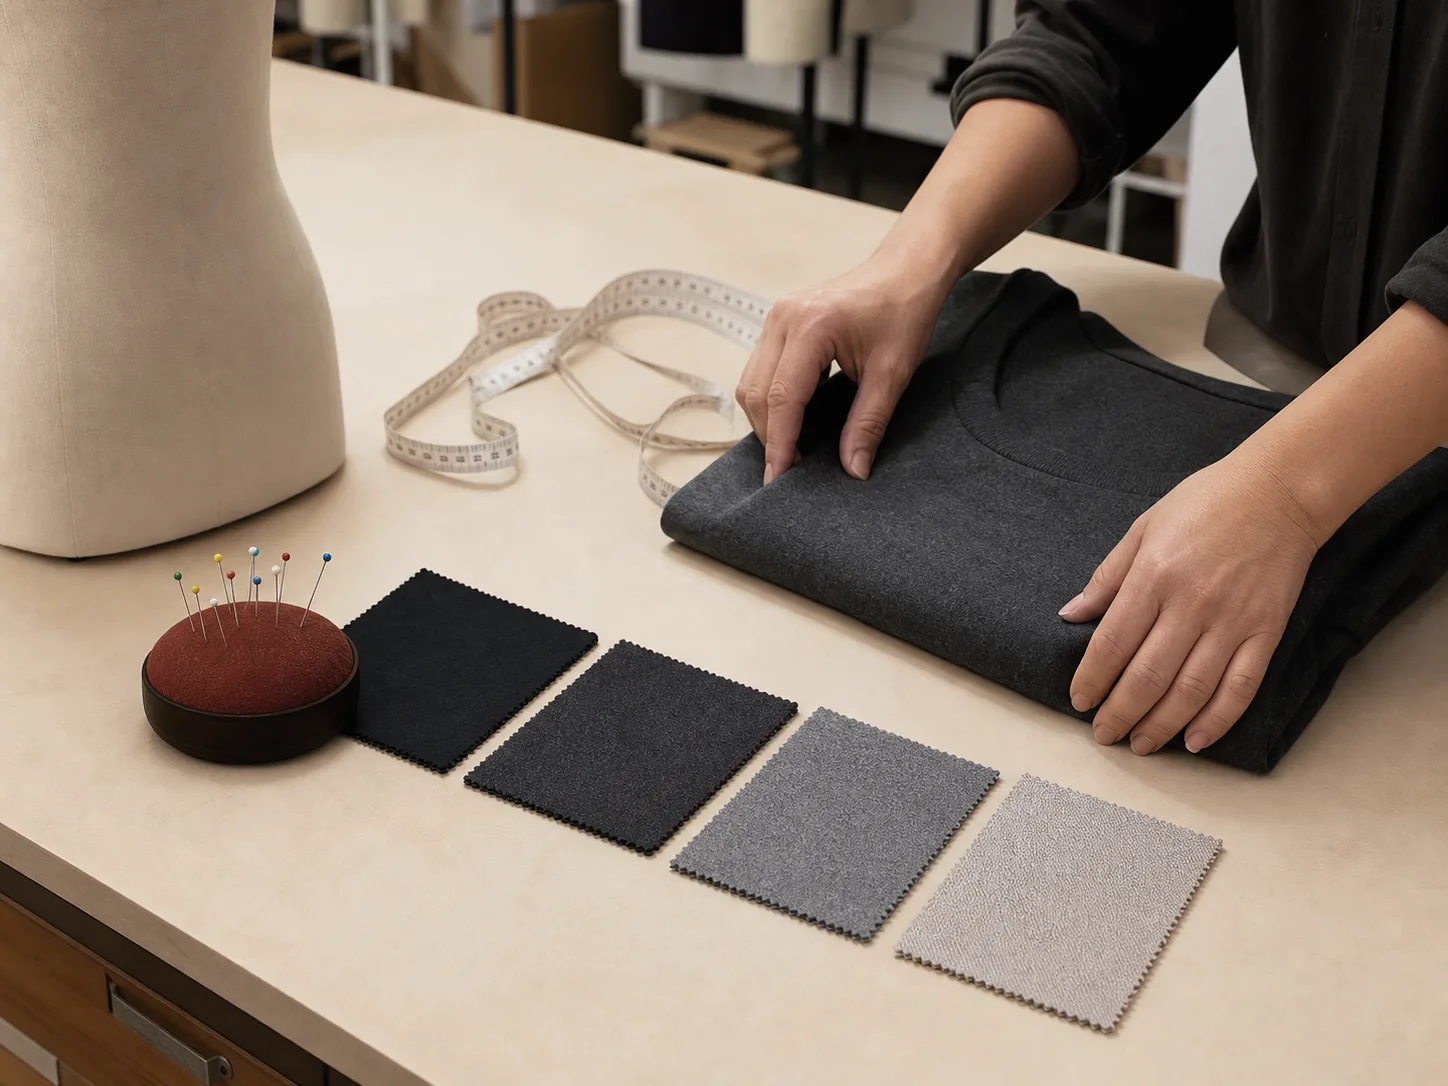
Material direction
Fabric handfeel and drape affect the pattern, so they should be discussed with the sample.
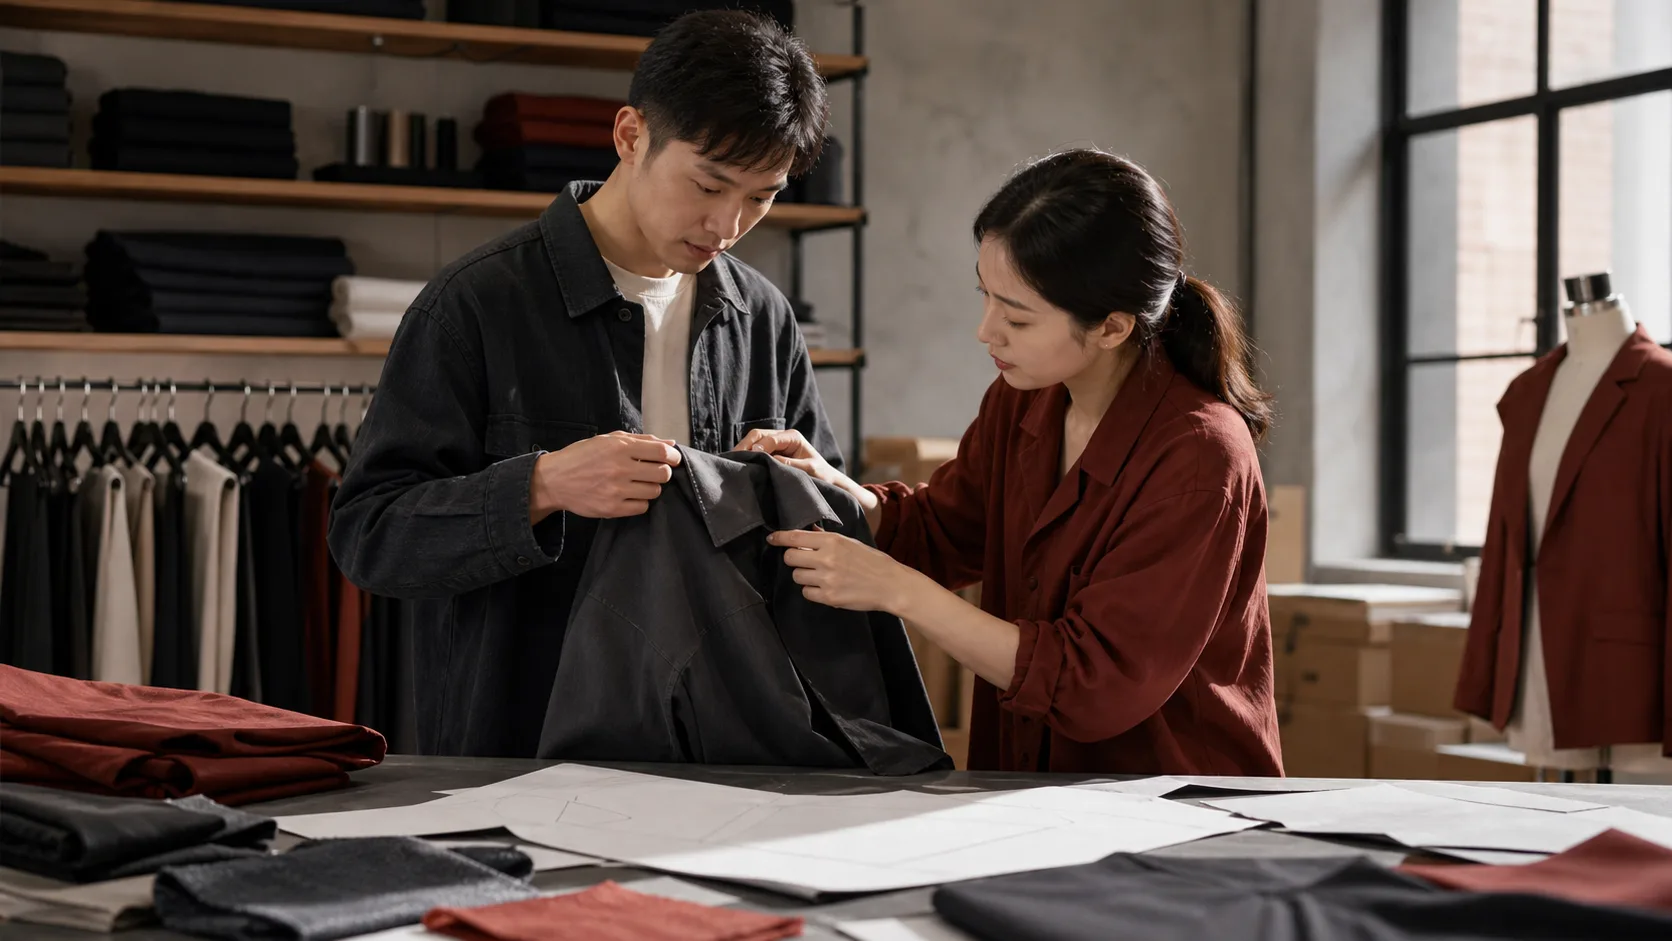
Sample loop
Pattern, Sample, Revision, Approval
Sampling is a technical decision loop. Comments should be consolidated before the next sample or approval.
- 01
Create the base pattern
Use the approved starting point to make or adjust the first pattern.
- 02
Make the first sample
Build a garment that can be checked for fit, proportion and construction.
- 03
Review the sample
Check fit, measurements, material, workmanship and visible details.
- 04
Consolidate comments
Send changes together so revisions do not contradict each other.
- 05
Approve the reference
Lock the sample and size direction before bulk production moves forward.
Outputs
What This Service Leaves Clearer
The outcome is a better-defined sample path, not an unlimited design service.
Reviewable sample
A physical garment for fit, proportion and construction comments.
Recorded revisions
Sample comments are kept in one place instead of scattered across chats.
Production reference
The approved sample, measurements and visible details become the next handoff.
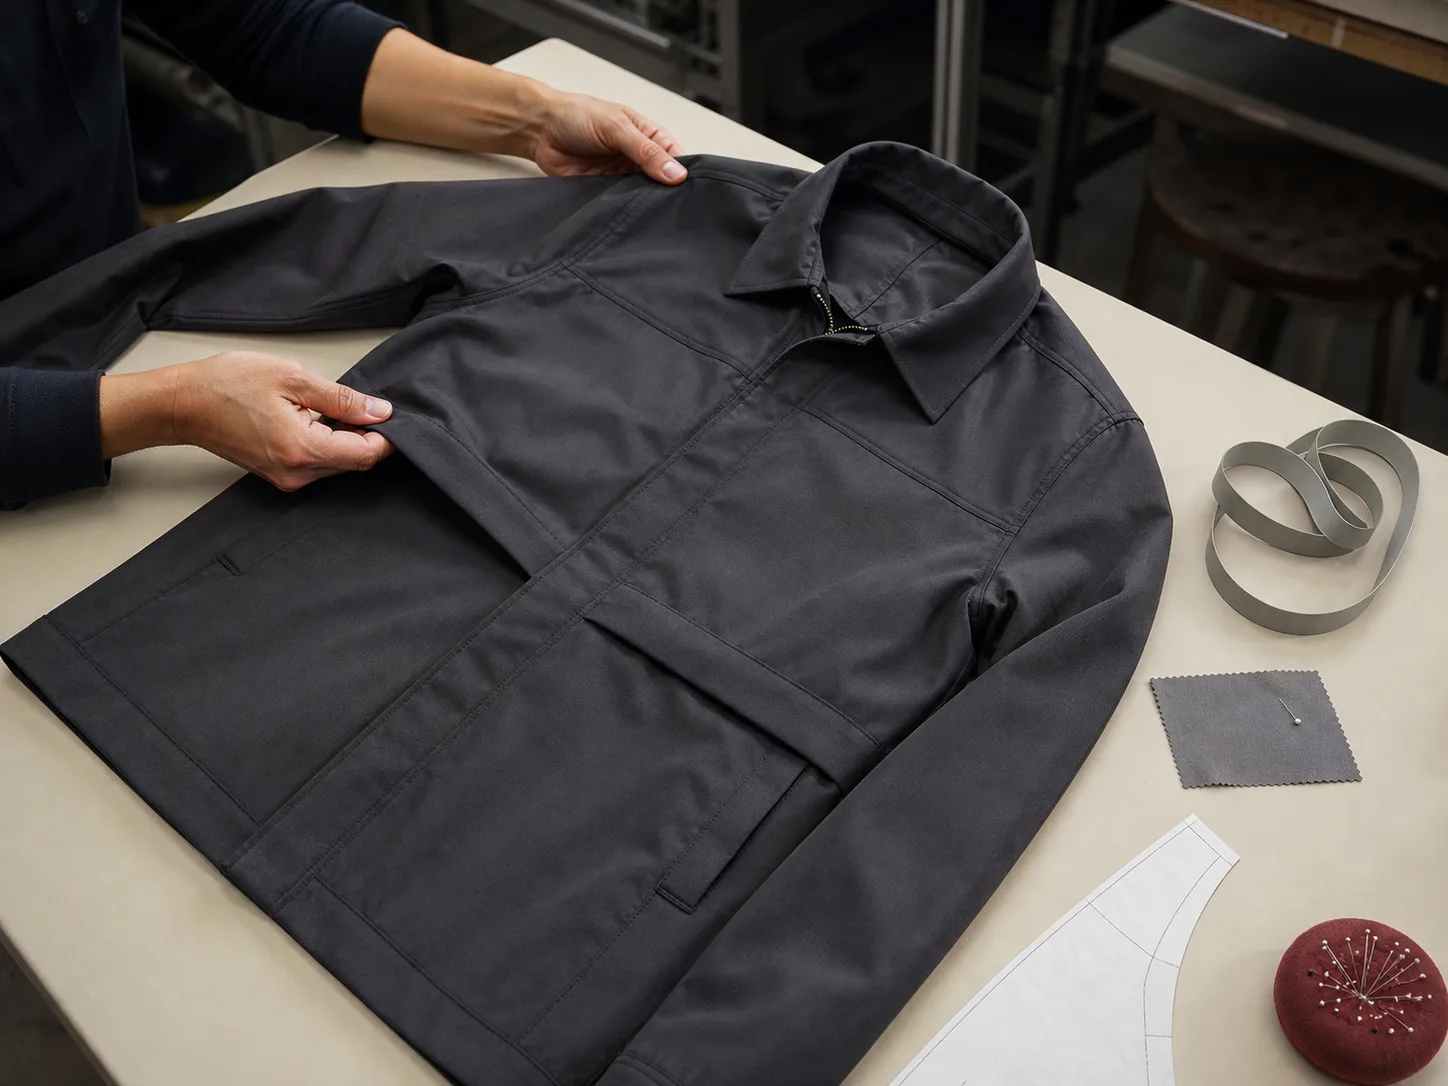
Keep visible
- 01
Base size
Confirm the approved sample size before expanding the range.
- 02
Size ladder
Review where length, width and proportion should change across sizes.
Common questions
Questions Before Sampling
The useful answer depends on the reference, material and changes requested.
How long does a sample take?01
A common guide is 7-14 days after requirements and materials are clear.
Can I start from a photo?02
Yes, but a physical reference or clear measurements make the first sample more accurate.
What if the sample needs changing?03
If we made the sample wrong, we remake it. If the buyer changes the design, one fit revision is normally included; major changes may add cost.
When is grading done?04
Grading should follow the approved base sample and confirmed size range.