PRINTING · LAYER BY LAYER
Screen Printing
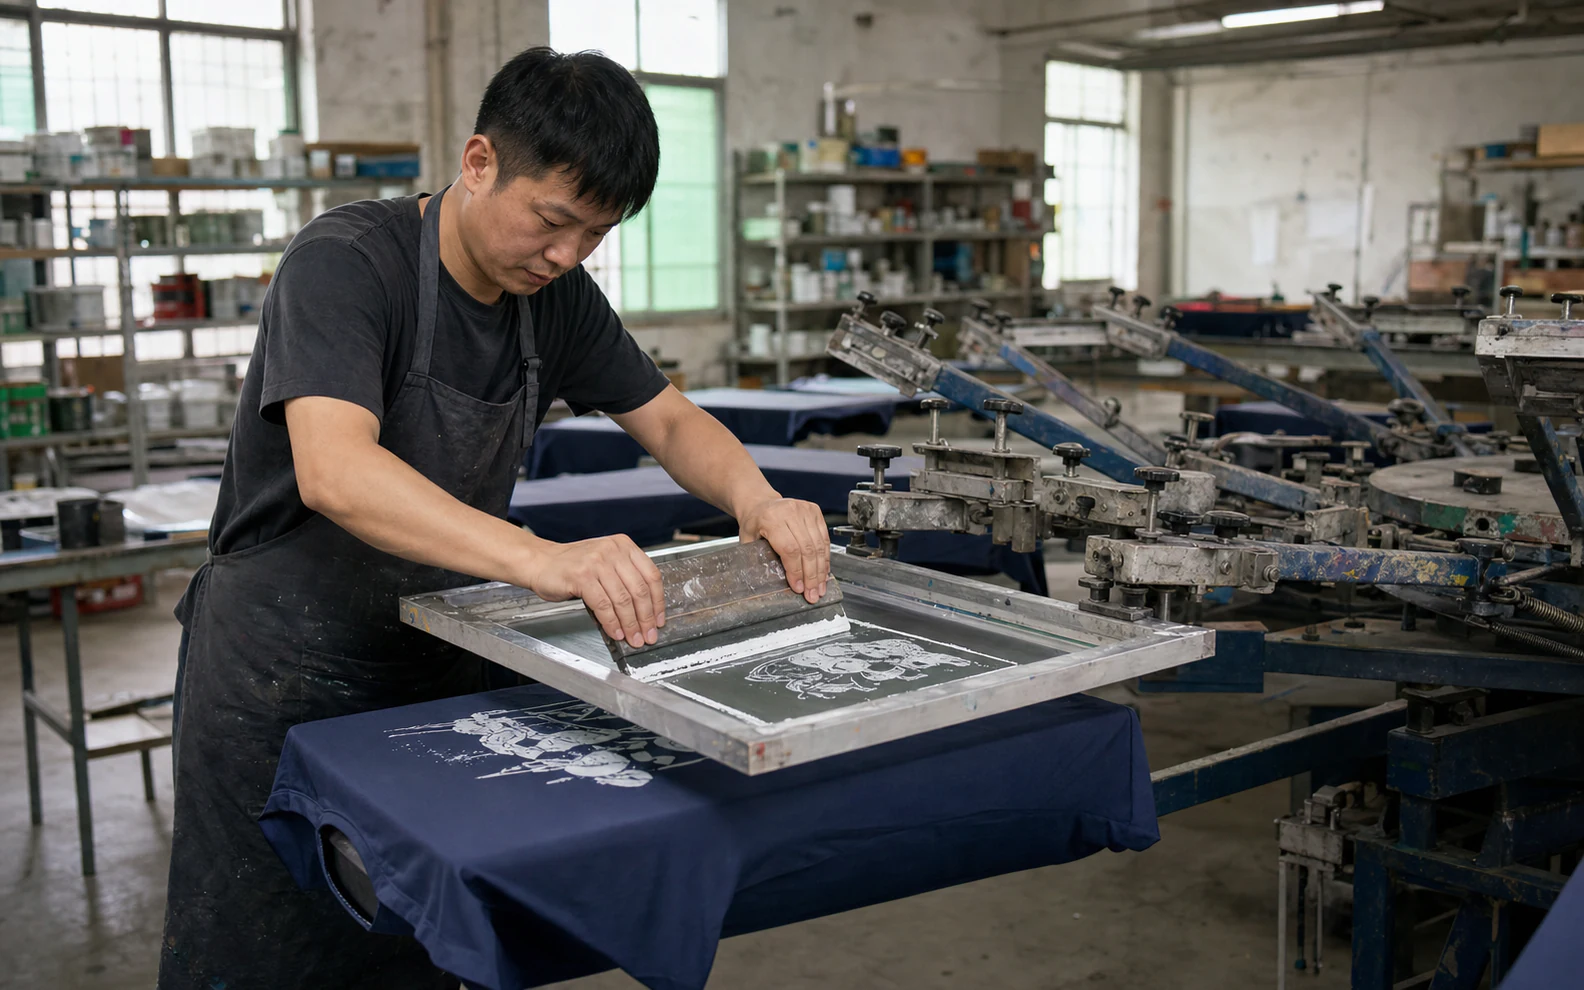
A repeat-production method for clear colour layers, solid coverage and flat print areas. The actual garment decides the ink, underbase and approval test.
- Best starting point
- Repeated artwork with clear colour layers
- Usual MOQ
- 100 pieces per style per colour
- Approval
- Actual-fabric strike-off
COLOUR SEPARATION
One Design. Several Layers.
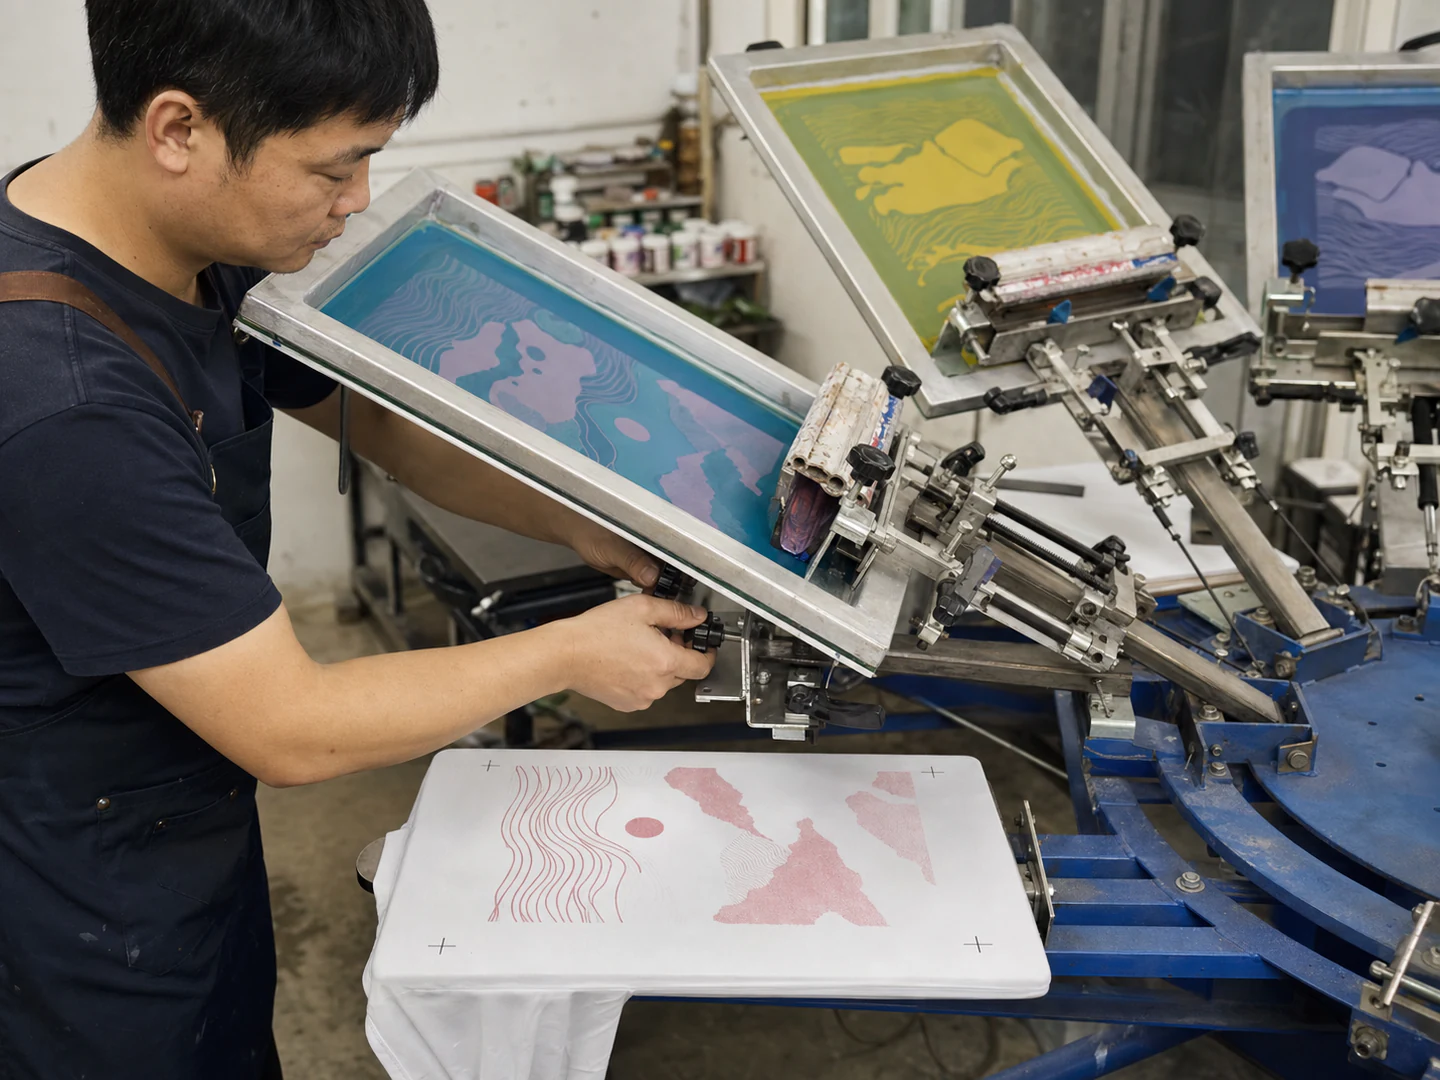
A buyer may see four colours while production needs additional screens for a dark-garment underbase or a specialised effect.
Review the production layers before confirming screen count, handfeel and quote.
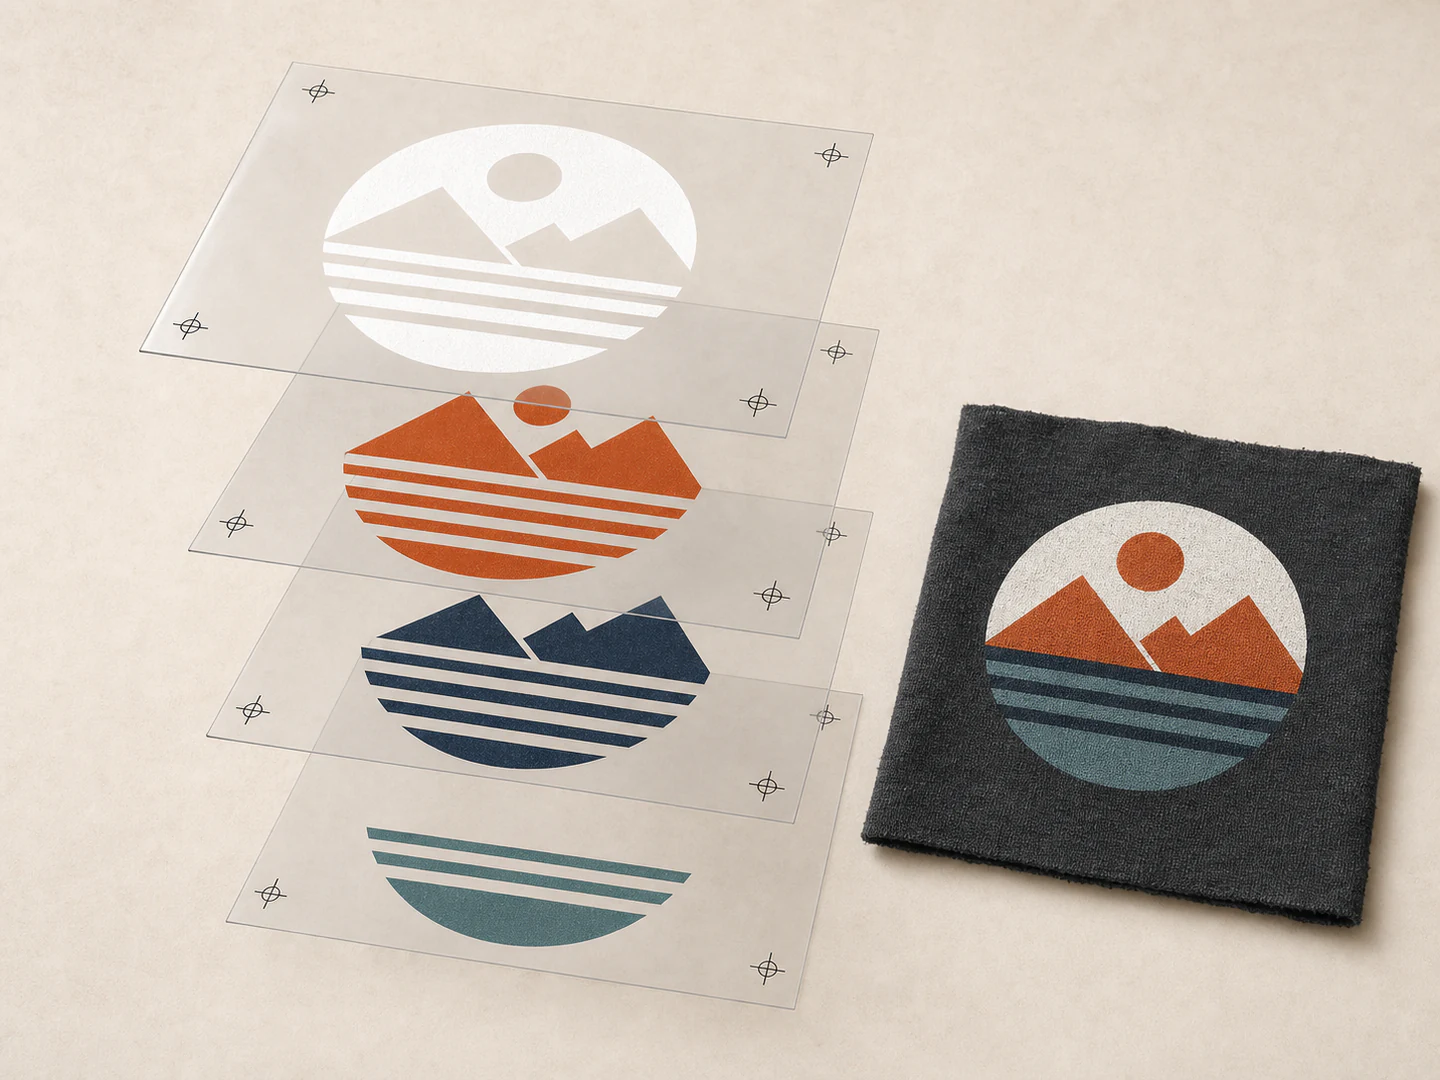
Visible colours
What the buyer sees in the artwork.
Production layers
Colours, underbase and effect layers prepared for the press.
FIT CHECK
Is This a Screen-Print Job?
Choose Screen Printing when the same separated artwork repeats on a stable, flat garment area.
Our usual MOQ is 100 pieces per style per colour. Material or style can change this company order baseline.
Artwork
Separated logos, text and clear graphics are a stronger starting point than photographs, many gradients or frequent version changes.
Quantity
The usual starting point is 100 pieces per style per colour; review material or style exceptions and print setup separately.
Surface
Use a flat chest, back, sleeve or leg area rather than a thick seam, zipper or pocket edge.
Result
Choose solid colour, opacity or a controlled ink effect; compare another route when a large dark print must have almost no handfeel.
GARMENT AND PLACEMENT
Print the Flat Area
Garment type alone does not approve the job. Confirm the exact panel, seam position, fibre, finish and stretch.
Move a design, print a flat panel before sewing or compare another method when the finished garment cannot sit evenly on the platen.
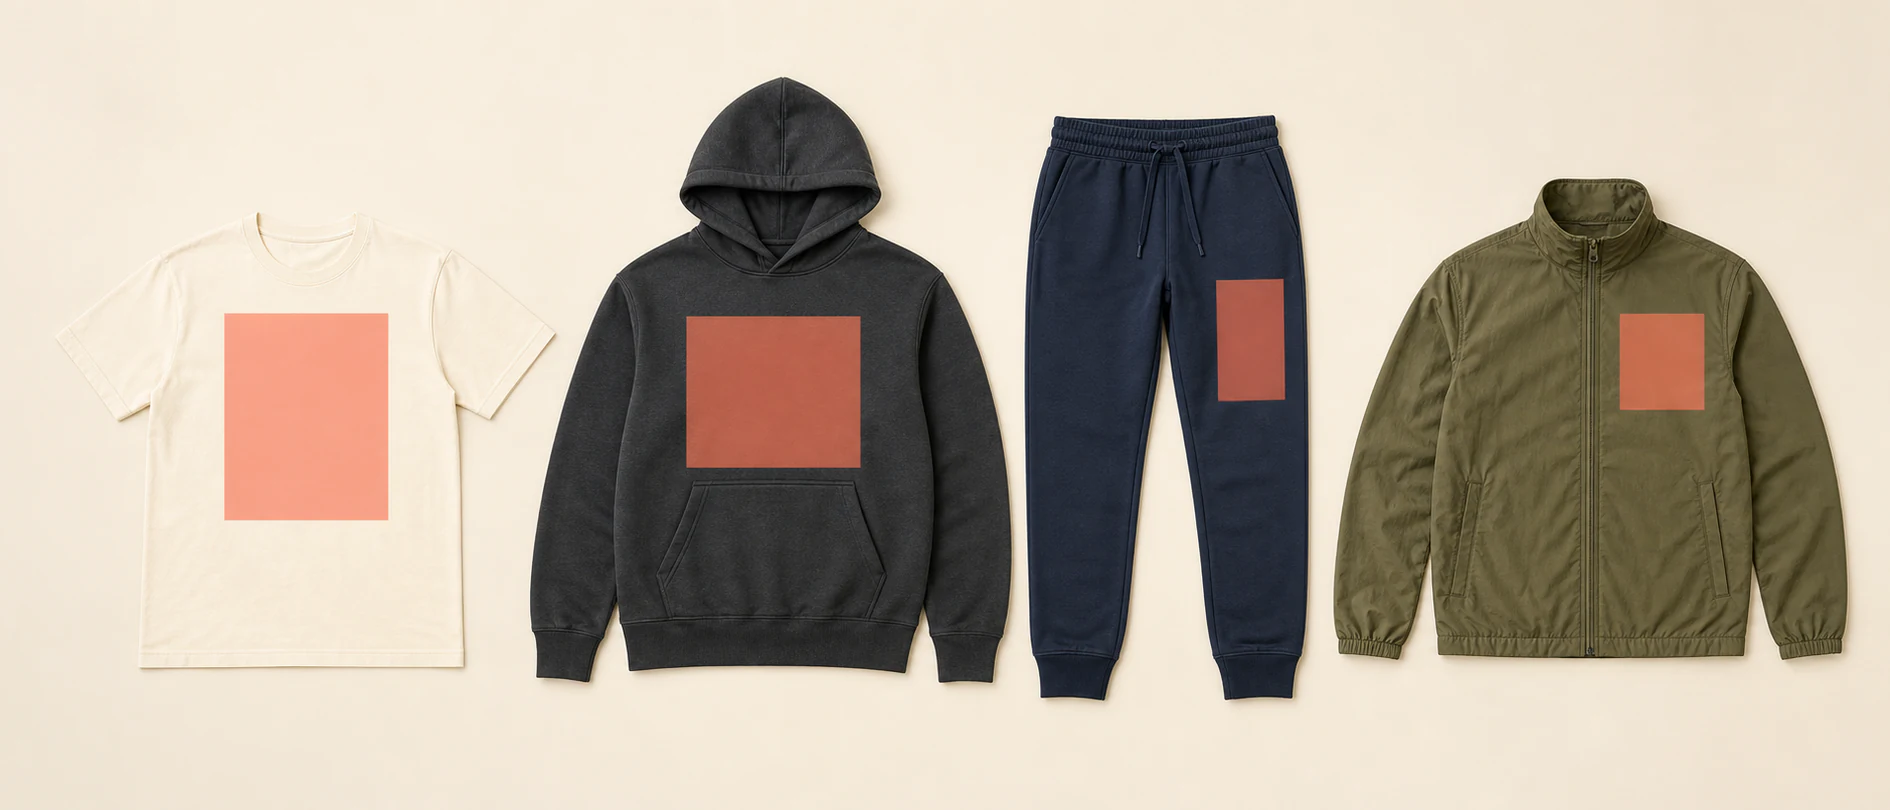
T-Shirts
Review front, back and suitable sleeve areas on the actual jersey and garment colour.
Hoodies
Review fleece surface, dark underbase, print area and target handfeel.
Pants, Joggers and Shorts
Use flat leg panels and keep the design clear of thick side seams and pocket edges.
Jackets and performance styles
Confirm fibre, coating, stretch, heat sensitivity and the chosen ink system before sampling.
DARK GARMENTS
A Dark Garment Adds a Layer
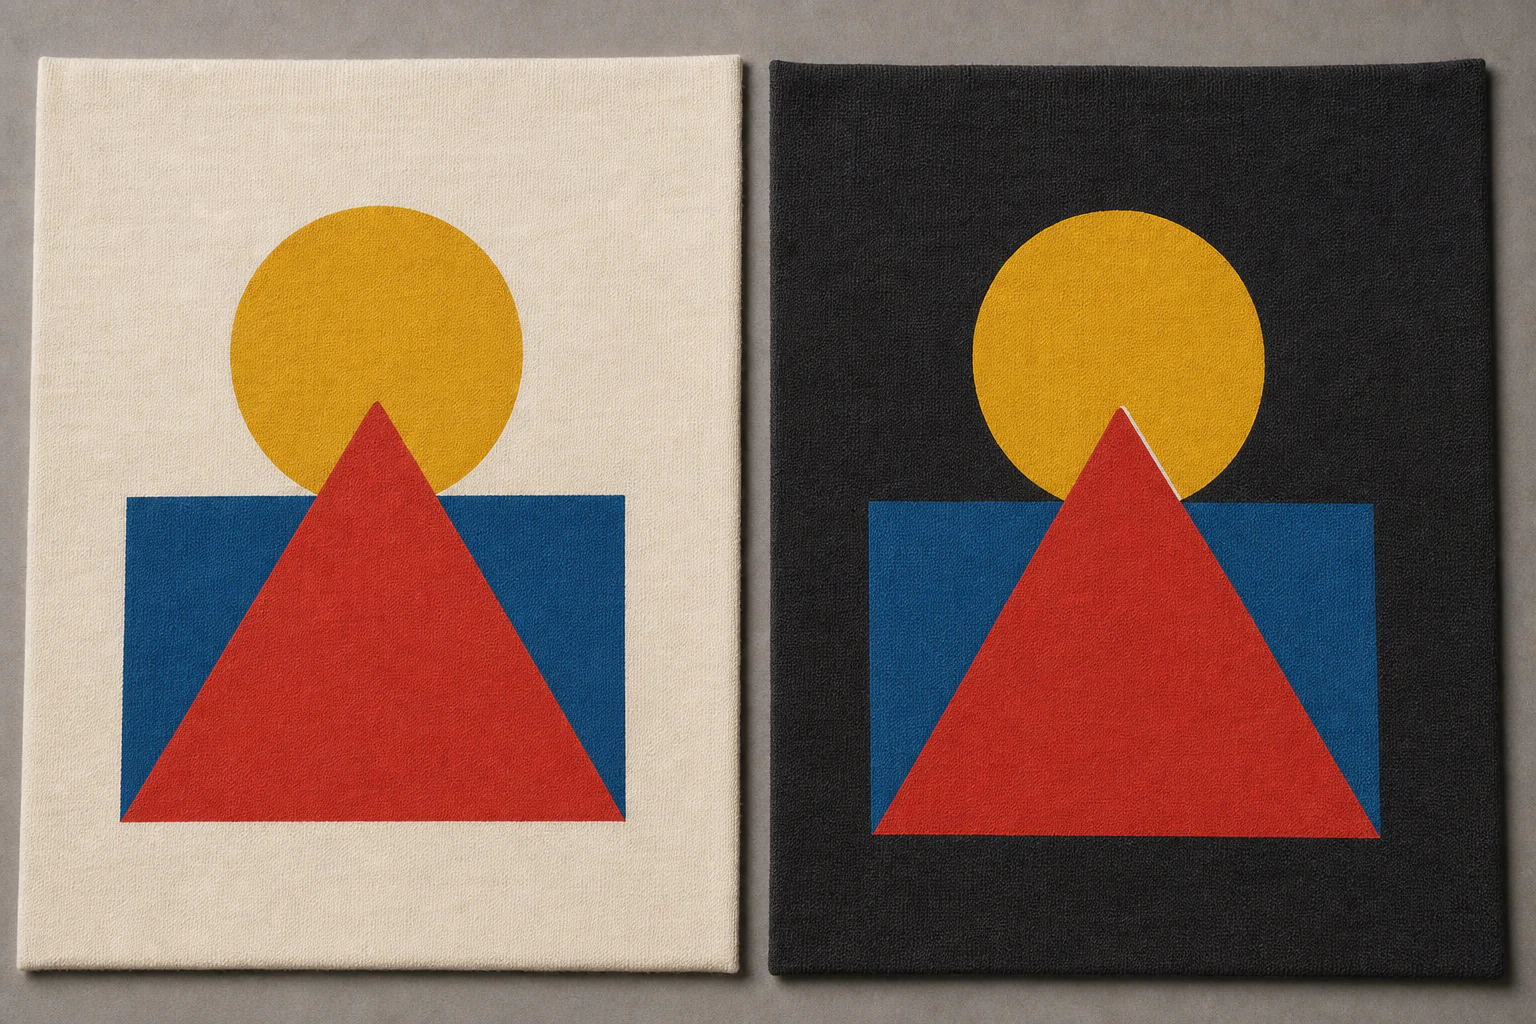
A light garment may accept a colour layer directly. A dark garment may need white underbase, flash and visible colours.
Use only the underbase needed for coverage. More ink is not automatically a better print.
Light garment
A colour layer may print directly when the selected ink, fibre and result allow it.
Dark garment
Underbase, flash and colour layers may be required for opacity and visual colour.
INK ROUTE
Choose Ink After the Fabric
The ink route follows the actual fibre, garment colour, finish, handfeel and required tests—not the artwork alone.
Water-based does not automatically mean no handfeel or universal fabric compatibility, and discharge does not work on every cotton dye lot.
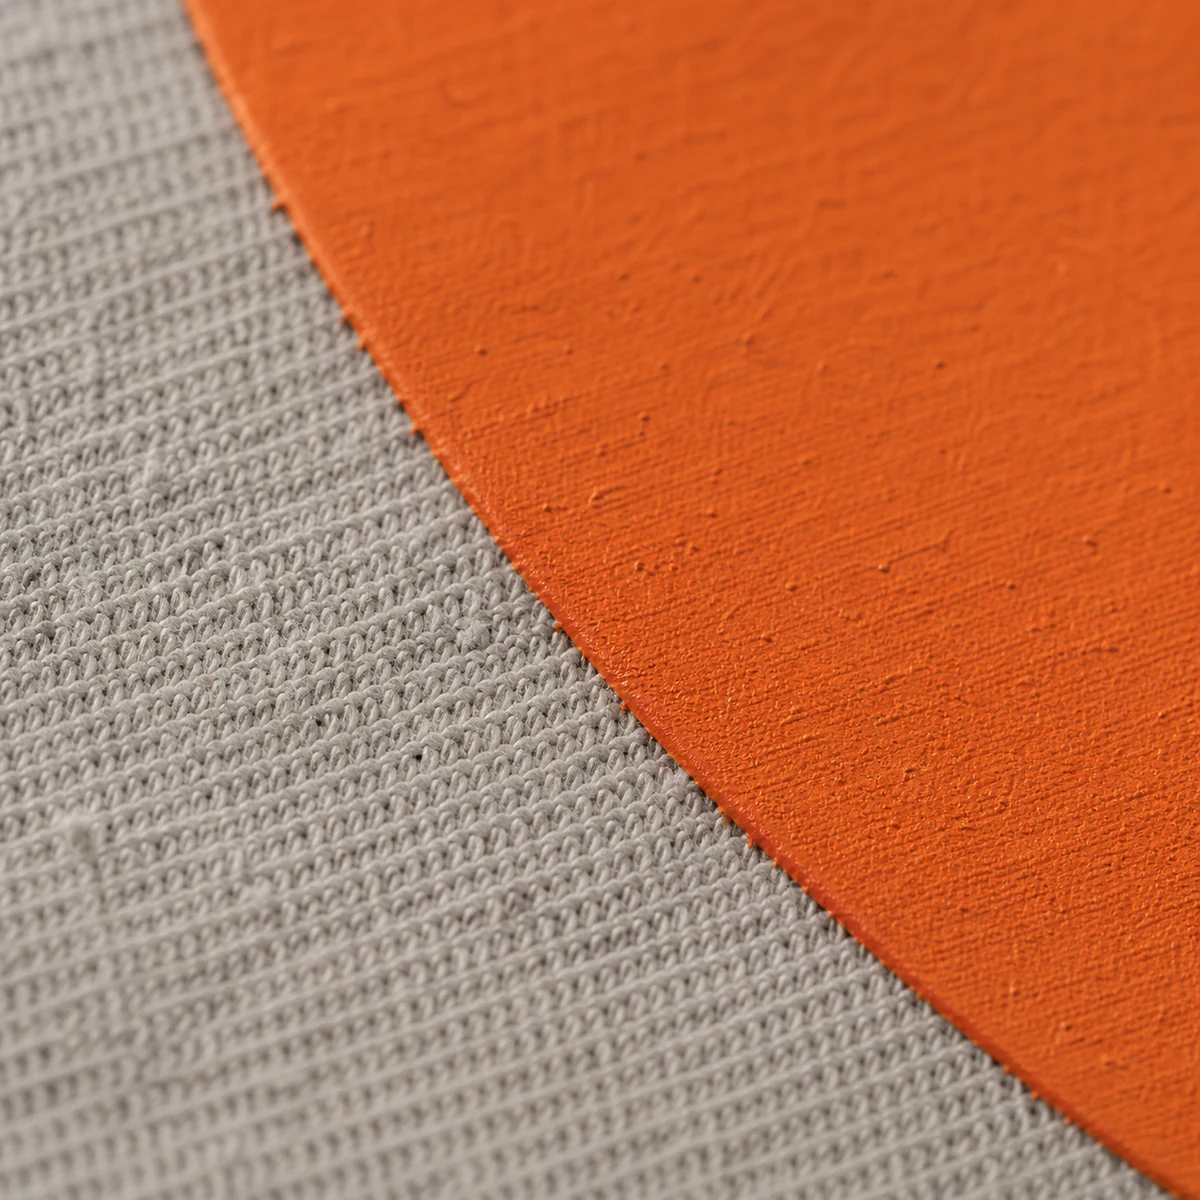
Plastisol
Opacity and a broad effect range are available; cure, underbase and ink deposit decide the final hand and performance.
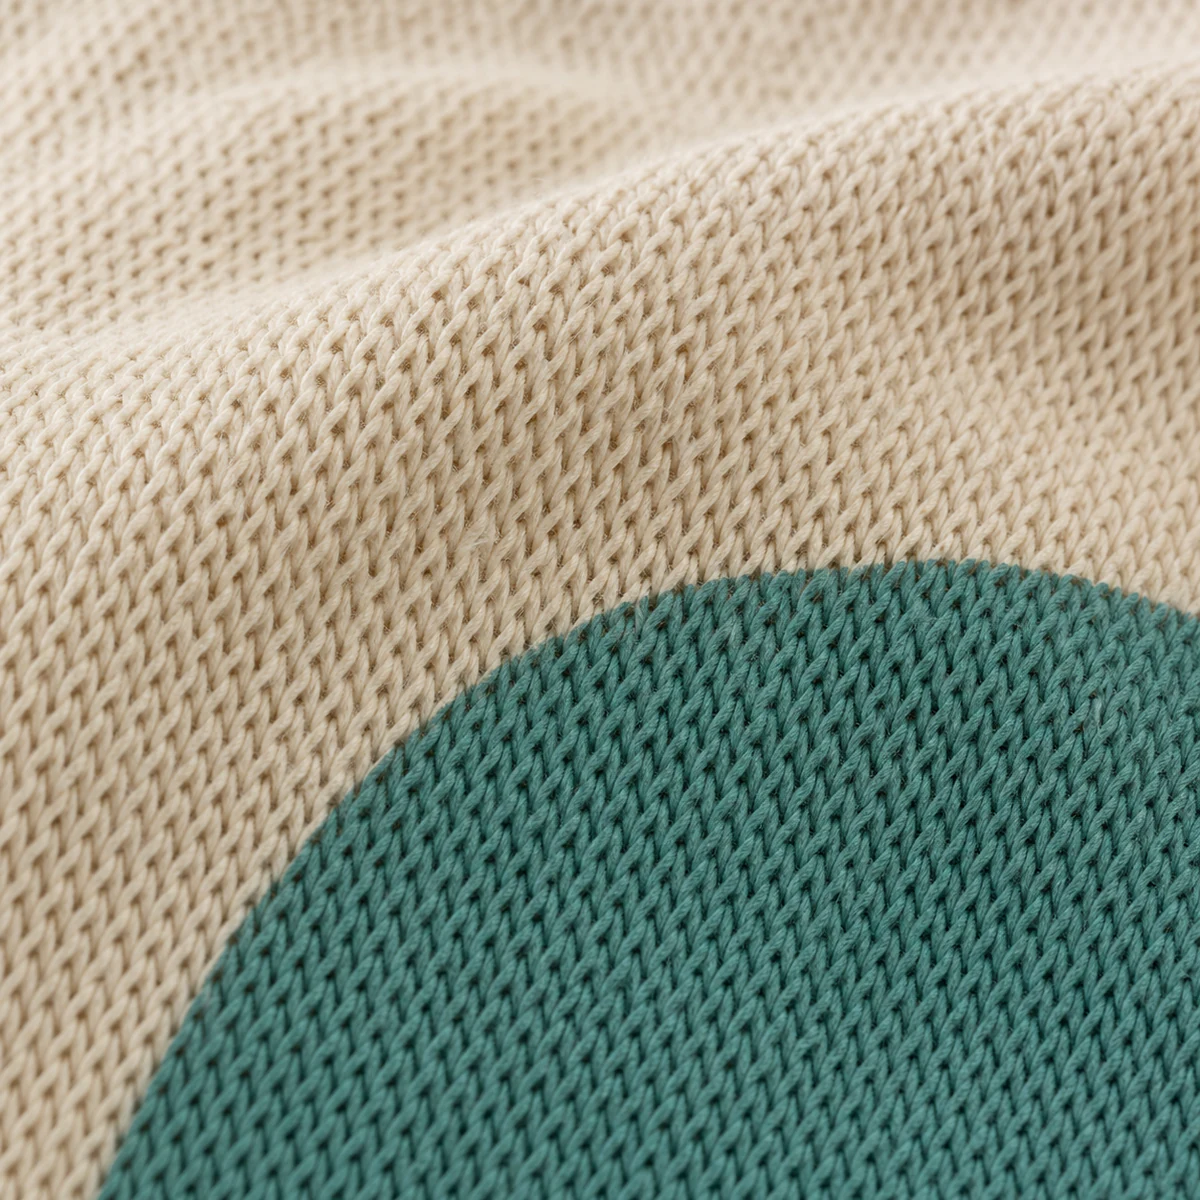
Water-Based
It can produce a softer result, but dark or synthetic fabric can still require an opaque or migration-control system.
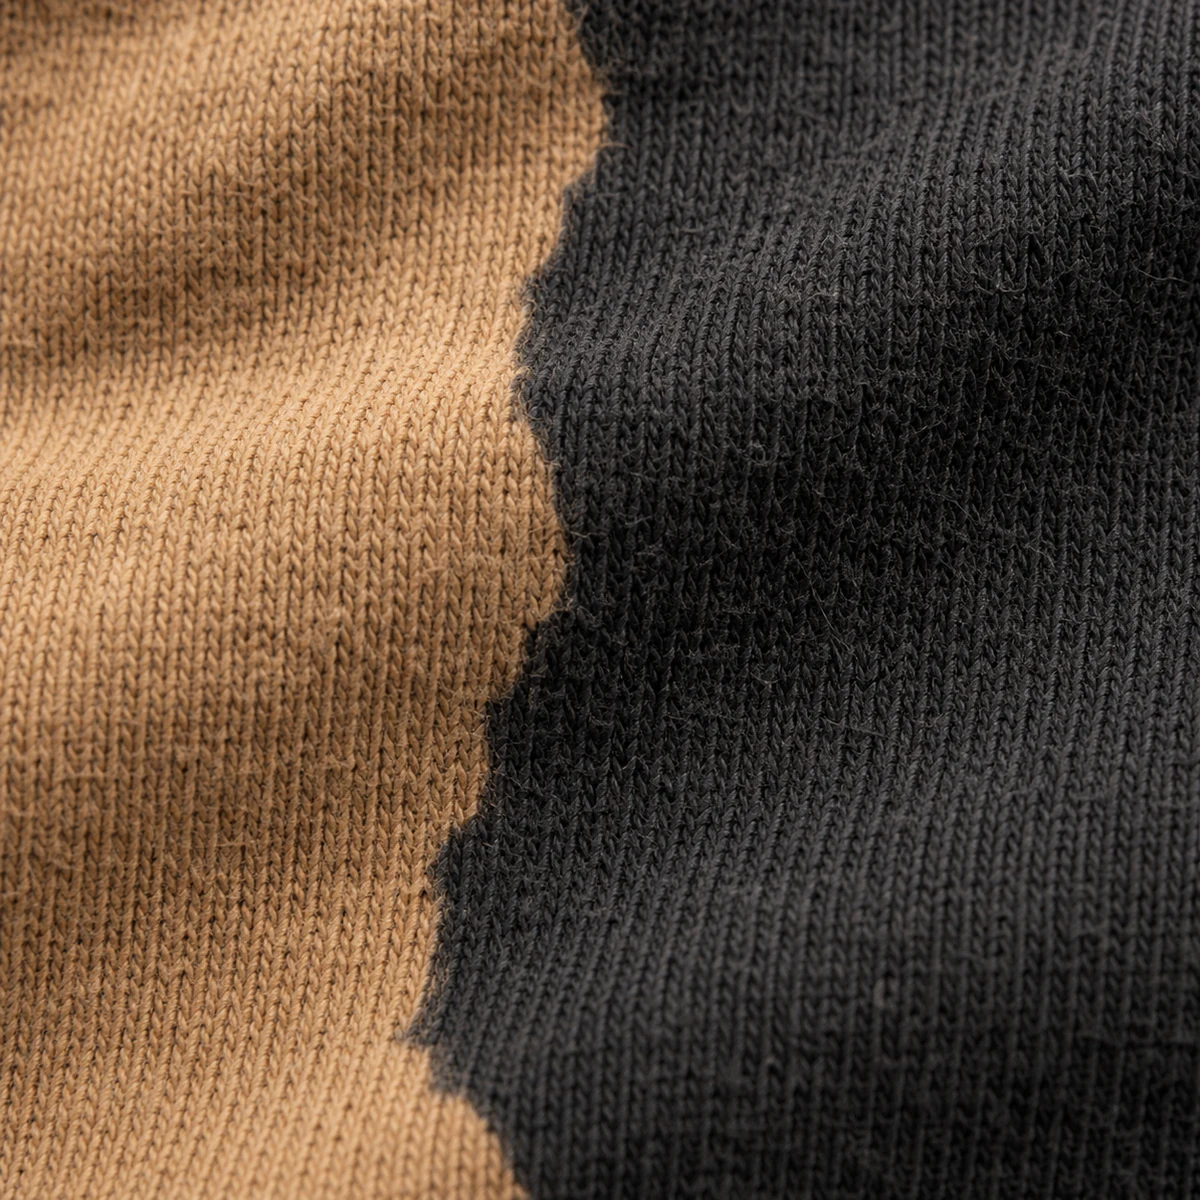
Discharge
It can create a very soft dark-garment result only when the fibre, garment dye, colour and production controls are compatible.
PRODUCTION
From File to Cure
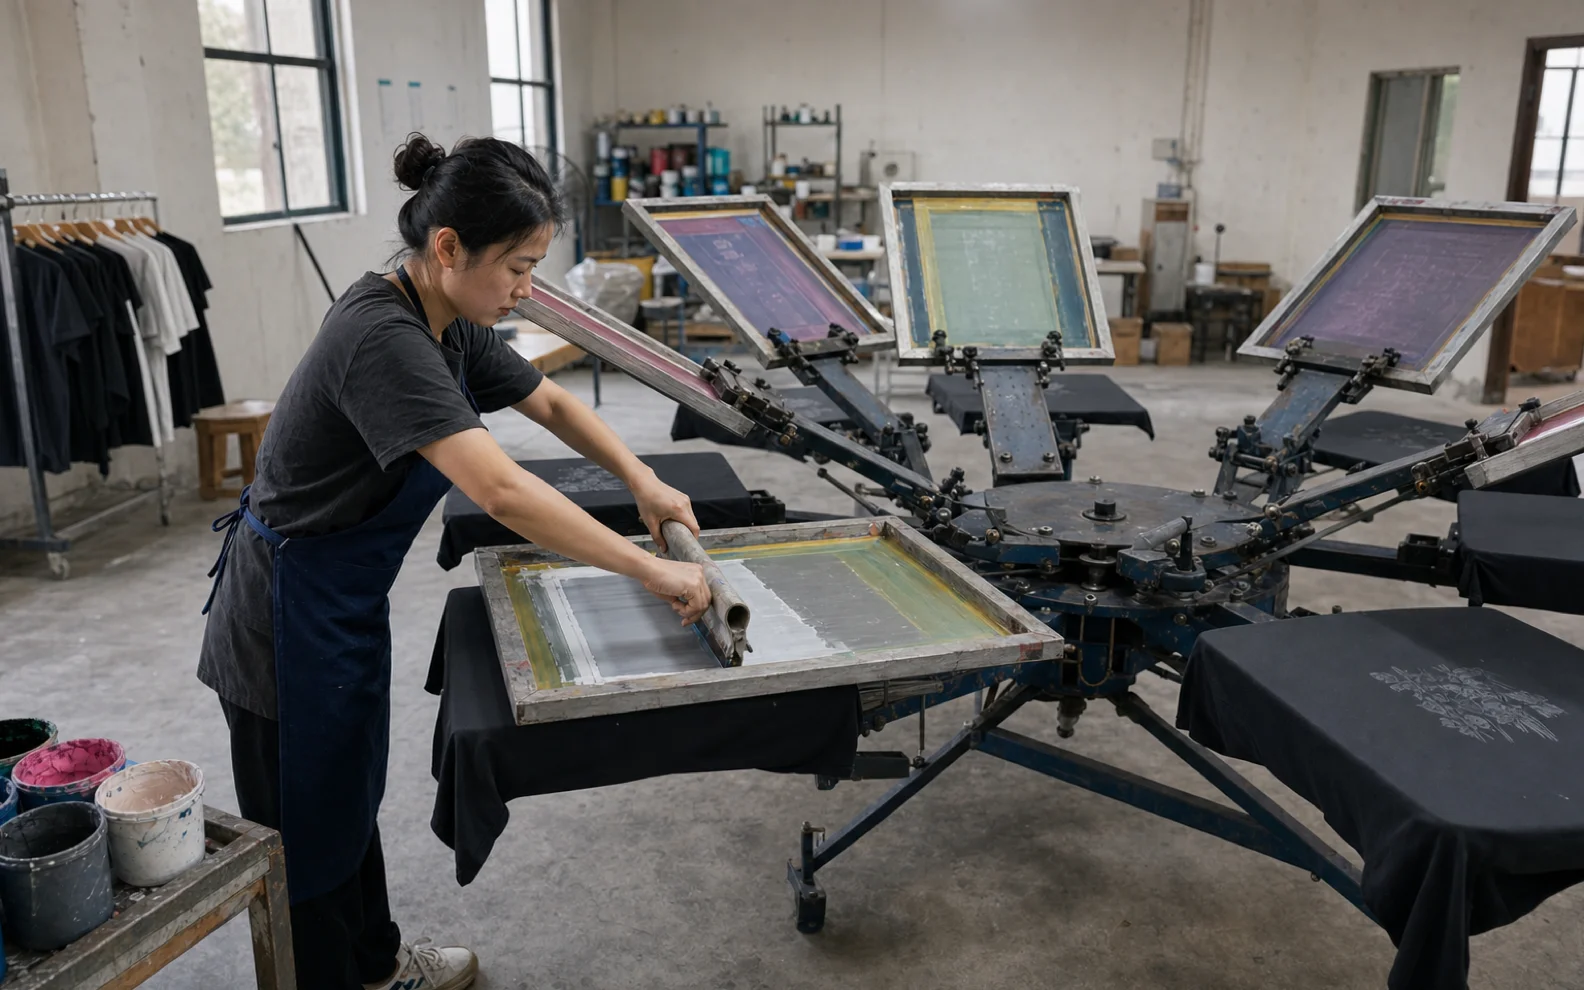
Registration and ink deposit are built layer by layer. A flash step only prepares an earlier layer for overprinting.
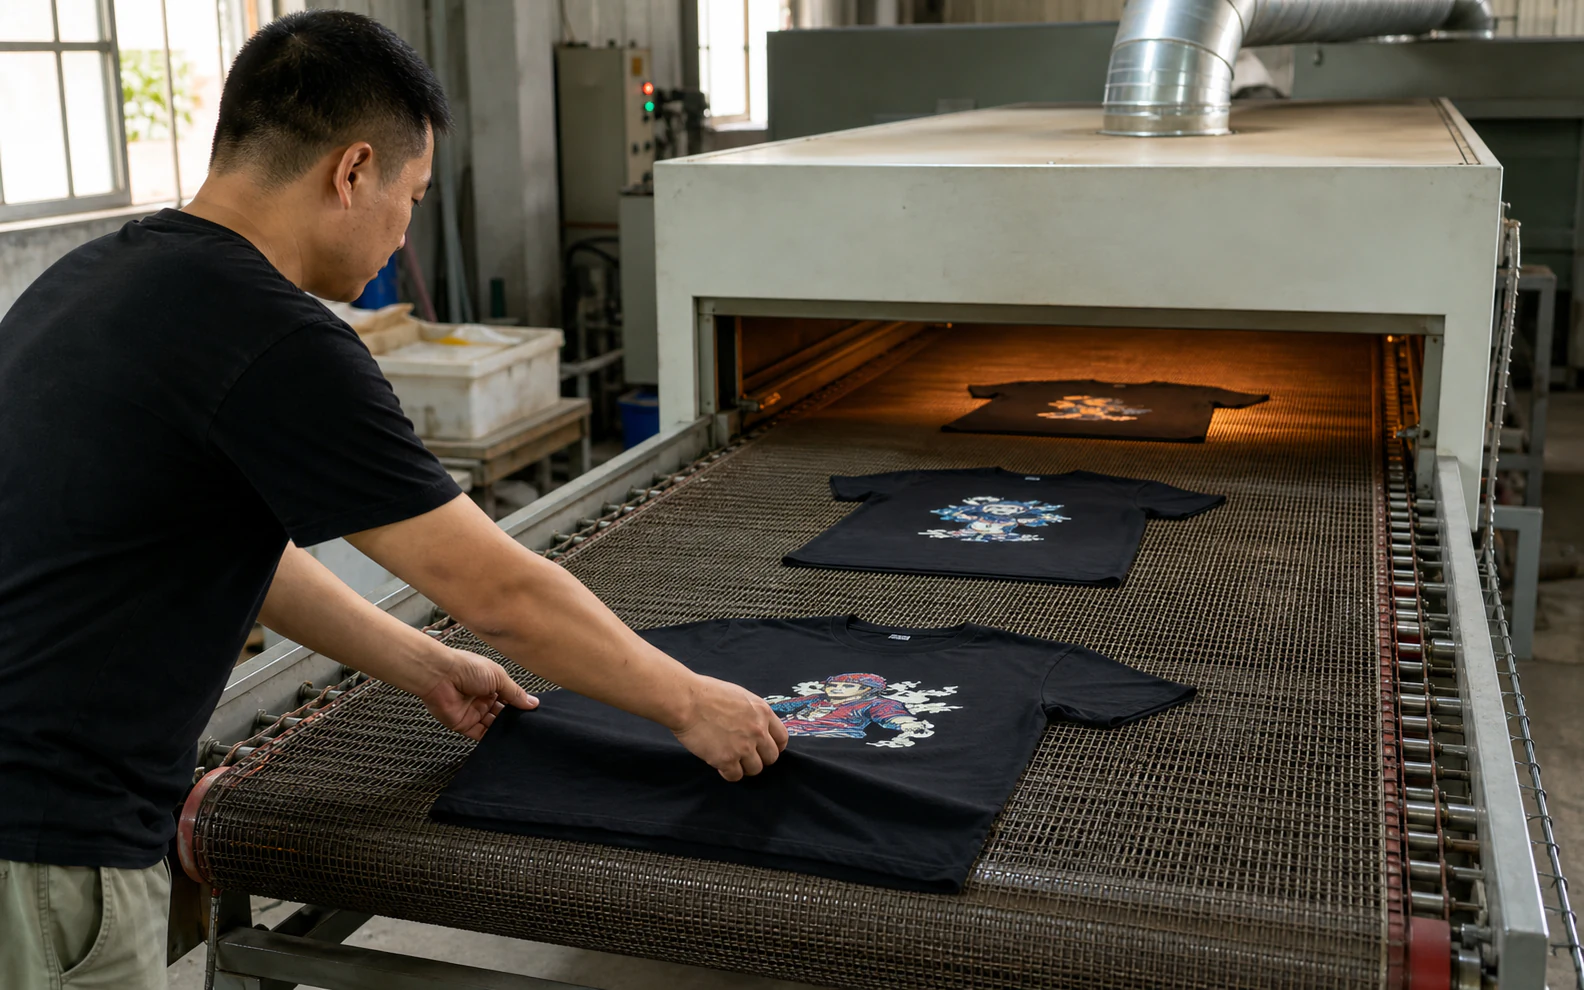
Final cure follows the selected ink technical data and the actual ink film; one universal time or temperature cannot approve every job.
- 01
Review
Confirm garment, fabric, colour, placement, quantity and target result.
- 02
Separate
Prepare the required production colour, underbase and effect layers.
- 03
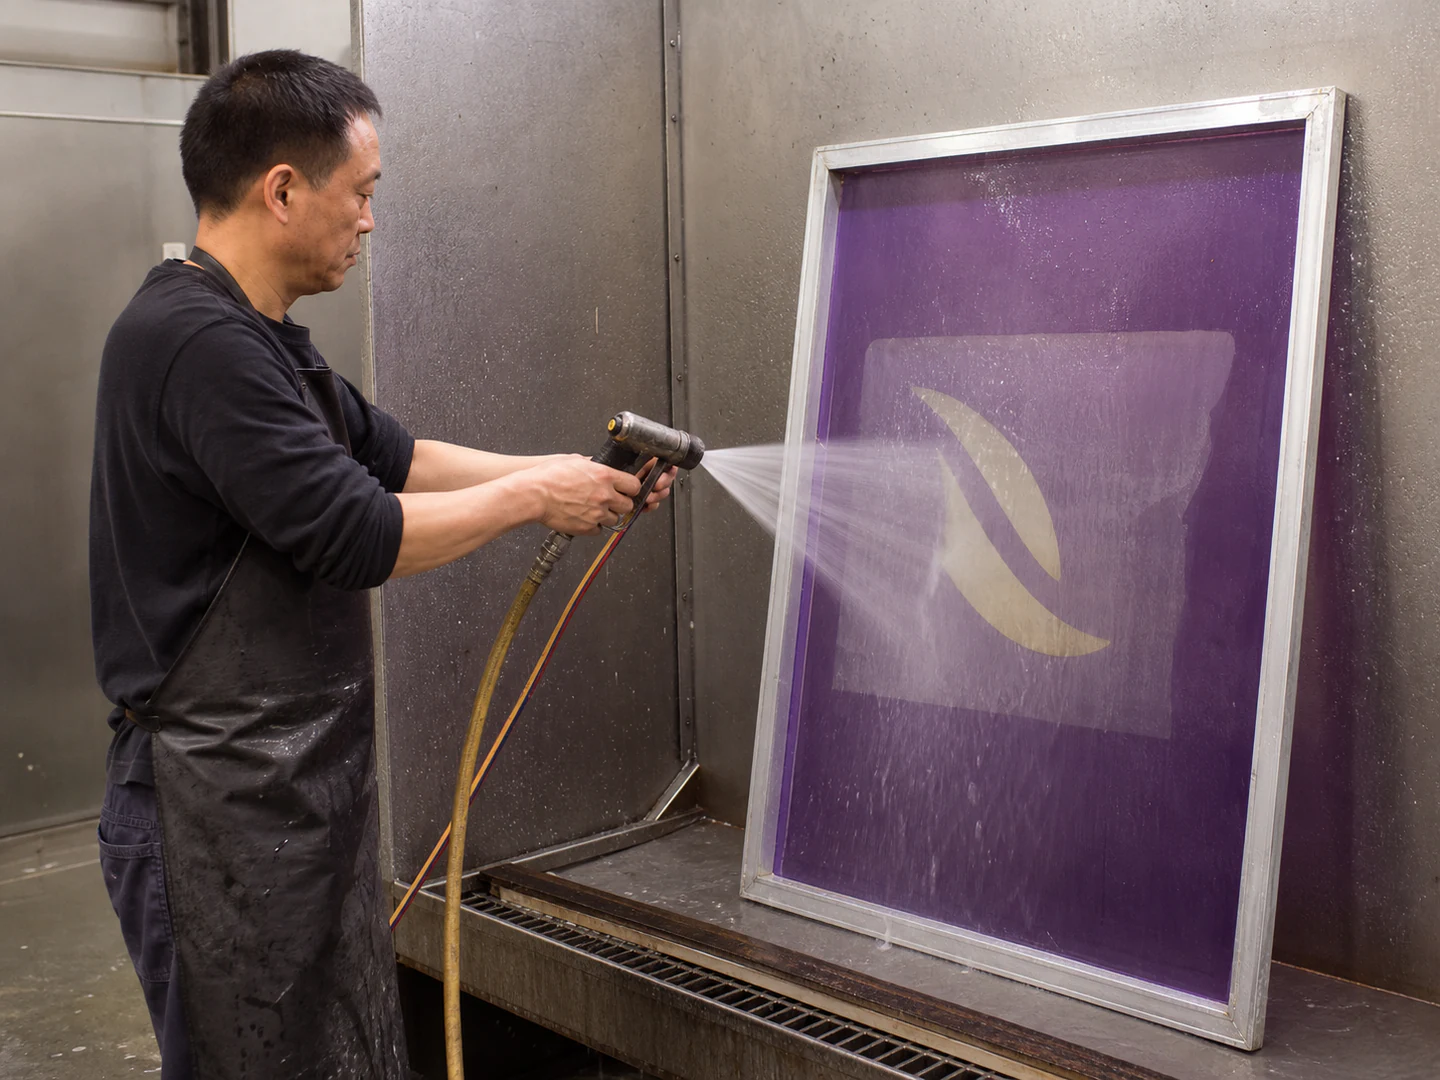
Make screens
Image and wash out the stencil for each approved layer.
- 04
Register
Align the screens and verify fine edges and registration marks on press.
- 05
Print
Apply each production layer and use flash only where the sequence requires it.
- 06
Cure
Reach the ink system's actual time and temperature requirement through the deposit.
- 07
Inspect
Cool the garment, check the visible result and complete the agreed tests.
QUOTE INPUTS
What Changes the Quote
Send the artwork, garment colour, print location and quantity before asking for a final print price.
The Screen Printing setup economy is separate from Canton Fashion's usual garment-order MOQ.
Setup
Artwork separation, screen making, colour mixing, registration and strike-off.
Run
Quantity, print layers, locations, flash, final cure and inspection.
Conditional
Dark-garment underbase, polyester bleed blocker, stretch or special-effect ink, and irregular placement.
FAILURE MODES
What a Failed Print Looks Like
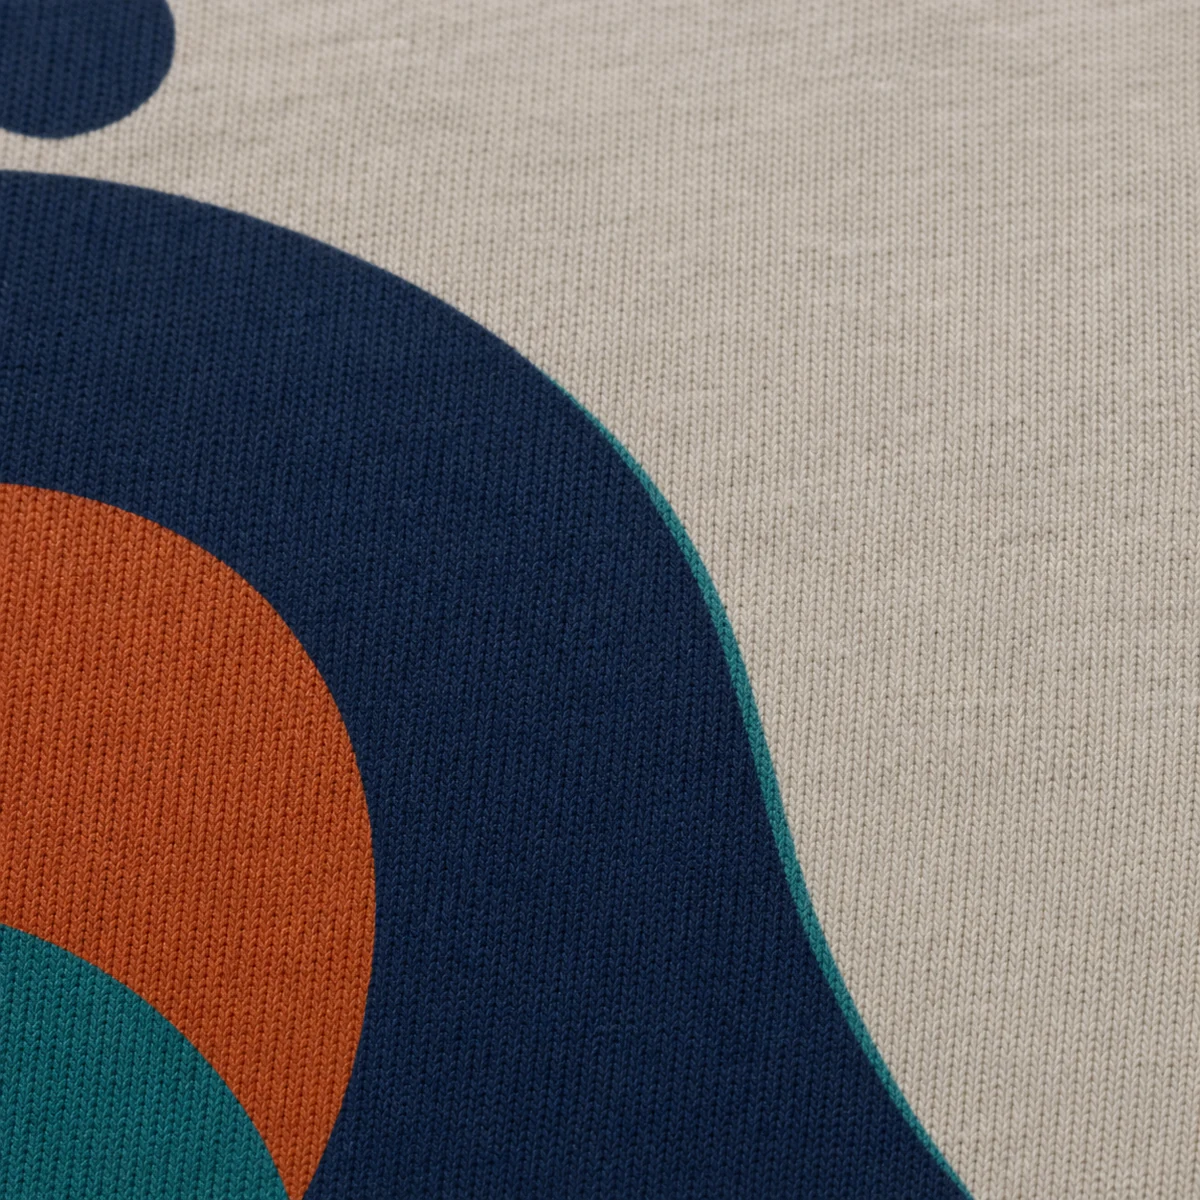
A digital mock-up cannot reveal registration, fibre breakthrough, cure, migration, opacity or seam-height failure.
Review the actual garment before bulk and define the applicable wash, crock, stretch or migration check.
Misregistration
Colour edges do not align; inspect fine lines, text and repeated samples.
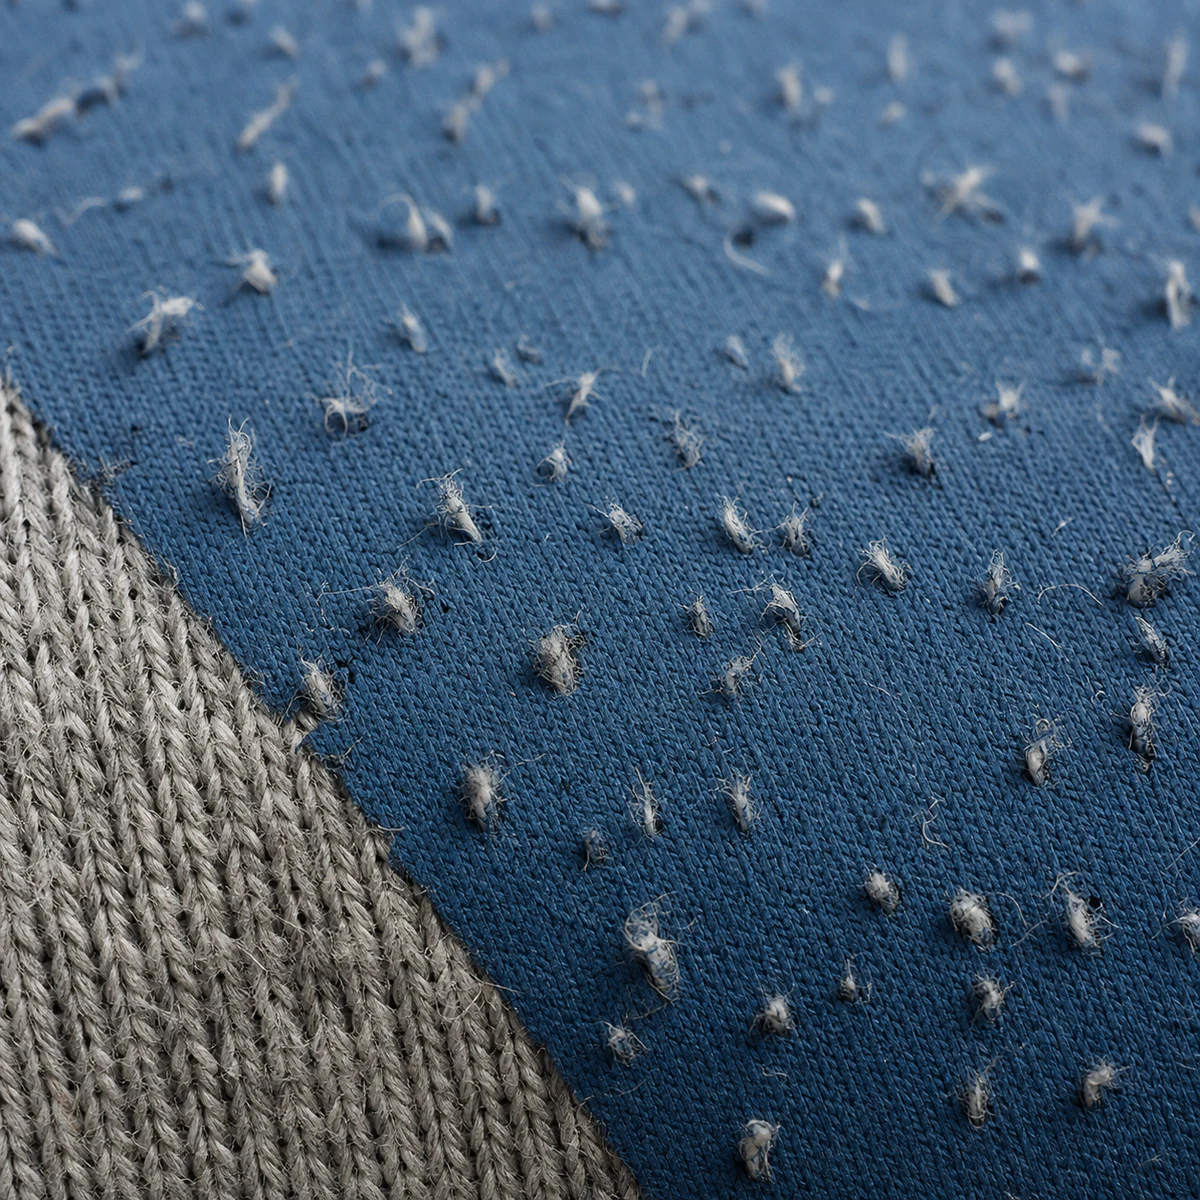
Fibrillation
Garment fibres appear through the ink, often more clearly after washing.
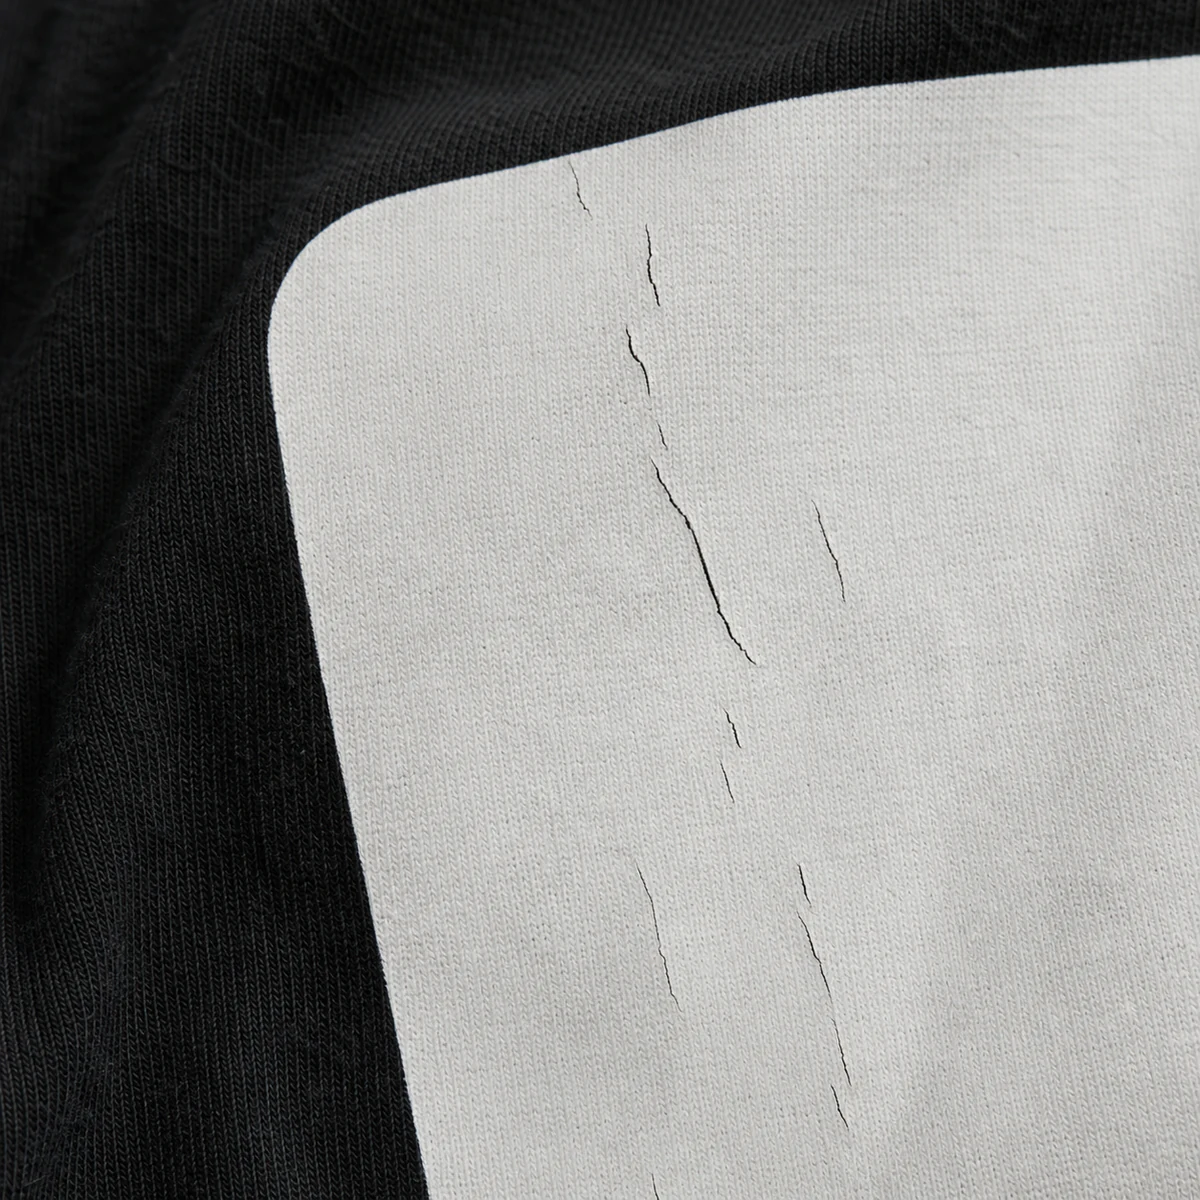
Wash cracking
The ink film fails after laundering; confirm cure and the agreed wash method.
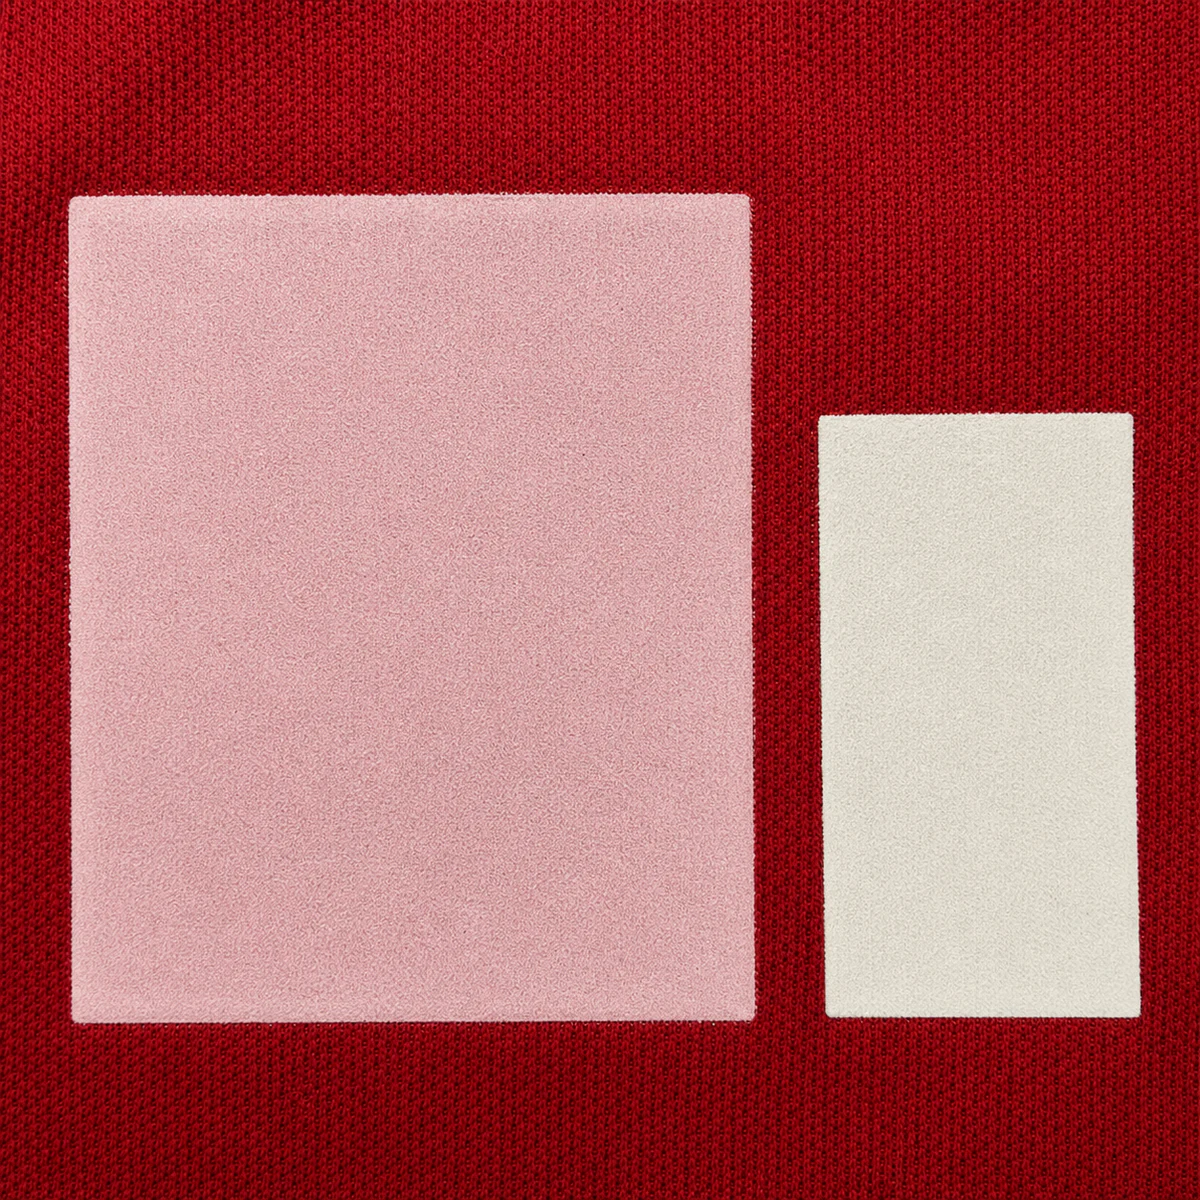
Dye migration
Dyed polyester changes a light printed colour; test the exact fabric and heat history.
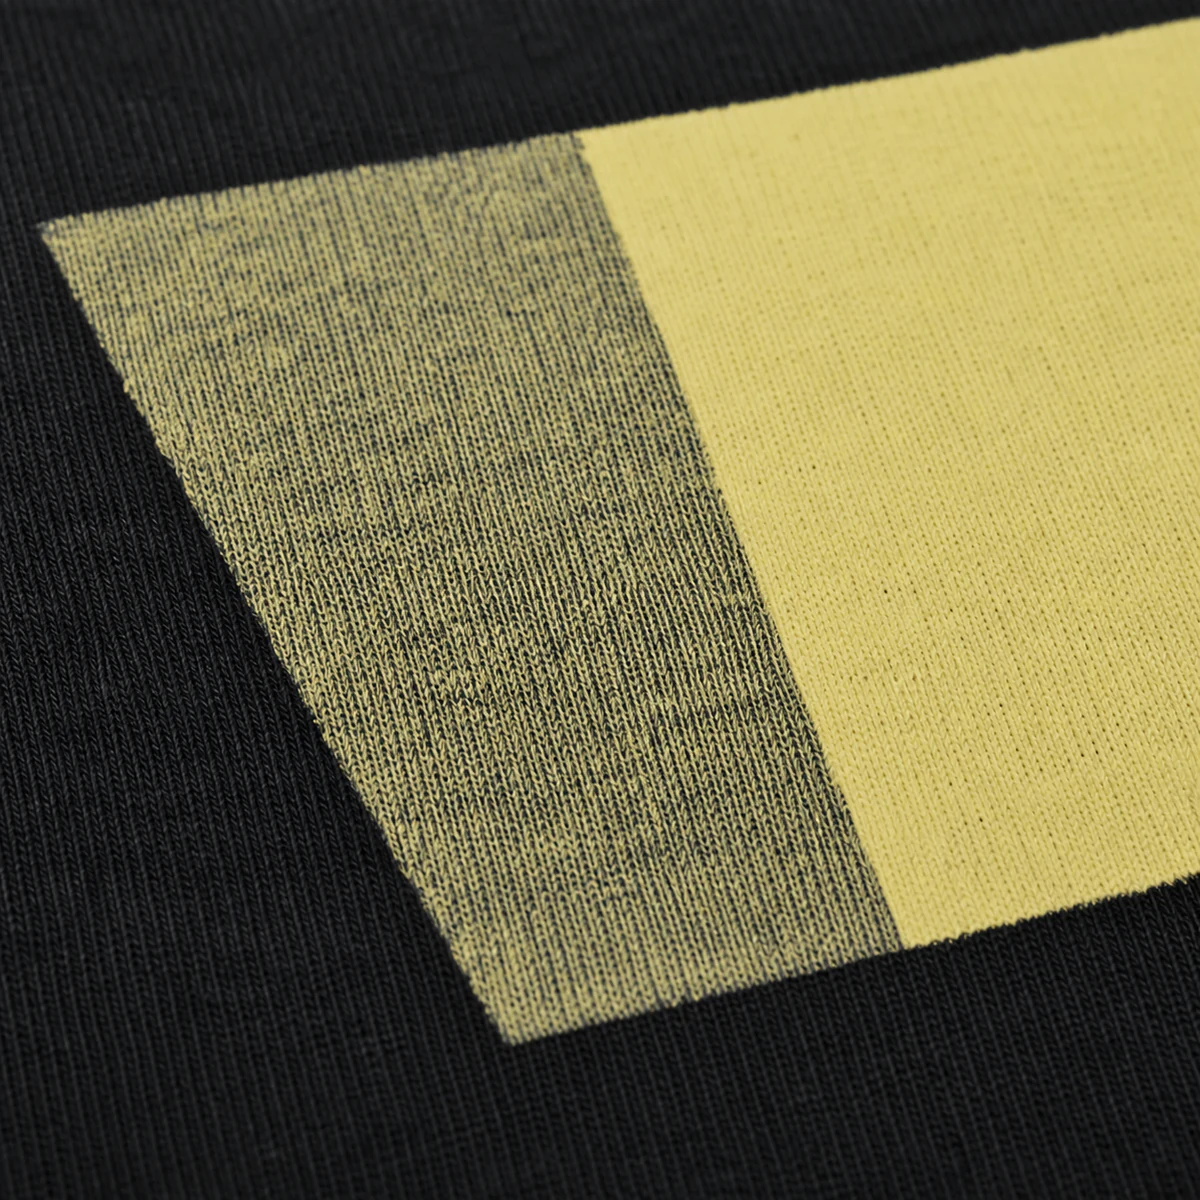
Poor opacity
The dark garment shows through; approve the real garment colour and underbase.
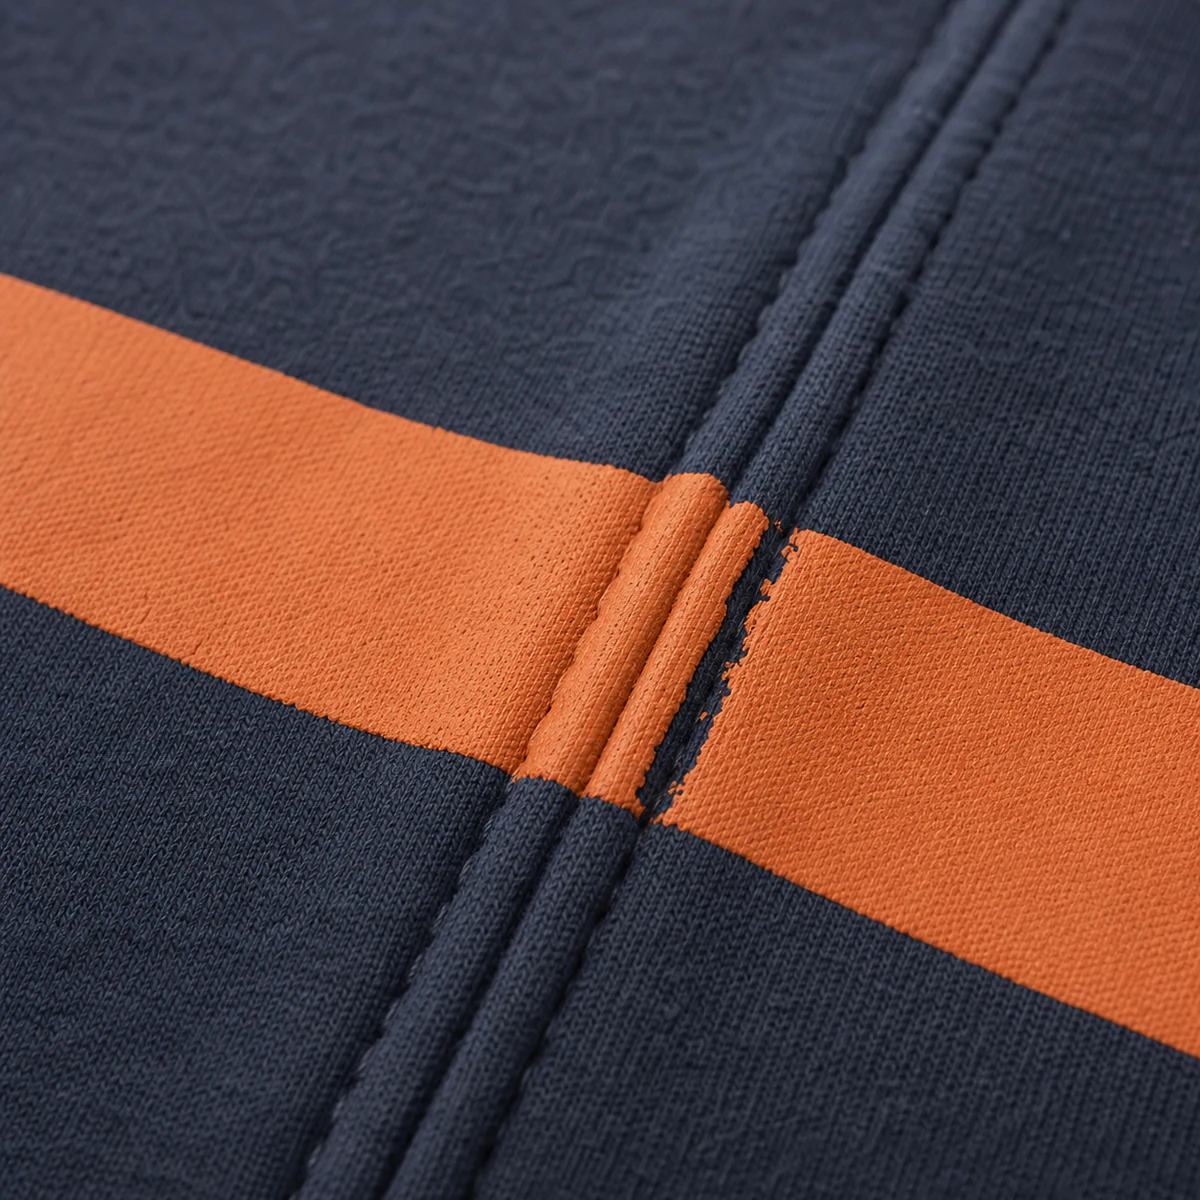
Seam build-up
Ink becomes uneven around a height change; move the design or review panel printing.
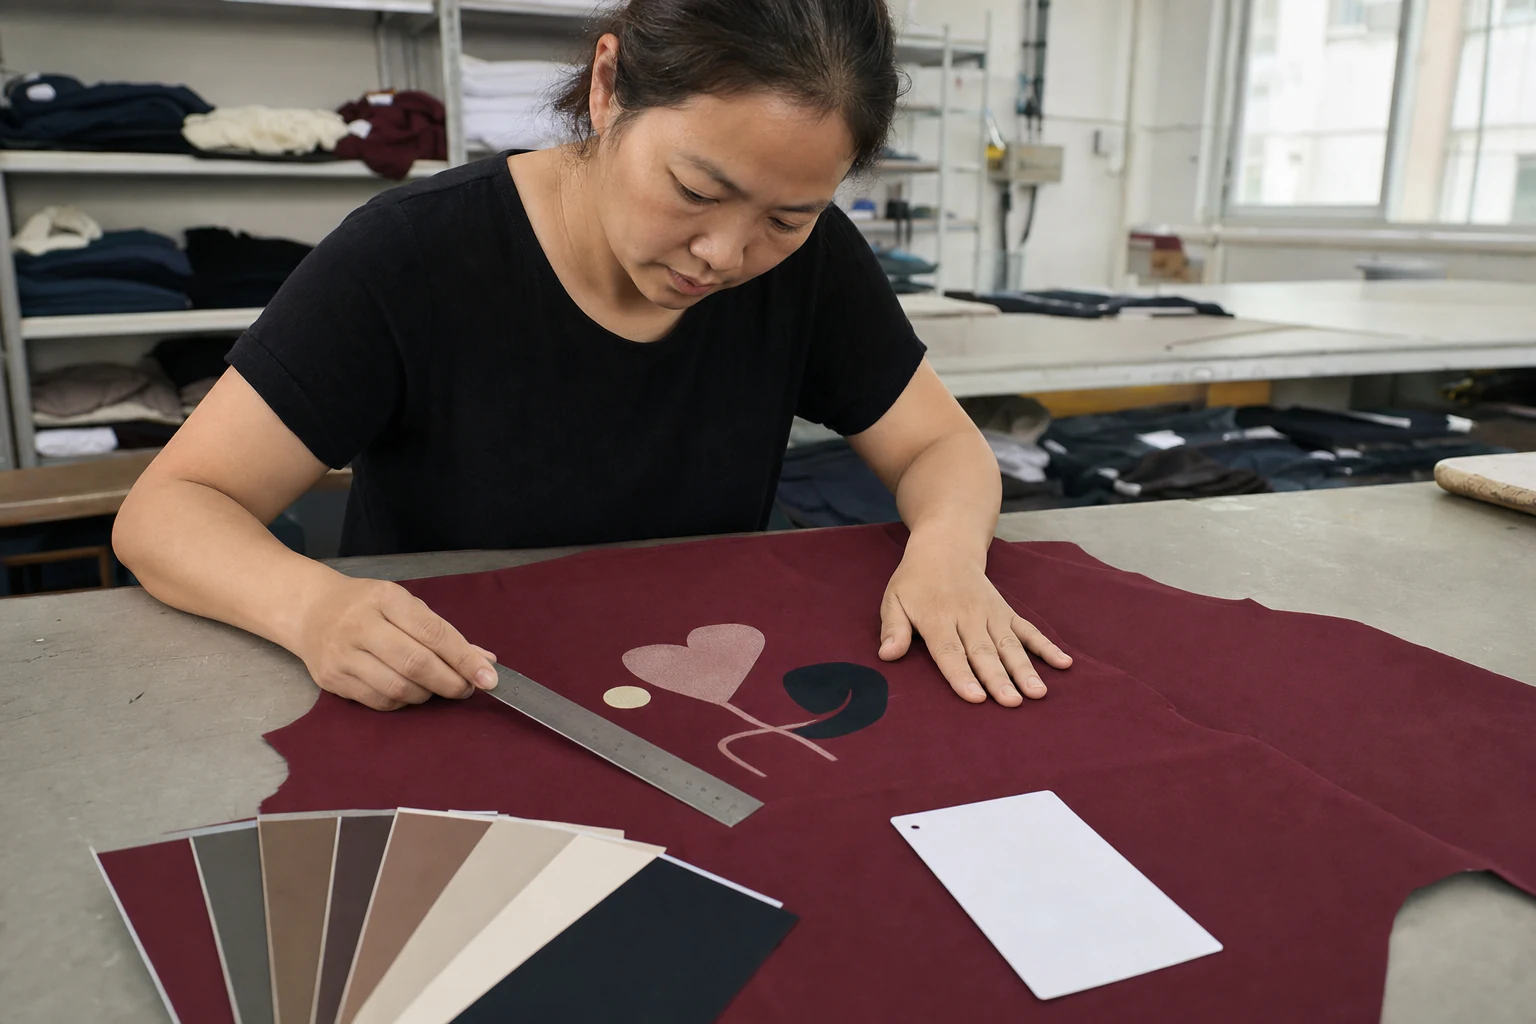
SAMPLE AND QC
Approve the Physical Result
Approve the actual production fabric, garment colour, print size and placement—not only an electronic preview.
Test-method conditions and acceptance grades must follow the buyer specification or the written project agreement.
- 01
Artwork approval
Confirm version, dimensions, placement, colour references and production layers.
- 02
Actual-fabric strike-off
Approve garment colour, opacity, registration, fine detail, handfeel and stretch.
- 03
Pre-production garment
Review the decoration with the finished construction, seams, size and wash result.
- 04
Bulk first-off and in-line checks
Control registration, cure, repeat placement, blockage, pinholes, contamination and the agreed records.
METHOD CHOICE
Screen, Digital or Transfer?
The Heat Transfer column on this page means cut HTV only. It does not describe sublimation, DTF, screen-prepared transfers or every transfer family.
Choose by artwork, repeat quantity, garment surface and the physical result the buyer will approve.
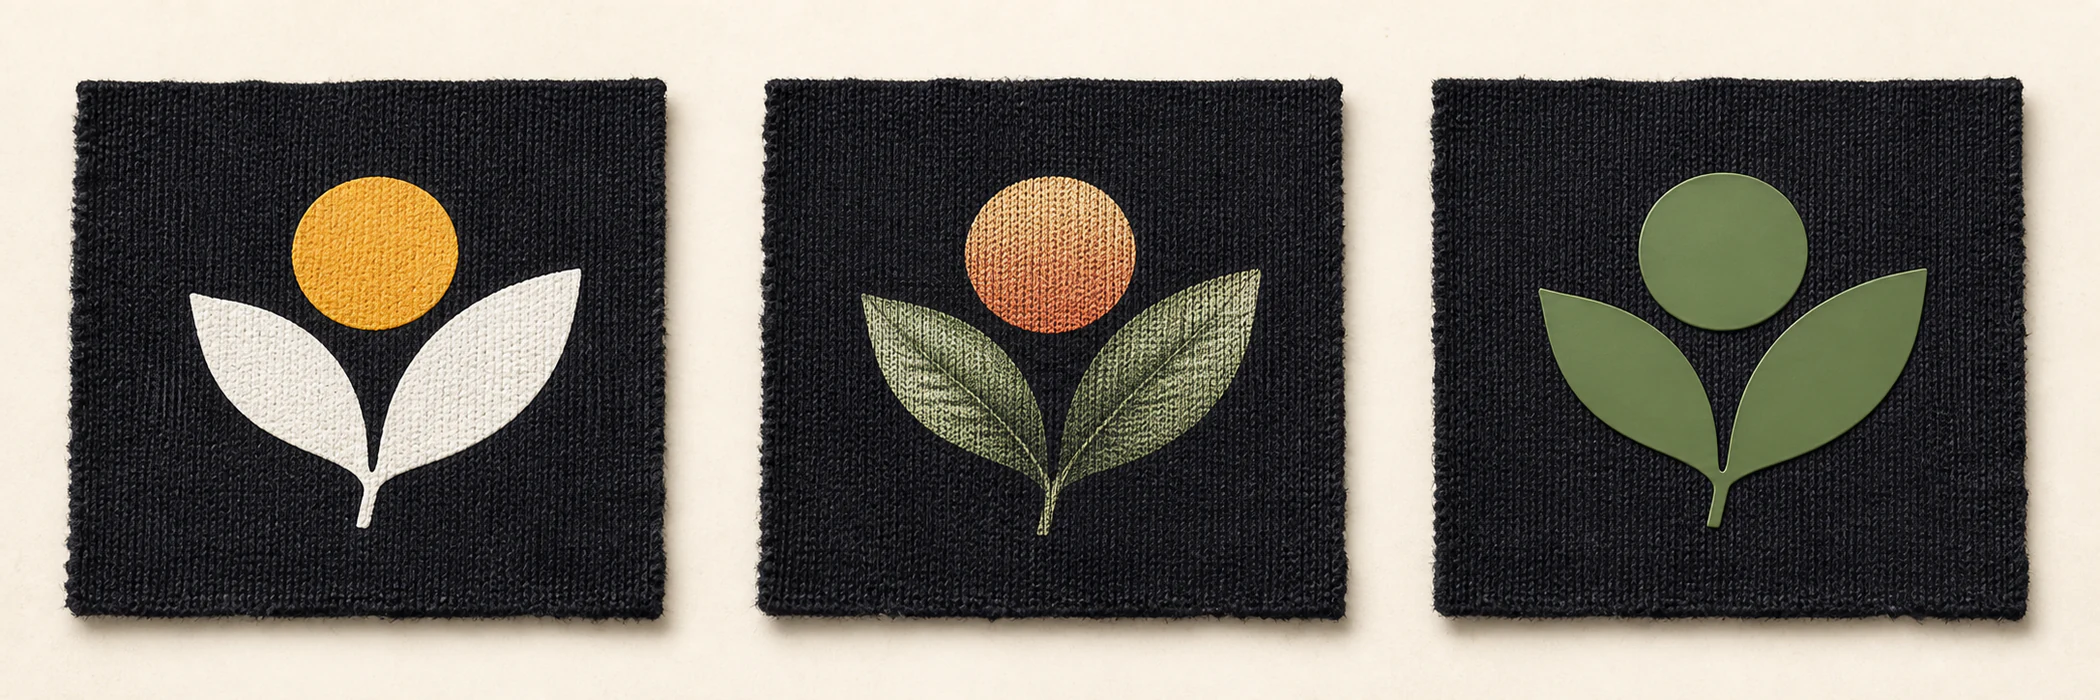
Screen Printing
Use separated colours, repeat runs and controlled ink deposits on a stable print area.
Digital Printing
Compare DTG for photographic detail, many colours and shorter or more variable garment runs.
Cut HTV
Use a film-based cut graphic with the material-specific time, temperature and pressure on a flat, even press area.
PROJECT INPUTS
Send the Actual Job
The form is shown on this page, prefilled with Screen Printing and able to return visible success or error feedback.
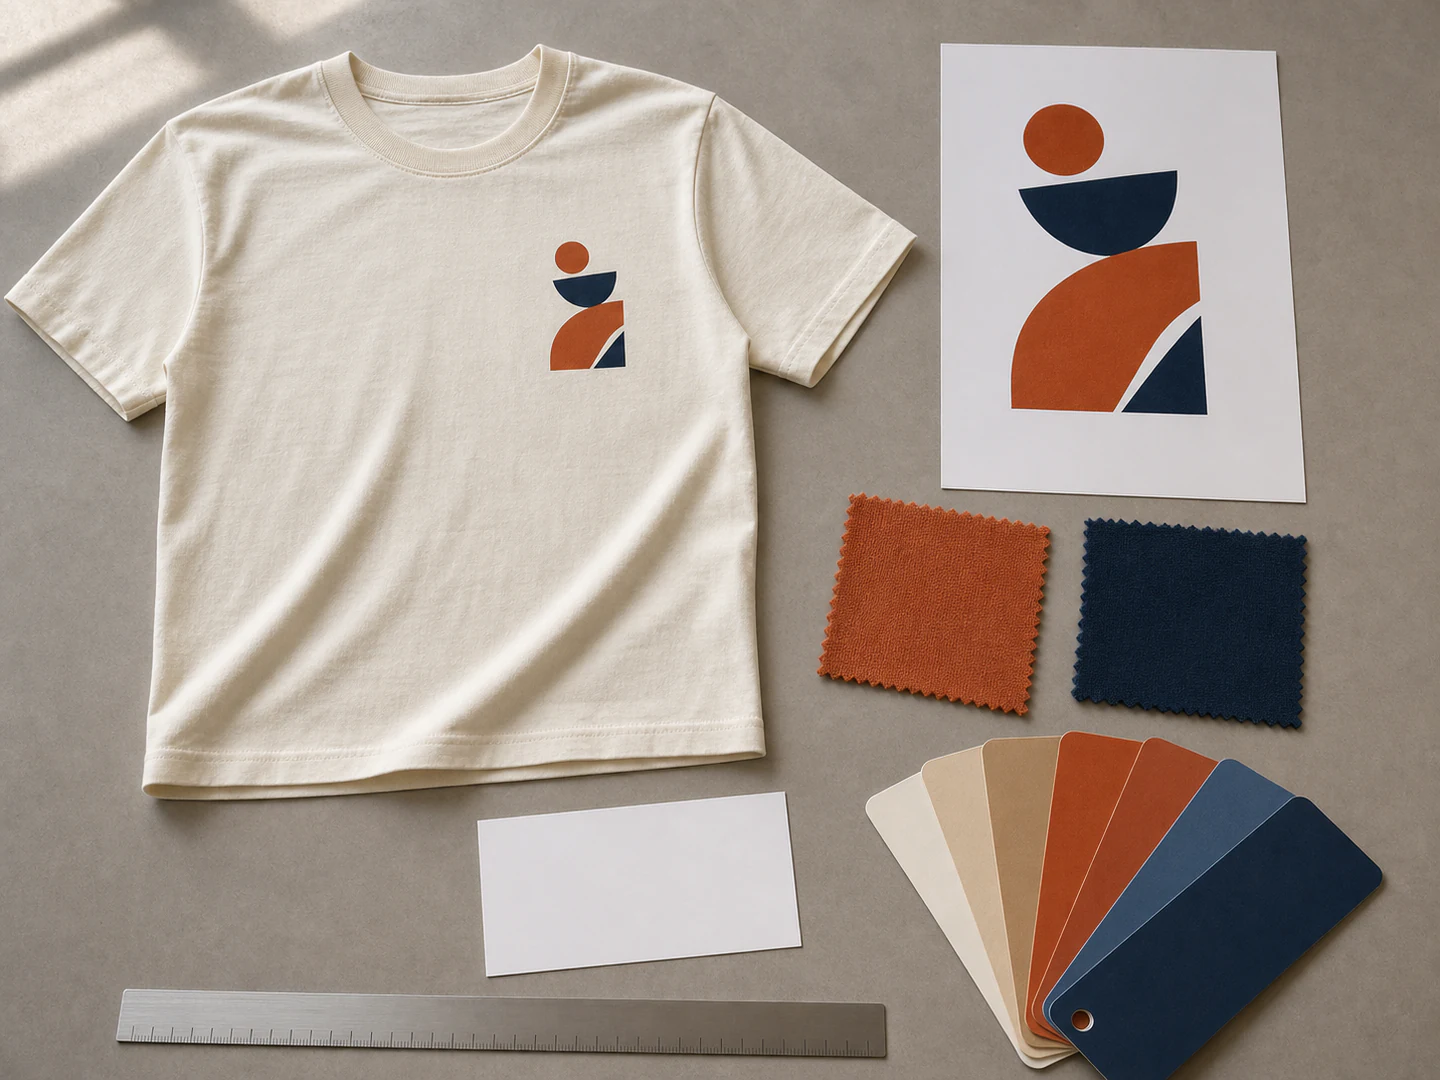
Attach the artwork and describe the actual garment instead of asking for a final print price from a reference image alone.
- 01
Artwork
Upload editable vector artwork for logos or the original high-resolution raster file for photographic work.
- 02
Print dimensions
Give the finished print width and height rather than only a visual reference.
- 03
Placement
Name the chest, back, sleeve or leg location and its relationship to seams, pockets, zippers and centre lines.
- 04
Garment and fabric
Provide garment type, fibre composition, GSM, knit or weave, stretch and finish.
- 05
Garment colour
List quantity by garment colour because underbase, migration and setup can change.
- 06
Target result
Describe opacity, handfeel, surface effect and any physical reference sample.
- 07
Approval requirement
Provide the required wash, crock, stretch, migration or customer test method.
- 08
Delivery
Give the destination country and target date for the garment project.
Screen Printing inquiry
Tell us about the actual garment.
We review the artwork, fabric, colour, placement and quantity together before confirming the print route.
Talk on WhatsApp →BEFORE SAMPLING
Questions Before Sampling
These answers define the next decision without promising a universal colour count, cure setting, wash life or all-fabric result.
01How many colours can be screen printed?+
There is no single fixed limit. A spot-colour design normally needs a separate screen for each colour, and a dark garment may add a white underbase. Press capacity, artwork, garment and target result set the practical job.
02Is screen printing suitable for 100 pieces?+
For Canton Fashion projects, the usual starting MOQ is 100 pieces per style per colour. Material or style can change this. Screen count, print locations, garment colour, ink system and samples still affect the quote.
03Can it be printed on polyester?+
Yes, but polyester must not be treated like cotton. Dye migration, heat sensitivity and stretch can require a low-cure ink, bleed blocker and actual-fabric test.
04Will the print feel heavy?+
Not necessarily. Handfeel depends on ink chemistry, underbase, print area and deposit. A large opaque print on a dark garment normally feels heavier than a small print on a light garment.
05Should I choose plastisol or water-based ink?+
Start with the required appearance, handfeel, fabric and wash performance. Neither system is right for every garment; approve the selected route on the actual fabric.
06Can screen printing reproduce a photograph?+
Yes, with CMYK, simulated-process or another halftone separation route. It requires more prepress and registration control than a simple spot-colour logo; compare DTG for shorter or frequently changing runs.
07Can you print over a seam, zipper or pocket?+
Some engineered jobs can, but this is not a normal flat-print condition. Moving the design, printing a cut panel before sewing or changing the method is usually safer.
08How do we approve colour?+
Provide a Pantone or physical reference, then approve a strike-off on the actual fabric and garment colour. A monitor preview is not physical colour approval.
09How durable is it?+
Durability depends on ink, fabric, cure and washing. Agree the test method and acceptance result before bulk instead of relying on a universal wash-count promise.
10Why did a white print turn pink or grey?+
On dyed polyester, garment dye can migrate into the printed ink after heating. Review a low-cure system, bleed blocker and migration test on the exact fabric.
11What files should I send?+
Send editable vector artwork for logos and line art when available, or the original high-resolution raster file for photographs. Include dimensions, placement and colour references.
12Do we need a physical sample?+
Yes. A strike-off or pre-production sample is the practical approval for handfeel, opacity, registration and colour on the actual garment.