COLOUR AFTER SEWING
Garment Dyeing
Colour is applied after the garment is sewn. The fabric, thread, rib, trims and construction must all be prepared for the same wet process.
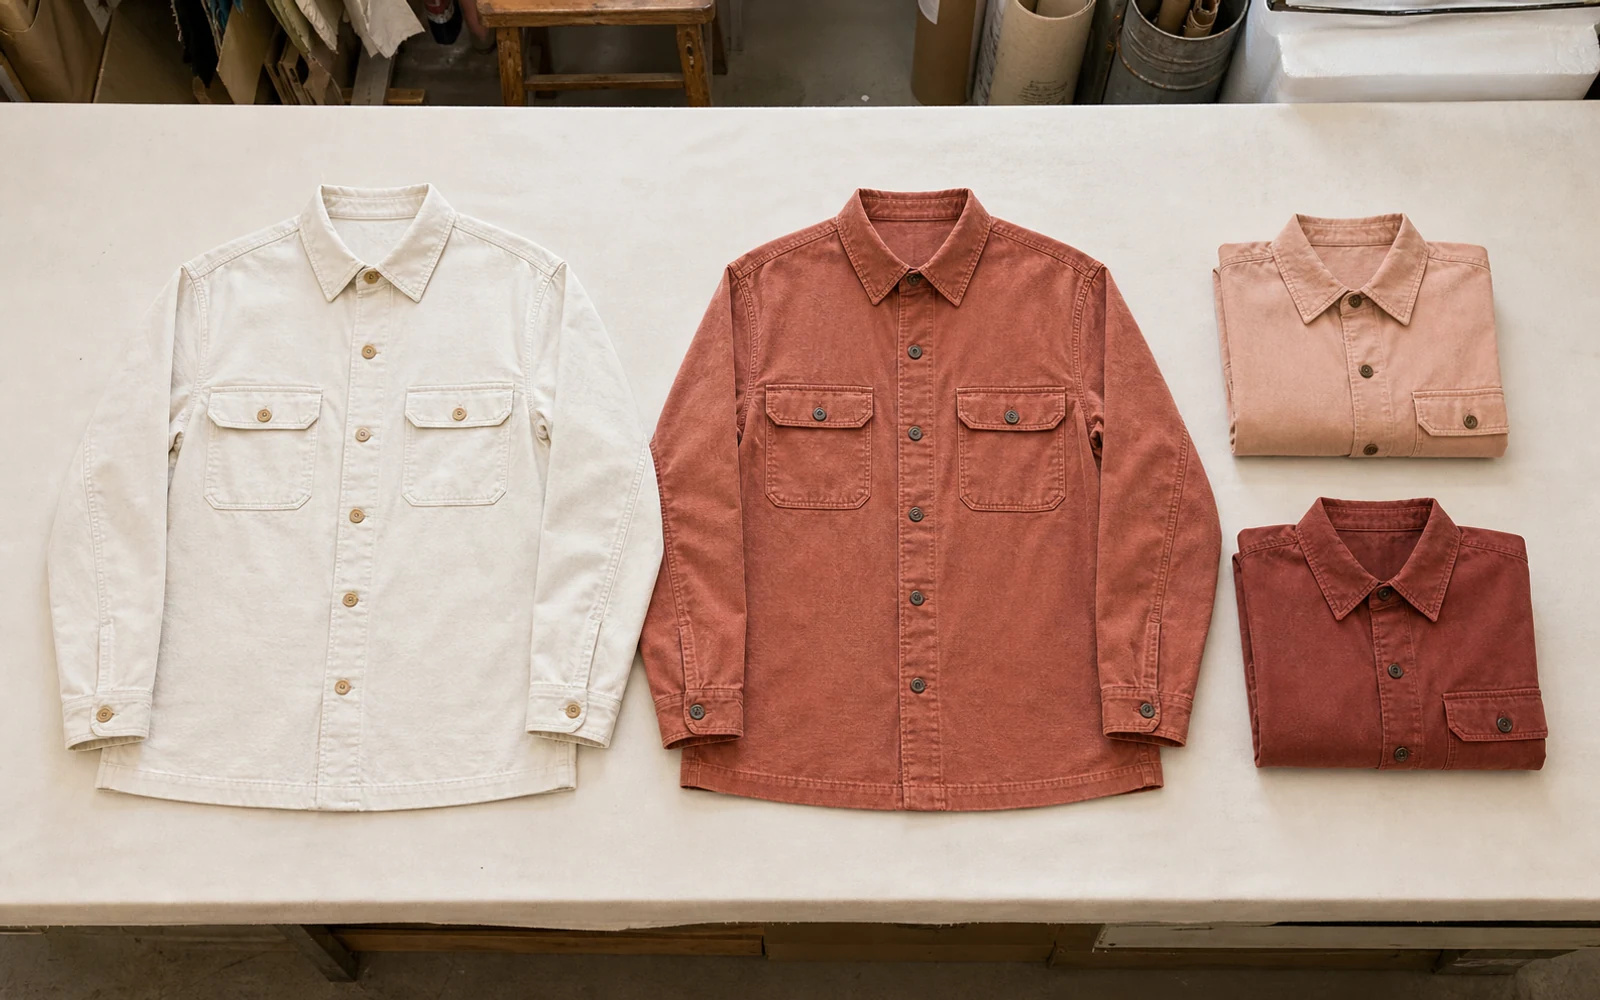
- Garment
- Complete style before the bath
- Components
- Thread, rib, zips, labels and trims
- Release
- Shade range plus finished measurements
PROJECT FIT
Is the complete garment ready for wet processing?
Start with the complete garment, not a colour name.
If one material, component or finished-size requirement is unknown, hold the route and test the actual style.
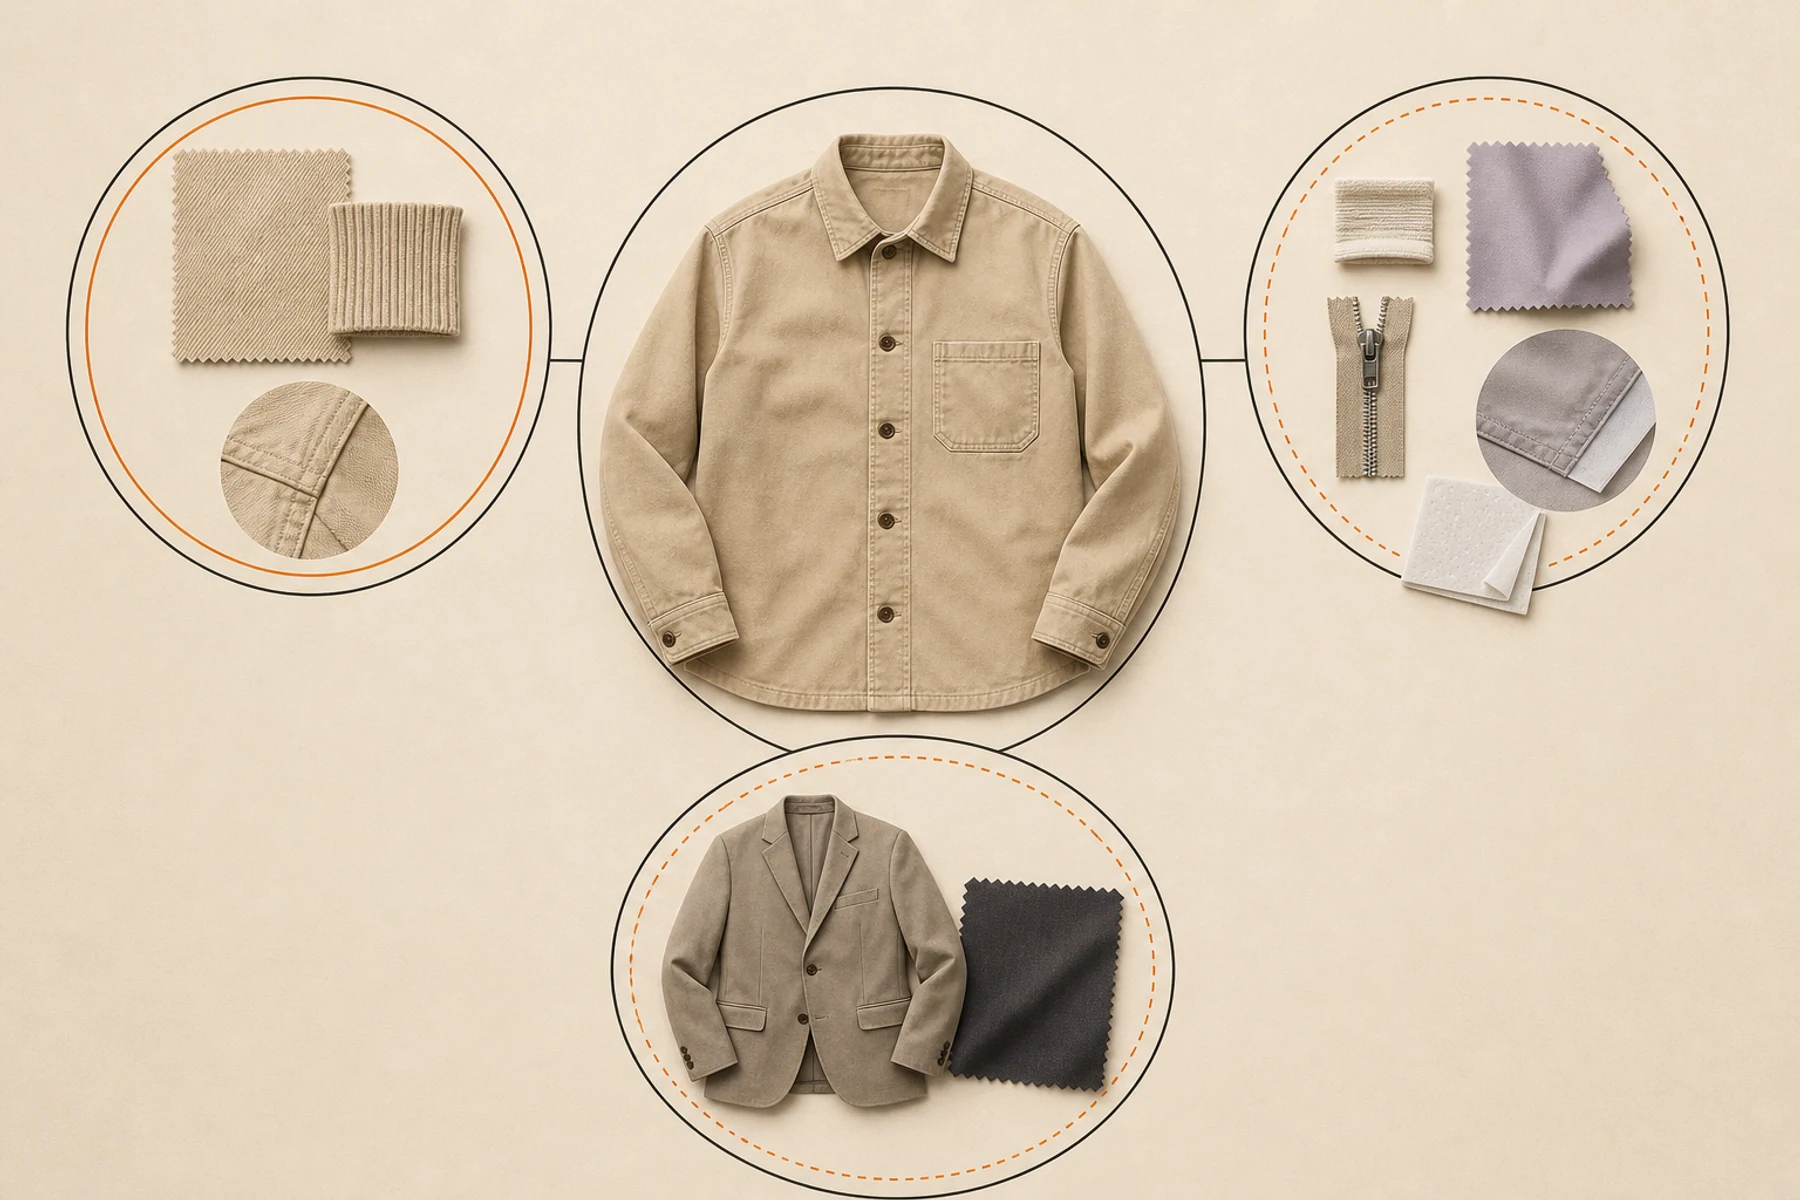
Good candidate
Known fibre and preparation, dye-compatible components, an intentional casual or tonal result, and approval after processing.
Hold and test
Mixed fibres, unknown finishes, elastane, lining, interlining, zips, metal, elastic, decoration, heavy layers or fitted measurements.
Compare another route
Use another colour stage when the surface must remain pristine, colour must be approved before cutting, or shaped resist is the real target.
Best for
- Dye-ready cotton or cellulosic casual garments whose complete component list can be checked before sewing.
- Collections that benefit from deciding colour quantities after the undyed garments have been made.
- Projects that can approve the processed garment, a physical shade range and finished measurements.
Hold when
- A structured, padded, bonded or heavily interfaced garment has not passed a complete-style wet-process trial.
- Mixed fibres, thread, rib, pocketing, zips, labels or trims must match exactly but their dye response is unknown.
- The target requires a pristine untouched surface, zero shade tolerance or unchanged measurements.
Approve by
- A complete component audit before sewing.
- An actual-material, complete-garment process sample.
- A physical colour standard with an agreed shade range and component contrast.
- A finished-garment measurement and appearance record after the full dye, rinse, dry and finishing route.
COLOUR STAGE
Choose the colour stage before the process.
Garment dyeing applies colour after cut-and-sew.
Garment washing can change hand, shrinkage, abrasion or colour loss after the main fabric colour already exists.
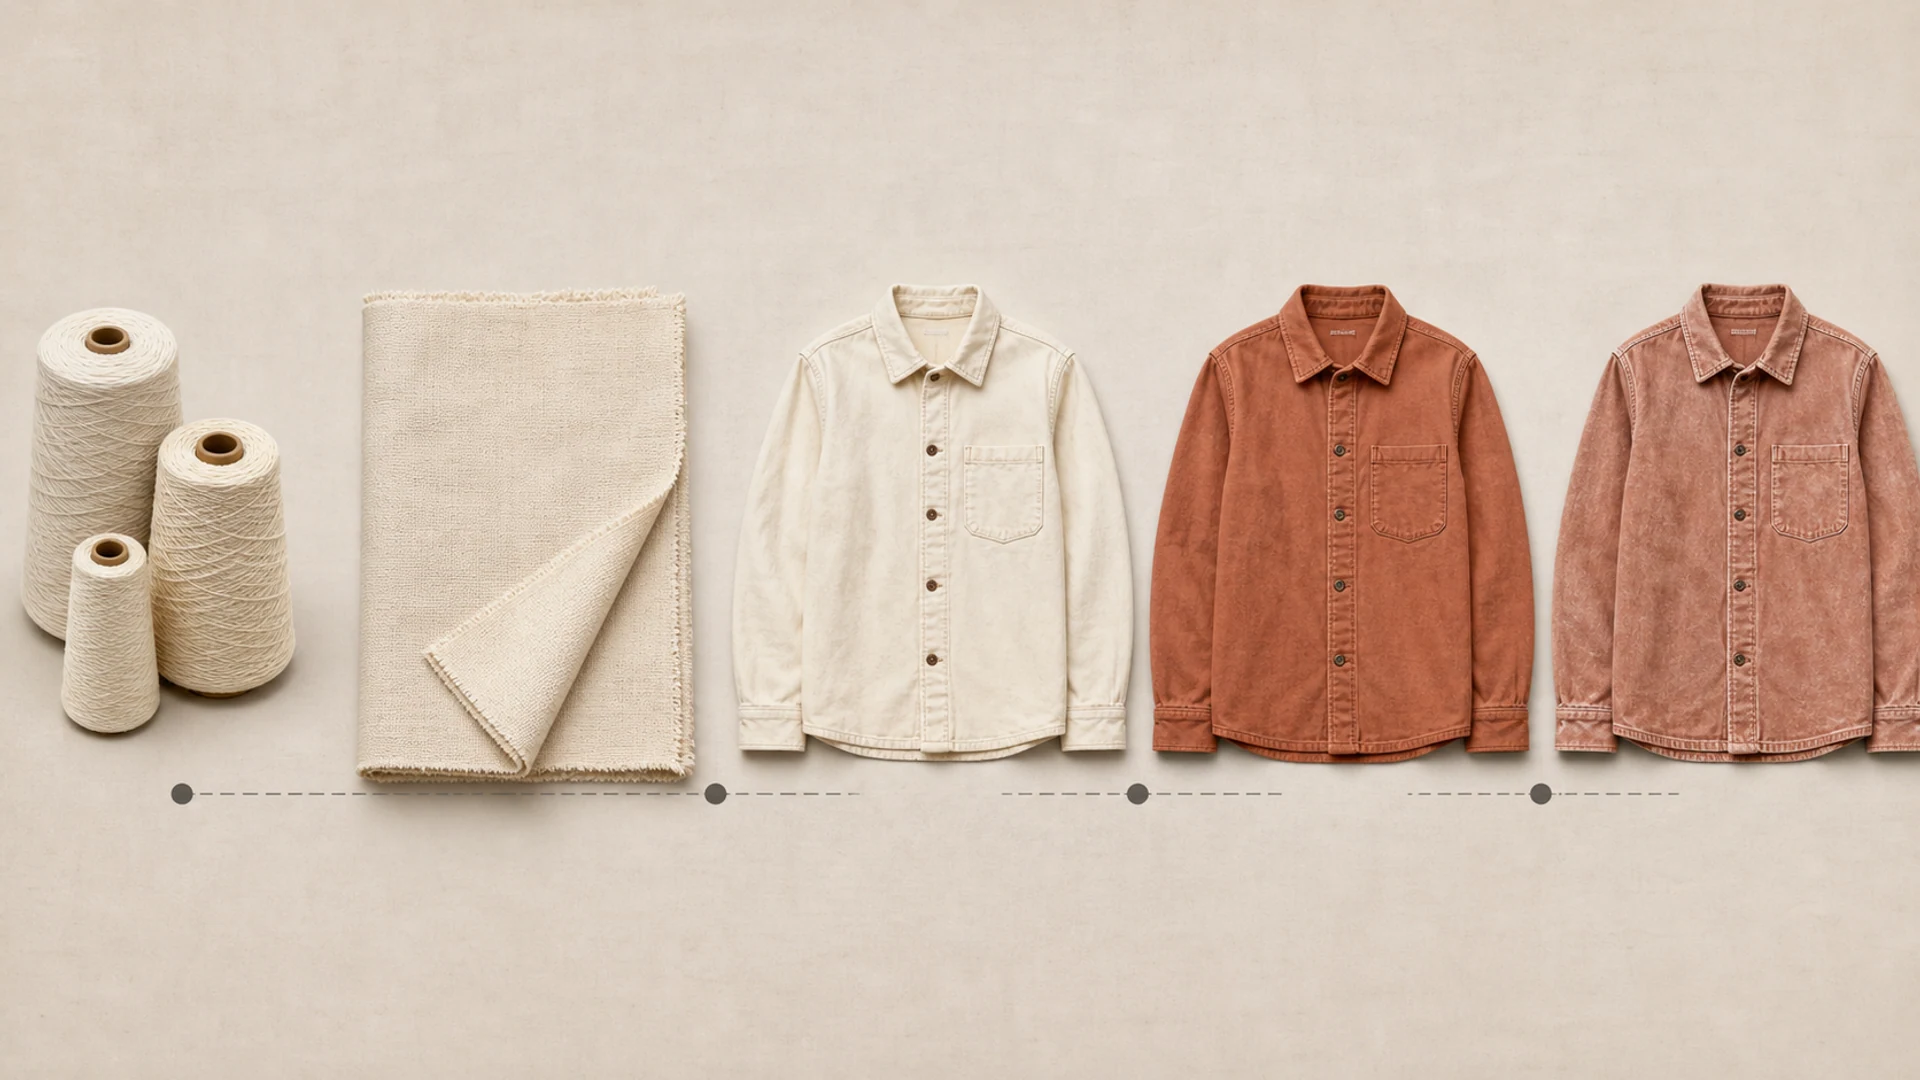
- 01
Yarn dyed
Approve yarn colour and the later knitted or woven pattern.
- 02
Piece dyed
Approve the fabric lot before thread and trims are added.
- 03
Garment dyed
Approve complete-garment colour, component interaction and finished measurements.
- 04
Garment washed
Approve hand, shrinkage, abrasion or intentional colour loss on an already coloured garment.
BATH-READY BUILD
Build every component for the bath.
The complete bill of materials enters wet processing together.
For each component, decide whether it should match, finish tonal, remain contrast or be added later.
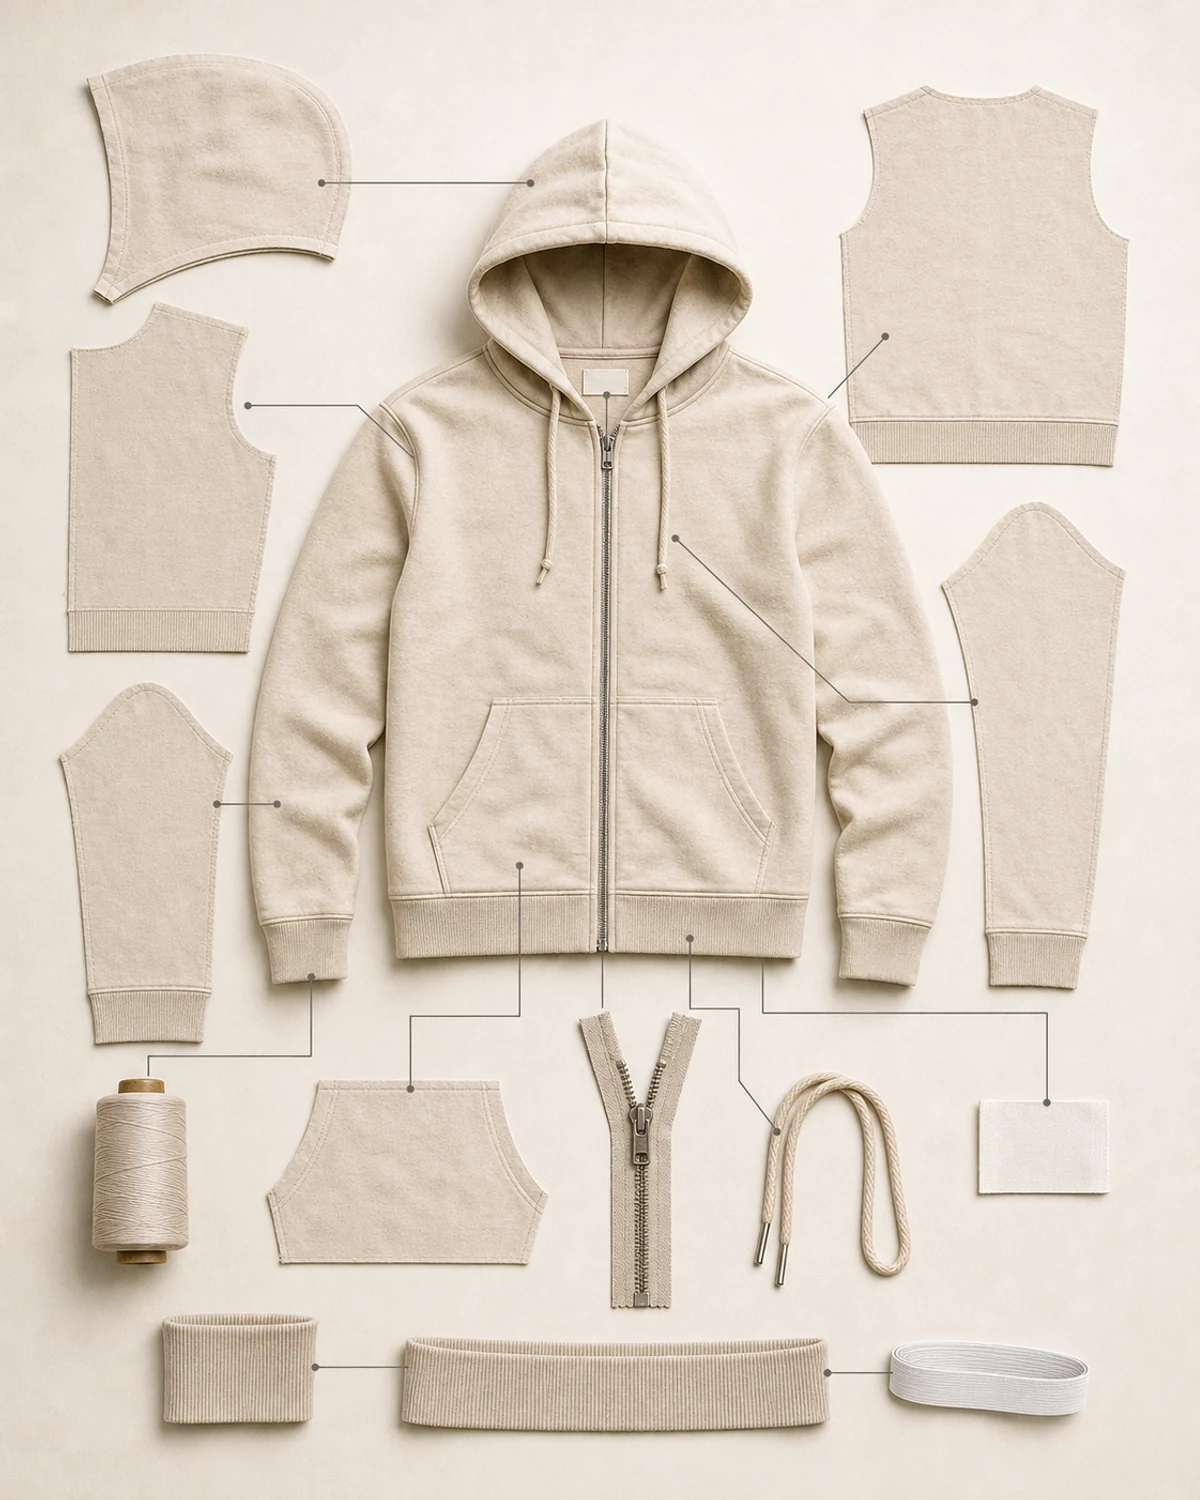
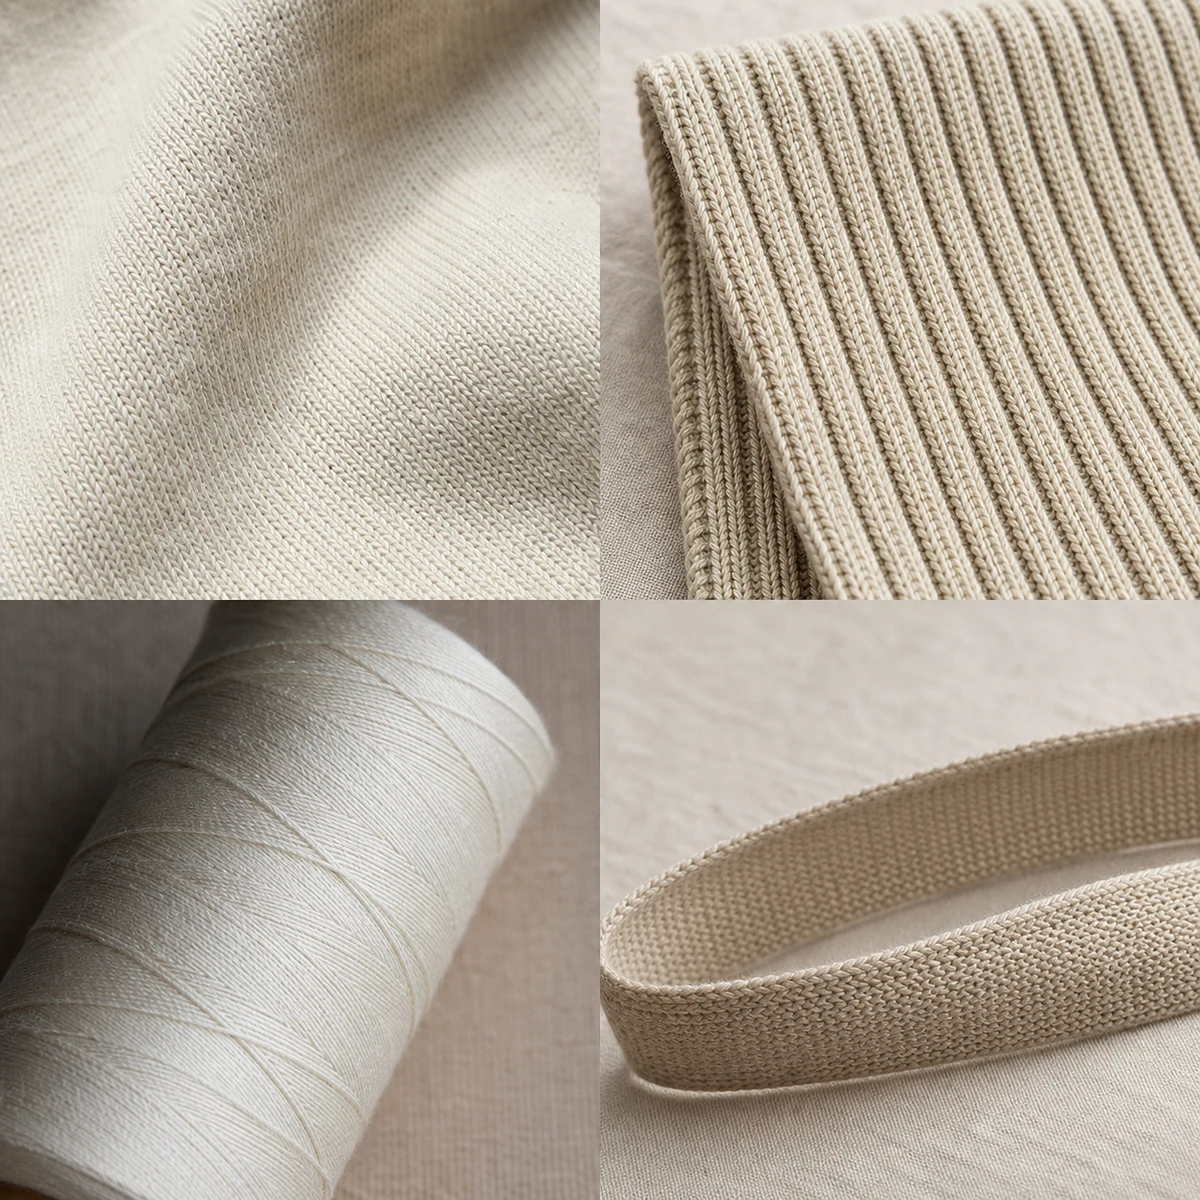
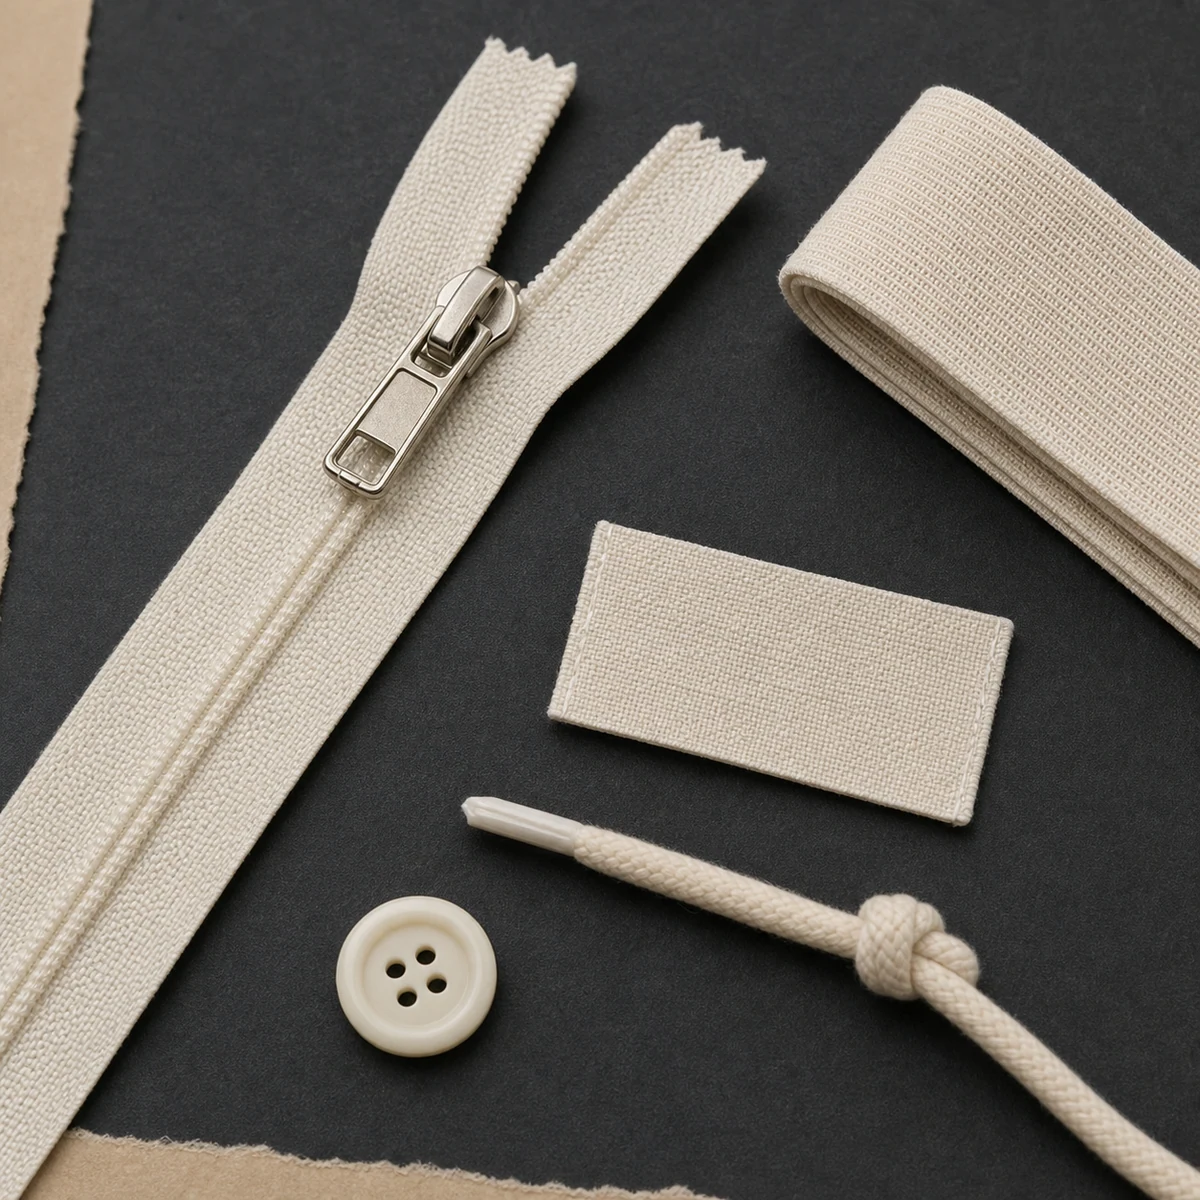
Shell
Confirm fibre, construction, weight, preparation, prior finish, shrinkage and torque.
Thread, rib and pocketing
Specify whether each part should match, finish tonal or remain deliberately contrasting.
Interlining and facing
Test matting, pilling, shrinkage, crumpling and complete-style shape after processing.
Zip, hardware and labels
Test the exact part for colour response, staining, reaction, legibility and the correct point of attachment.
Elastic, drawcord and decoration
Approve recovery, shrinkage, heat and chemical tolerance, colour intent and order of operations.
ROUTE SELECTOR
The garment stage is fixed. The dye route is not.
Identify the fibre, preparation and prior finish before discussing a route.
The dyehouse must confirm the actual chemistry, equipment and complete-garment limits for the project.
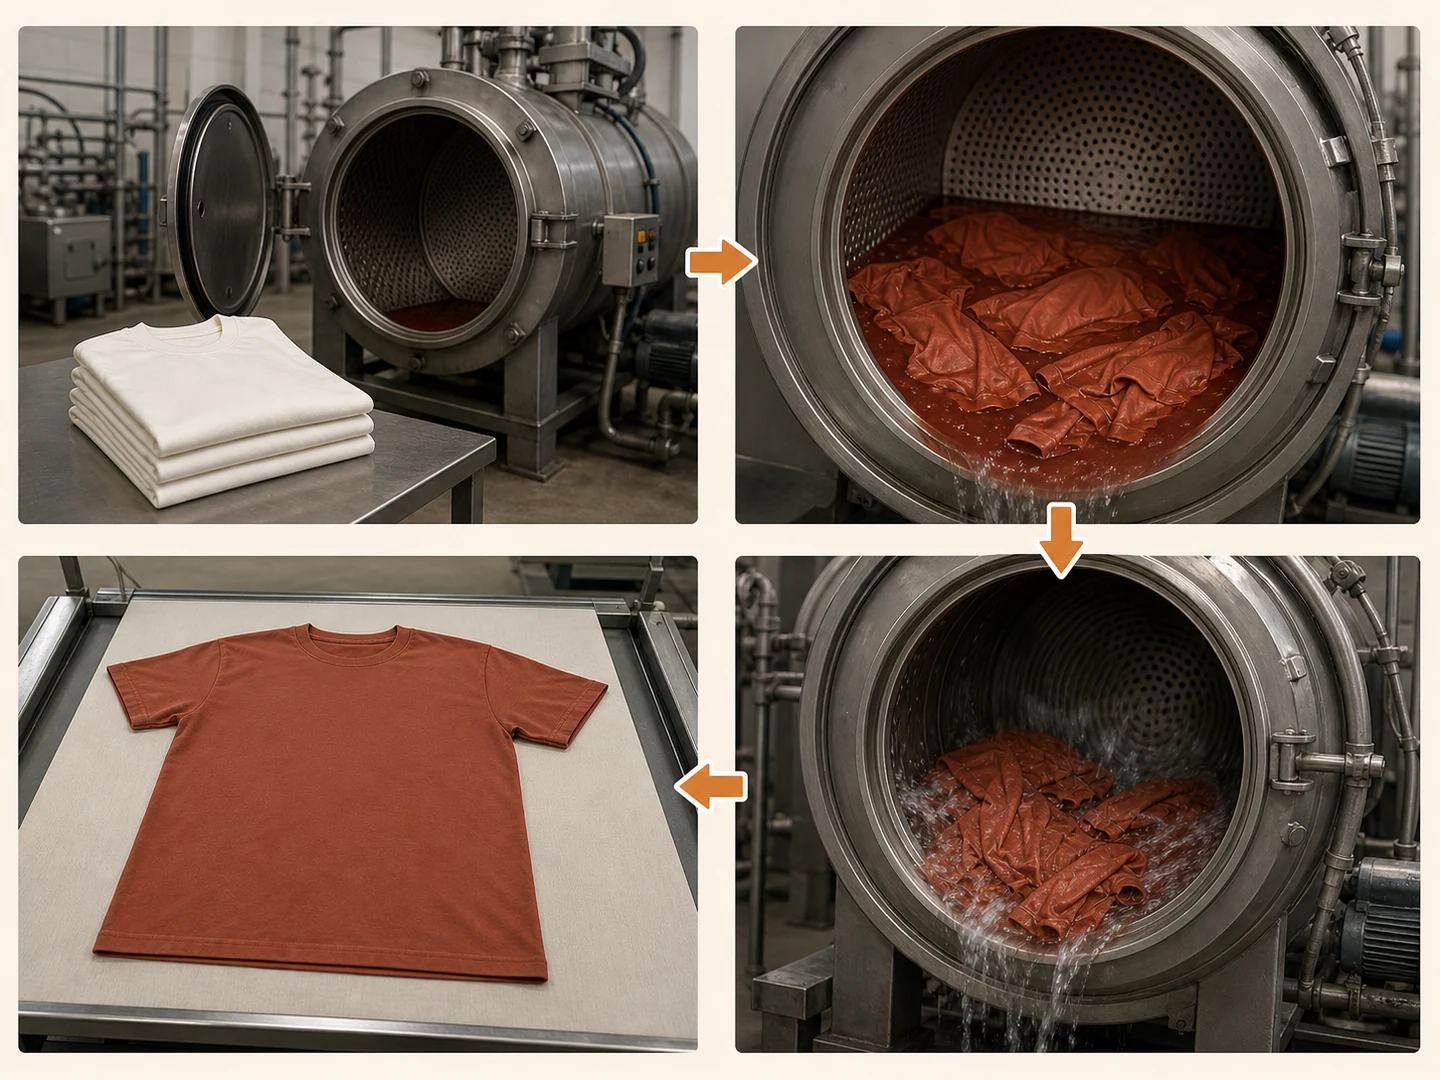
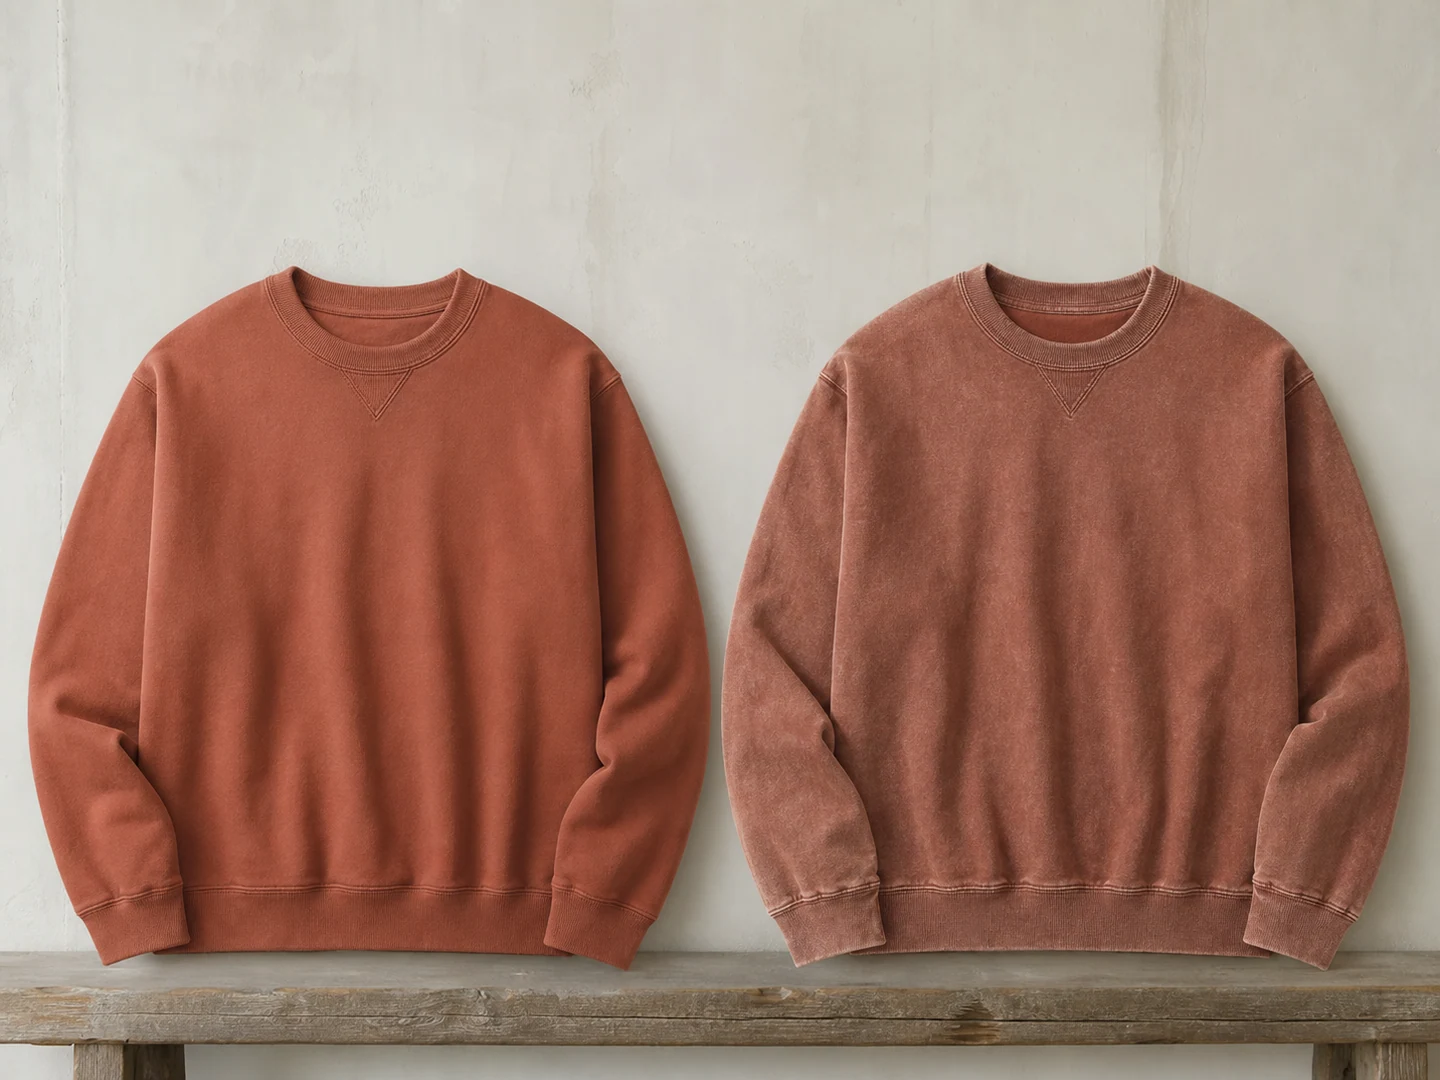
Prepared cotton or cellulosic
Confirm the exact cotton or reactive route, physical shade, preparation, fixation, wash-off and tests.
Pigment-style surface
Approve weathered character, binder-related hand, shade range and dry and wet rubbing separately.
Blend or stretch
Approve intended tonal contrast, safe heat history, dimensional movement, stretch and recovery.
Polyester or polyester-rich
Confirm supplier capability, specialised equipment, the actual dye route, trims and complete-style tolerance.
Unknown material or finish
Identify and trial the material before quoting a route.
PROCESS PATH
From PFD garment to released bulk.
A useful process path starts before sewing and ends after shade sorting and finished measurement.
No one temperature, recipe, liquor ratio or shrinkage value applies to every material and style.
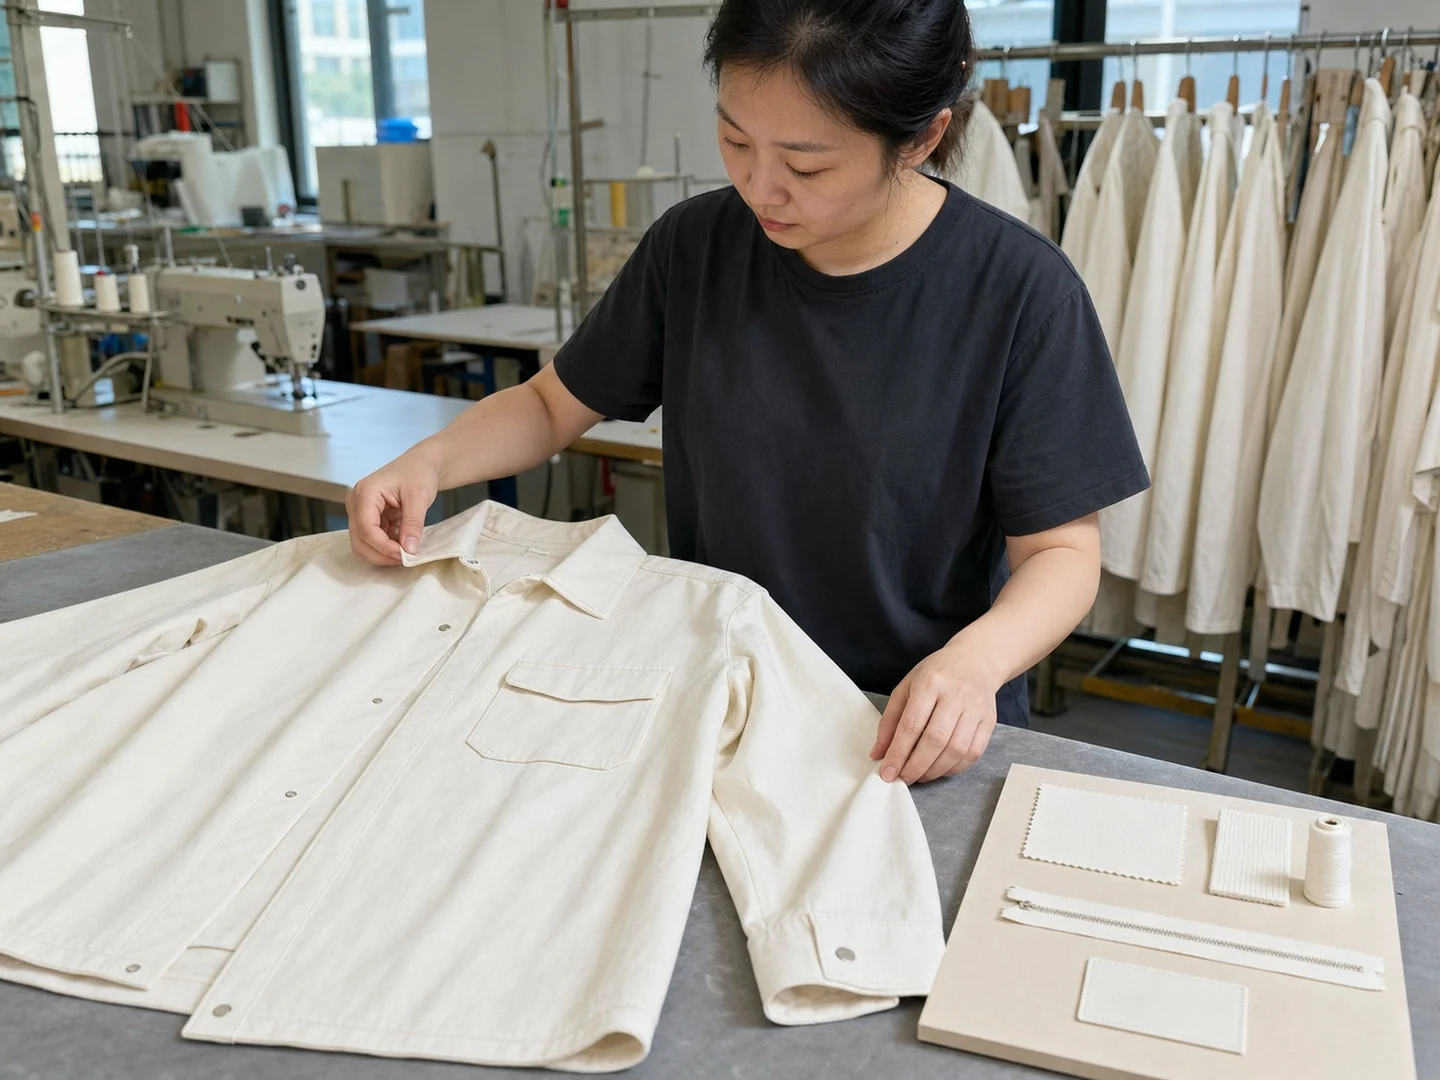
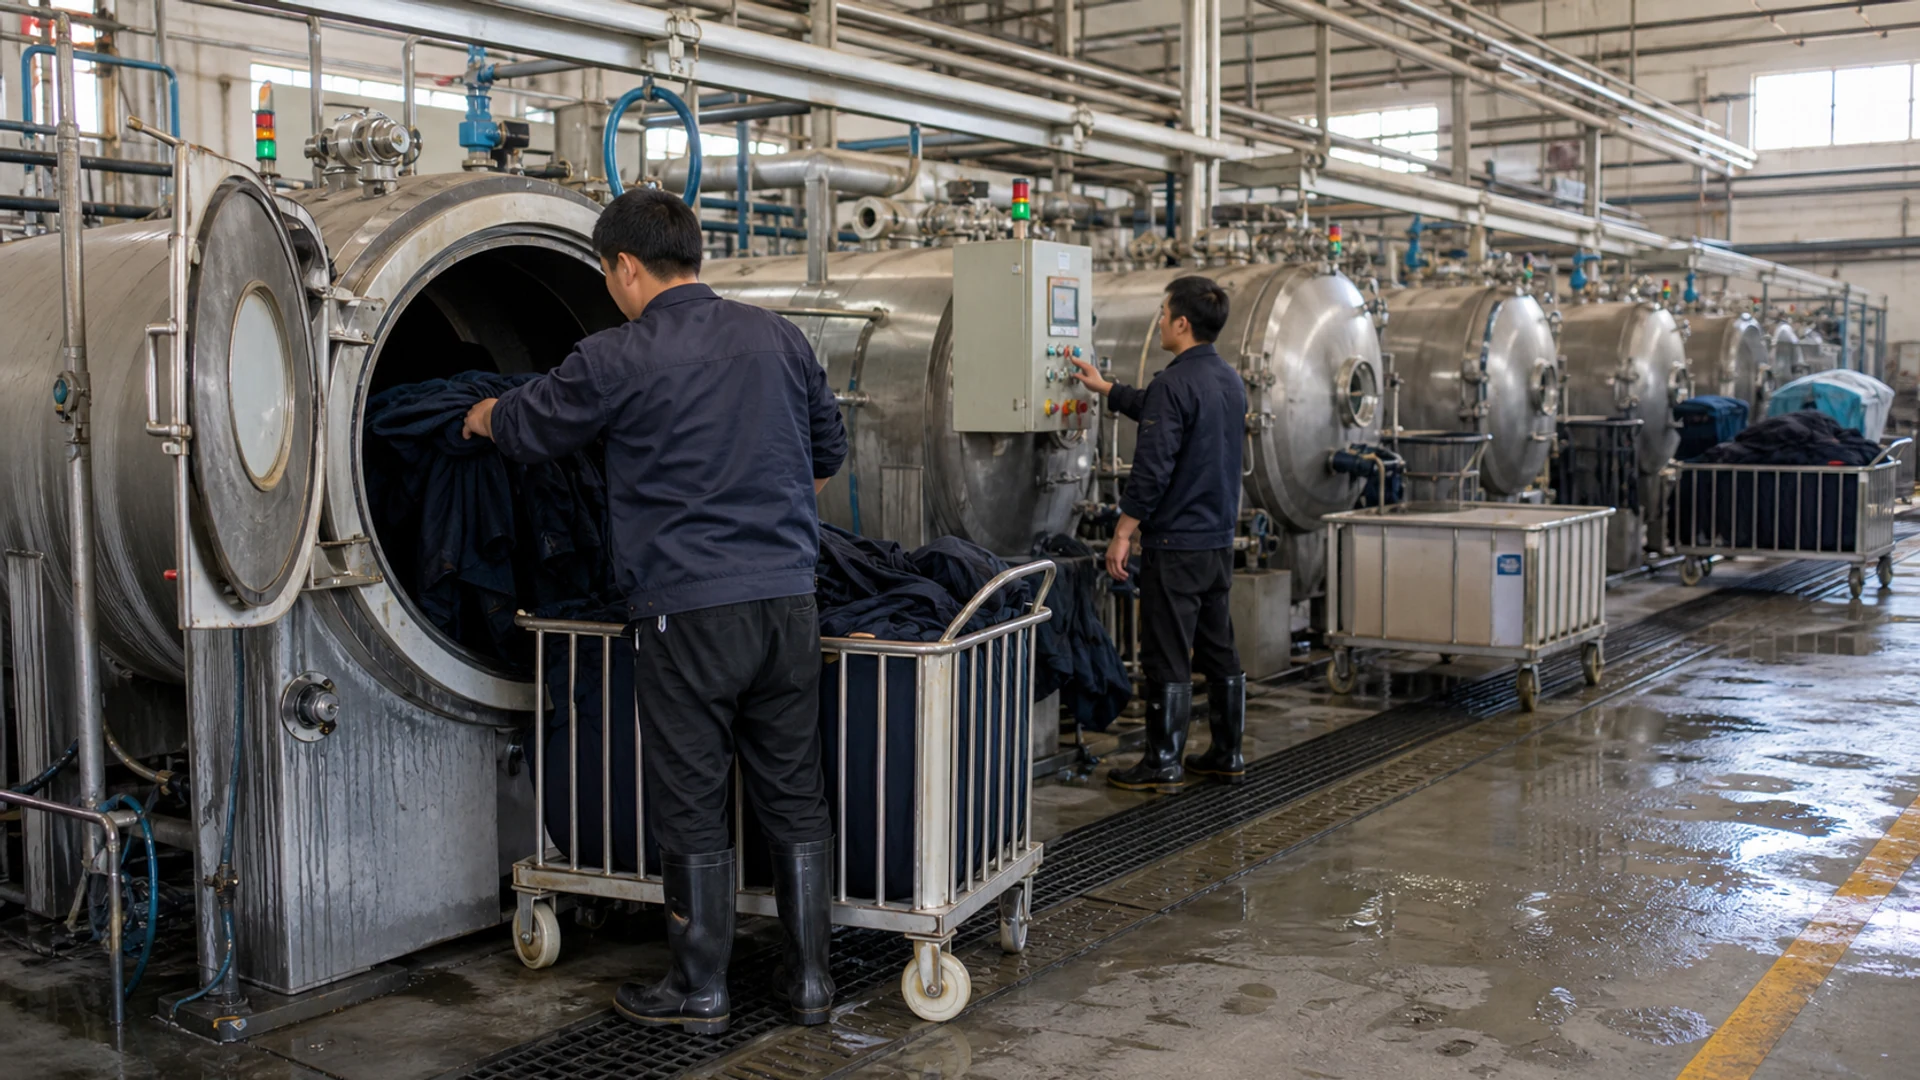
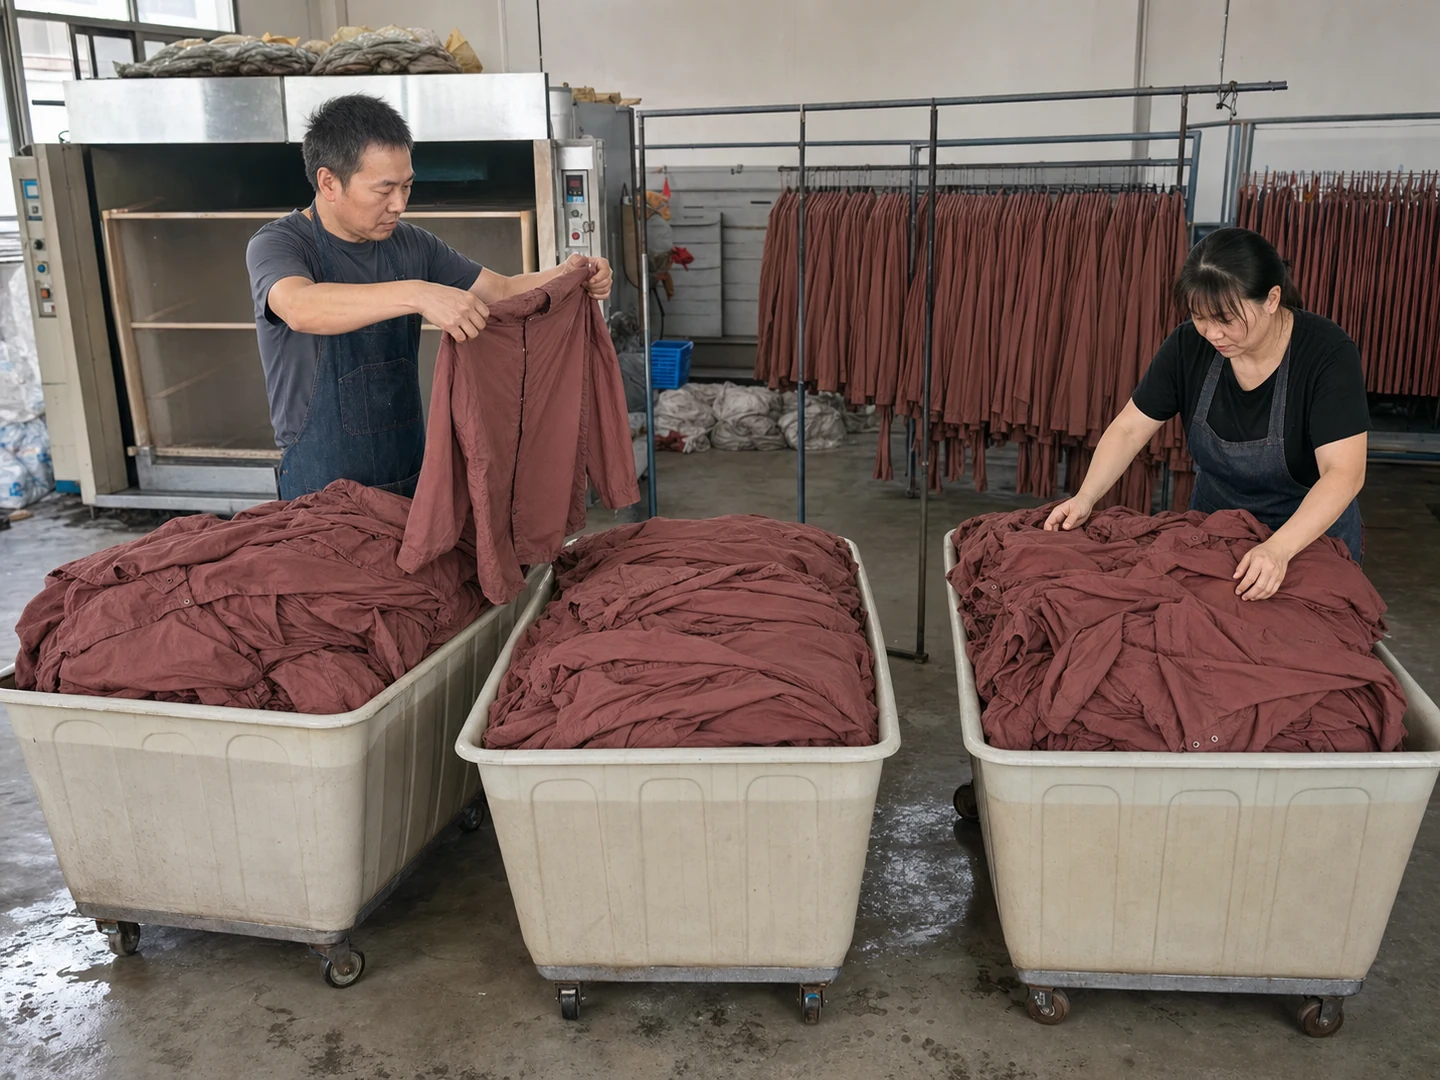
- 01
Define the target
Lock style, quantity by colour, physical reference, intended surface, care and tests.
- 02
Engineer the PFD garment
Lock preparation, component intent, seam settings and pre-process measurements.
- 03
Run the garment trial
Use actual material and complete components through a recorded sample route.
- 04
Dye, rinse and neutralise
Use the controlled route selected for the actual fibre, shade, garment and equipment.
- 05
Extract, dry and finish
Use the approved dry route and recheck hand, surface and dimensions.
- 06
Sort, measure and release
Check shade, component match, measurements, torque, seams, hardware, labels and agreed tests.
TRADE-OFFS
Why use it — and what it changes.
Later colour allocation can be commercially useful, but it does not remove material, style or machine constraints.
Every finished garment already contains sewing value before it enters wet processing.
Decide colour quantities later
The actual minimum still depends on style, material and machine or load feasibility.
Split a prepared base into colour lots
Wet-process rejection happens after cutting, sewing and component value have been added.
Create tonal component effects
The same fibre differences can also create an unintended mismatch.
Achieve a relaxed colour character
That surface may be wrong for a pristine, crisp or structured target.
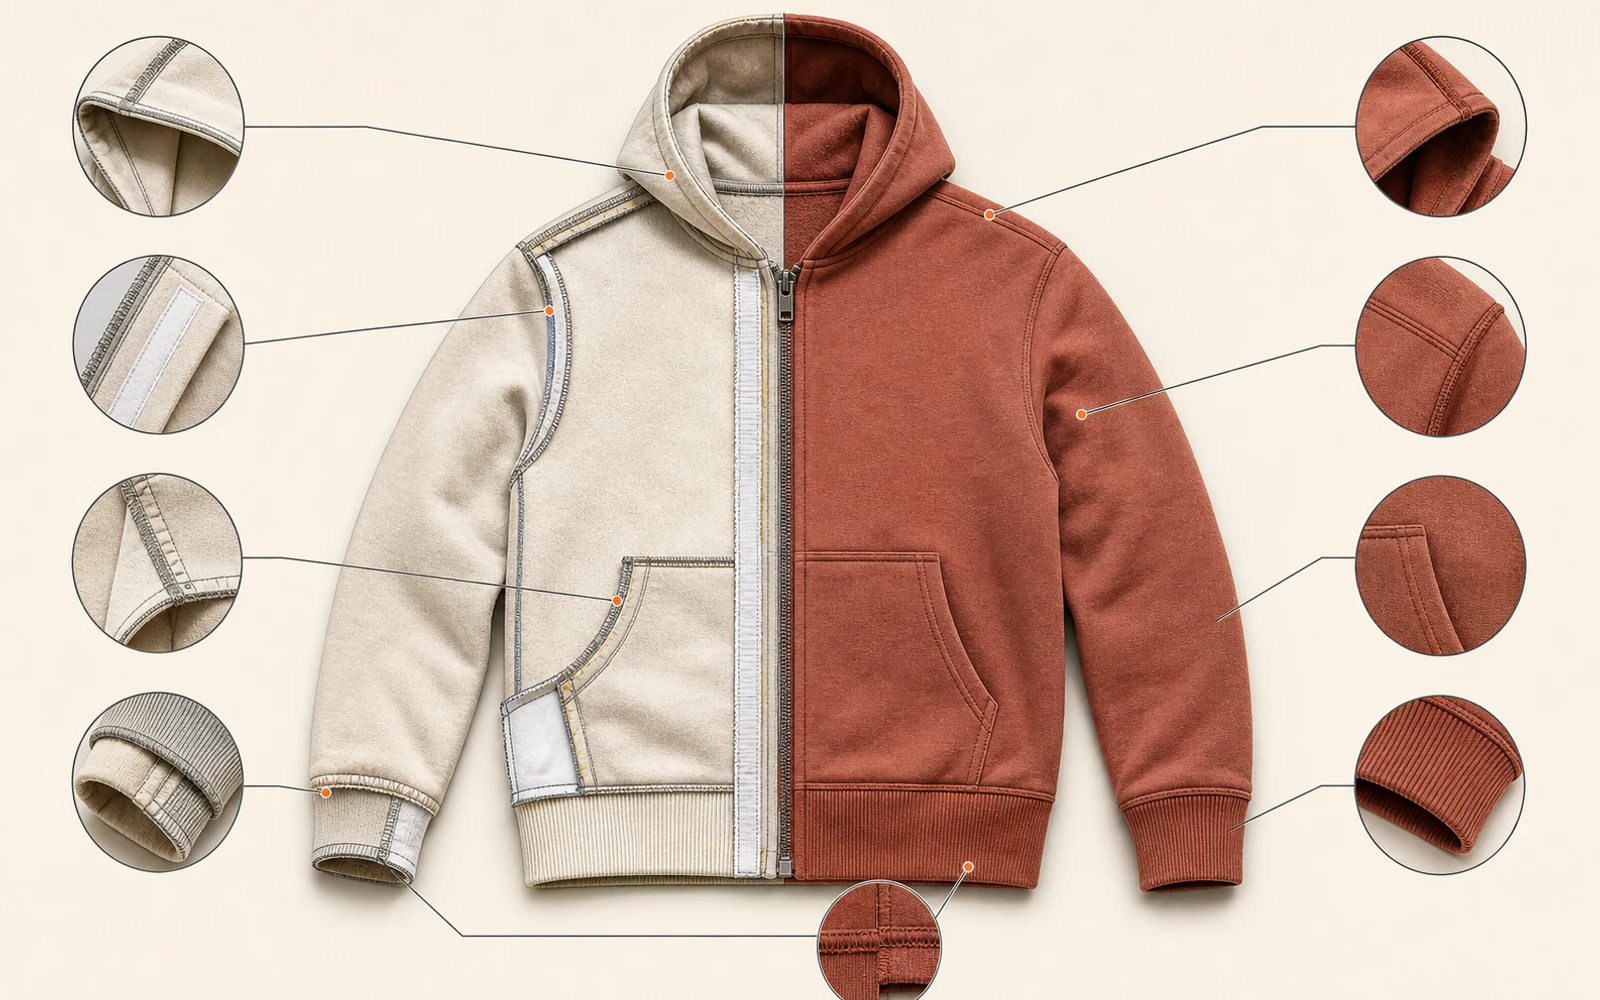
CONSTRUCTION MAP
The colour follows the construction.
The dye bath reaches a complete three-dimensional garment, not a flat colour swatch.
Approve construction high and low, tonal contrast and unacceptable defects on the actual processed style.
Side seam
Check pucker, torque, straightness and thread appearance after full drying.
Pocket and double layer
Separate acceptable construction high and low from accidental resist patches.
Rib and binding
Approve a match, tonal range or deliberate contrast.
Waistband and interlining
Check internal shrinkage, crumpling, matting, shape and final measurement.
Zip and hardware
Check the exact component for tape mismatch, staining and finish change.
DUAL APPROVAL
Approve colour and finished size separately.
A lab shade is a colour direction, not proof of complete-garment behaviour.
Use a production-representative first-off to compare colour, component response and finished measurements before bulk release.
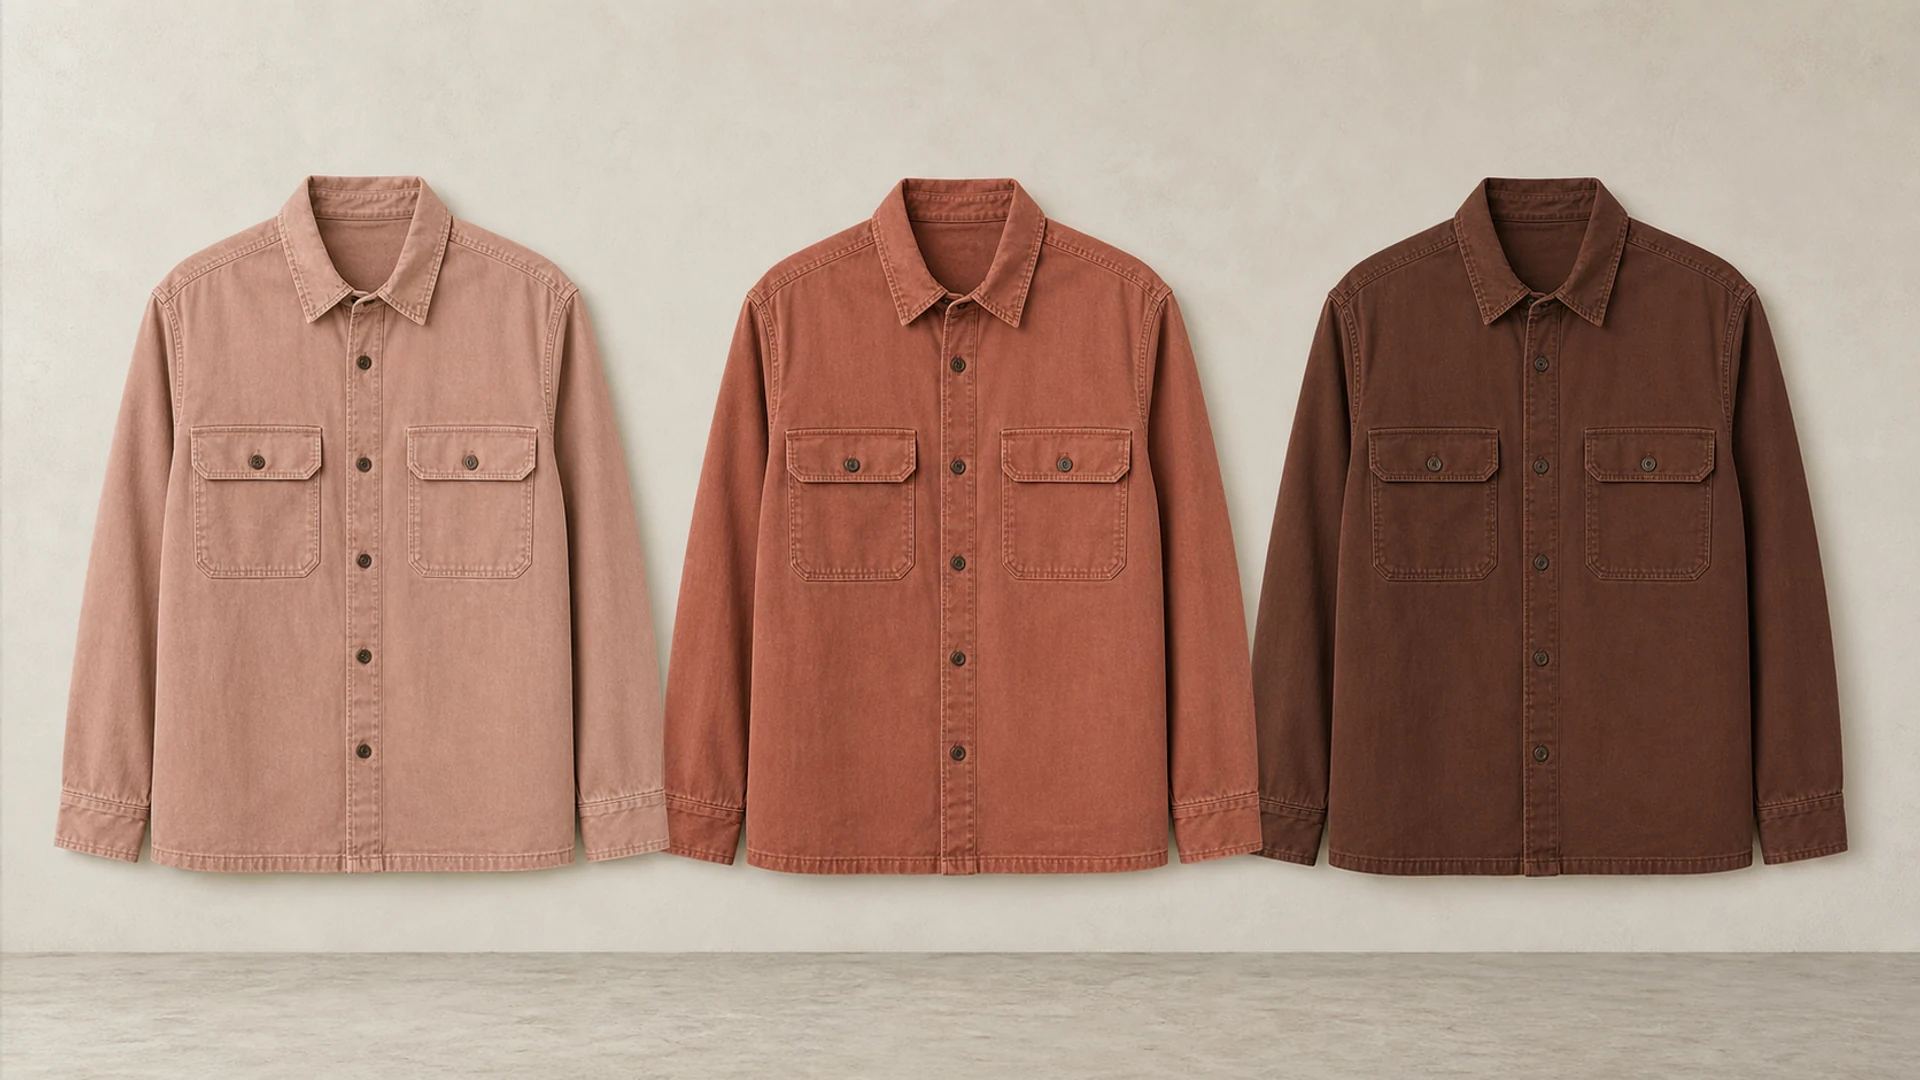
Colour record
Record the physical target, viewing light, accepted light-to-dark range, component contrast, construction boundary and shade-sort rule.
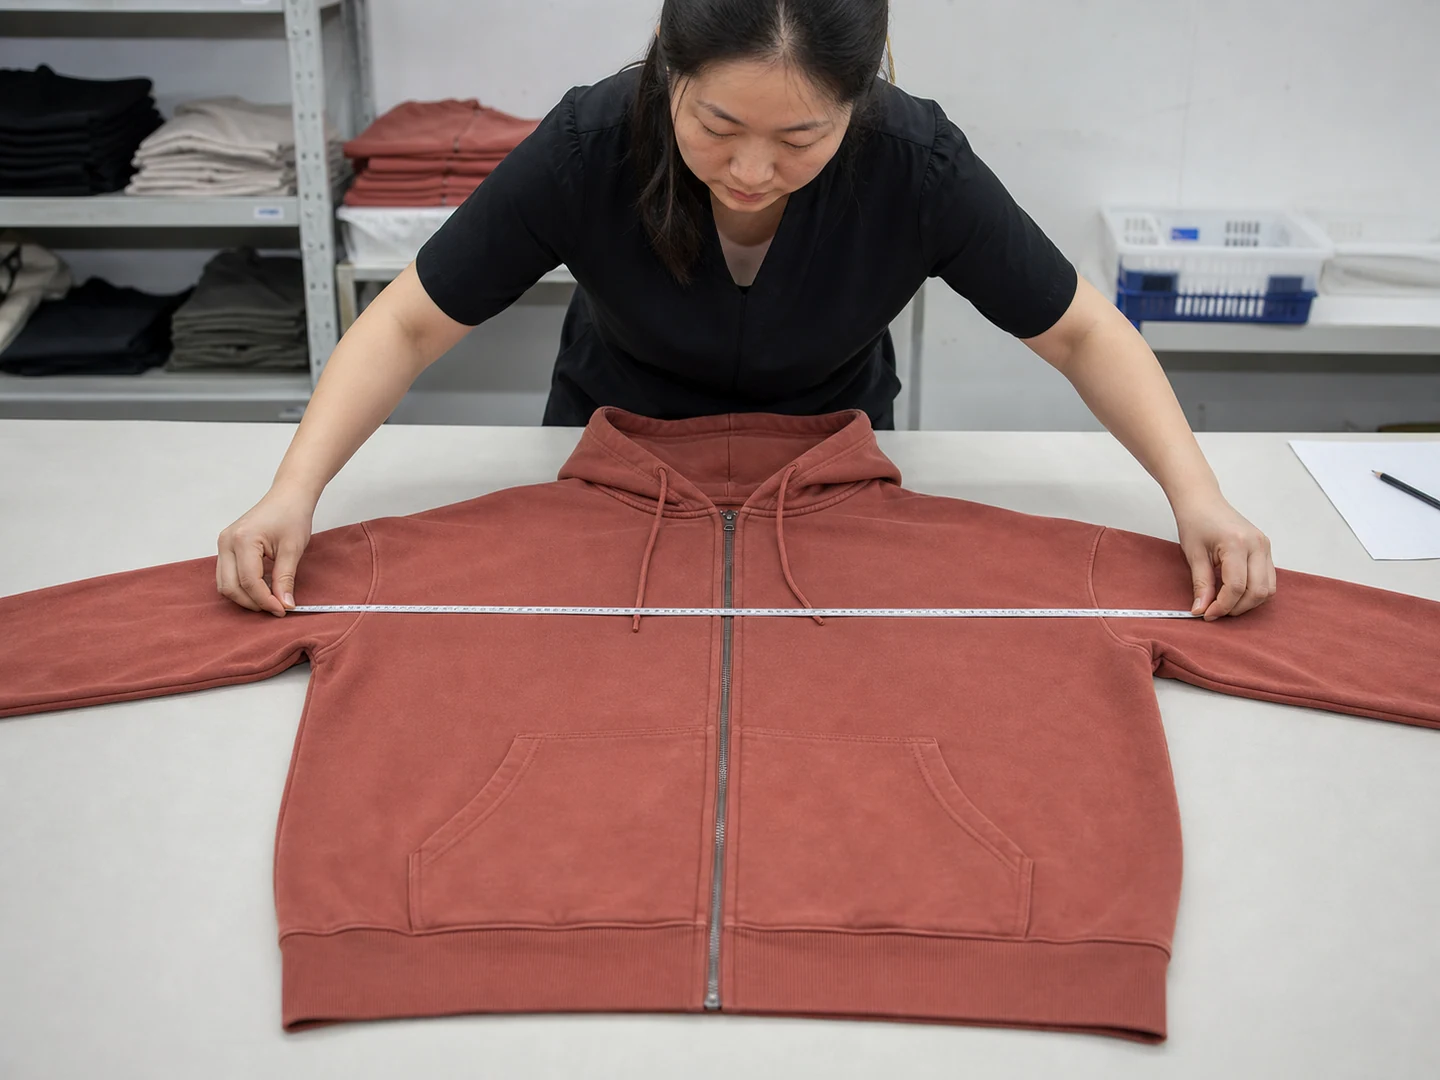
Finished-garment record
Record key measurements, torque, seam appearance, stretch or recovery, hardware, labels, hand, care and agreed tests.
STYLE COMPATIBILITY
Start with the garment structure.
A silhouette does not prove dye readiness.
Compatibility depends on the material, colour, stretch, structure, quantity, wet-process tolerance and the approved garment sample.
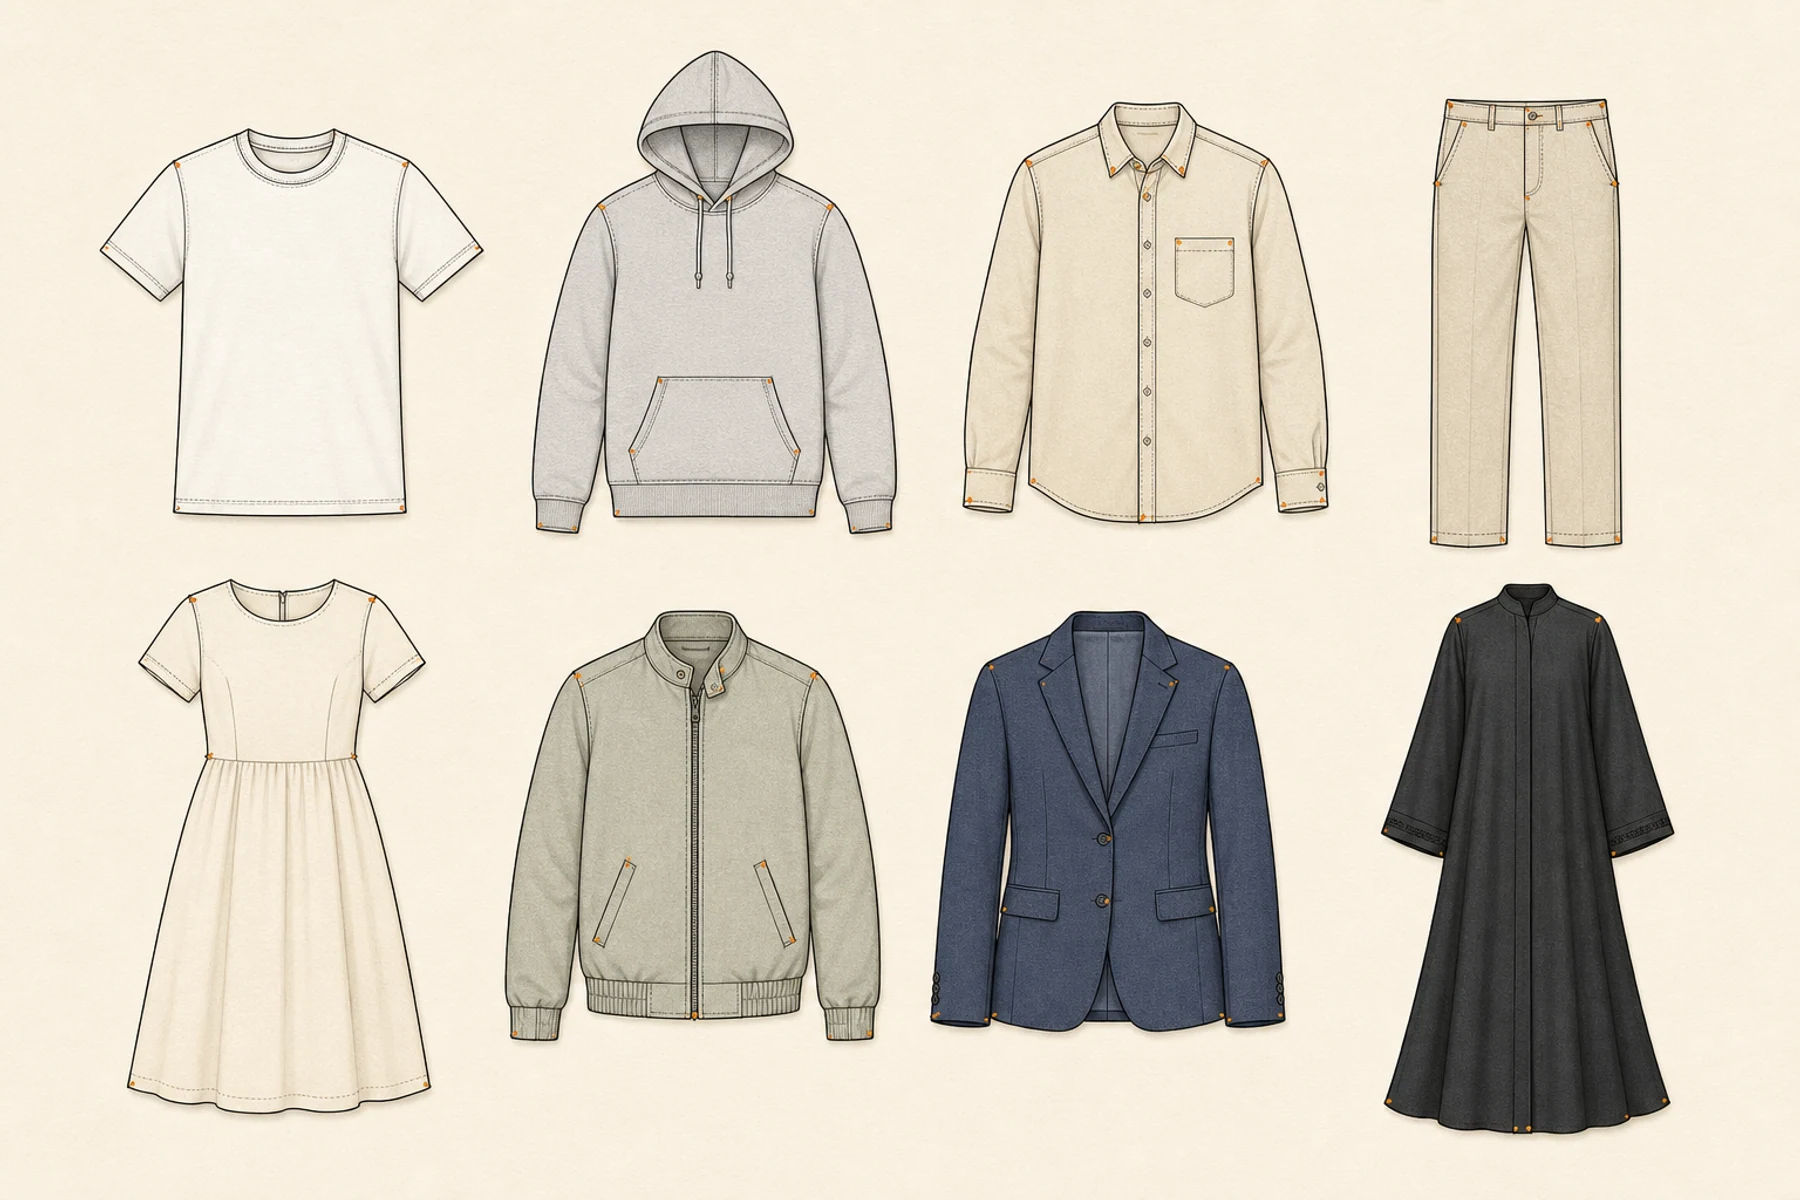
T-Shirts and hoodies
Check prepared jersey or fleece, torque, neck or waist rib, heavy layers, drawcord, drying and finished size.
Shirts and bottoms
Check seam pucker, collar or waistband structure, pocketing, elastic, drawcord and finished measurements.
Dresses and jackets
Check drape, length, lining, interlining, zips, hardware, thick seams and abrasion.
Blazers and coats
Treat tailoring, fusing, lining, padding, hardware, pressing and shape as a high-complexity complete-style trial.
Abaya
Confirm the actual fibre, drape, length, embellishment, embroidery, trim and colourfastness rather than inferring suitability from the silhouette.
SAMPLE TO BULK
The complete garment is the real sample.
A flat lab trial cannot show every seam, trim, layer and finished measurement.
Use the actual-material complete garment and a production-correlated route for the release decision.
- 01
Material and component audit
Record every shell, sewing, internal, trim and decoration component.
- 02
Colour-route trial
Set shade direction and route family without treating a flat trial as complete-garment proof.
- 03
Complete-garment sample
Process the actual construction and components through the intended wet and dry sequence.
- 04
Shade-and-size approval
Sign the physical shade, component contrast, finished measurements, seam, hand and care.
- 05
Production first-off
Compare the production-representative load and record with the signed approval.
- 06
Bulk record
Retain shade grouping, measurements, defects, agreed test results and the approved reference.
DIAGNOSTIC BOARD
If the result moves, identify what moved.
Judge each defect against the signed shade, component and finished-garment records.
Do not use one generic pass grade for every colour, material, care route or destination market.
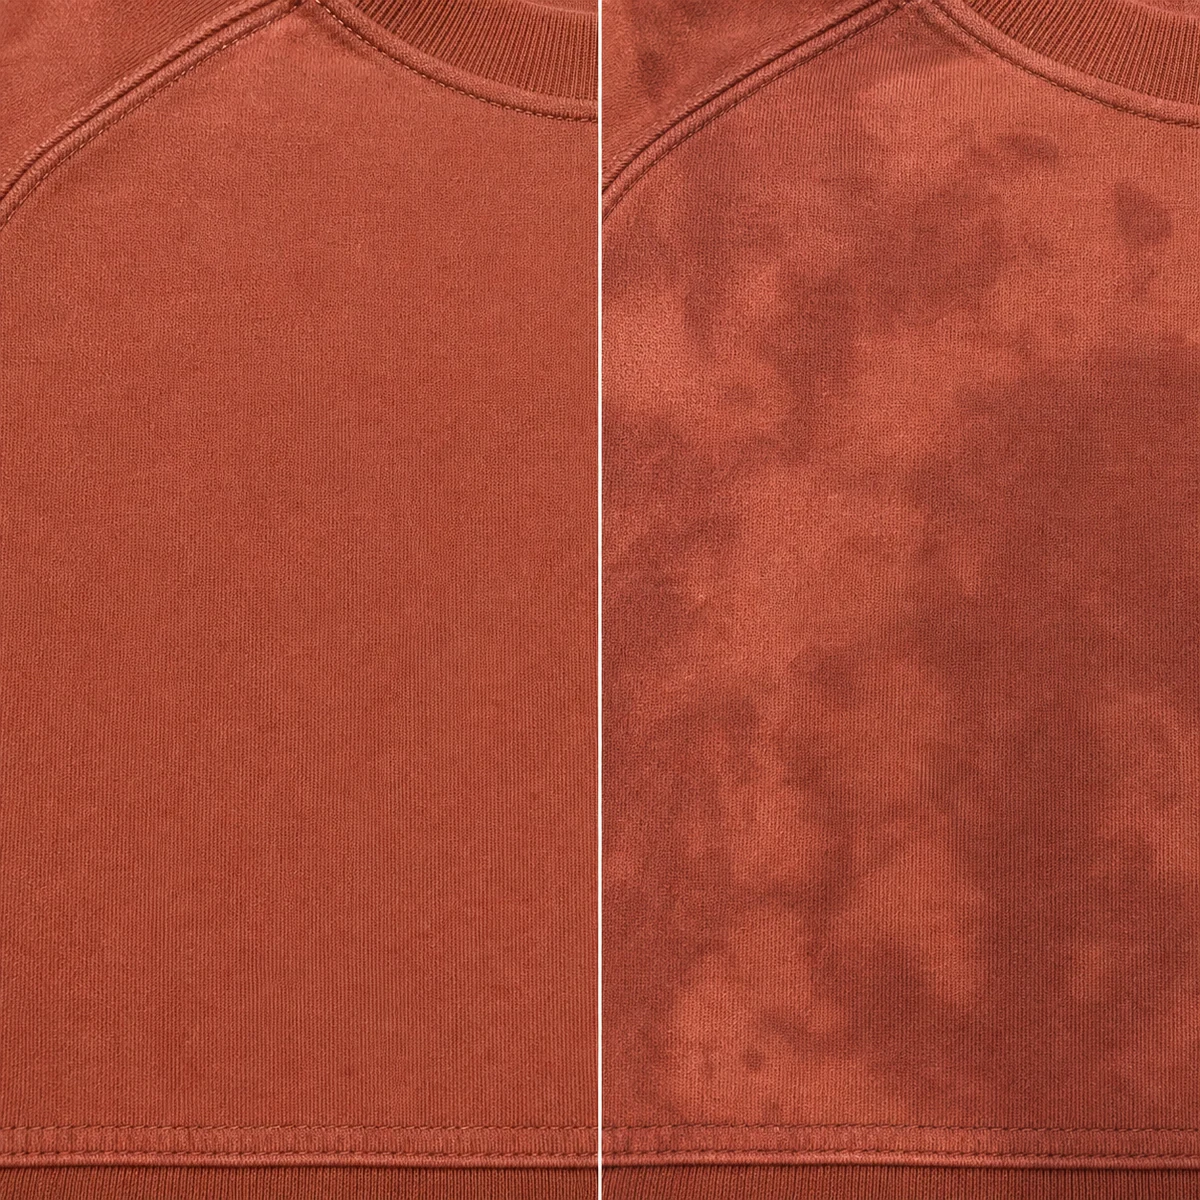
Unlevel shade
Review preparation, wet-out, water, load, movement, additions, machine cleanliness and shade sorting.
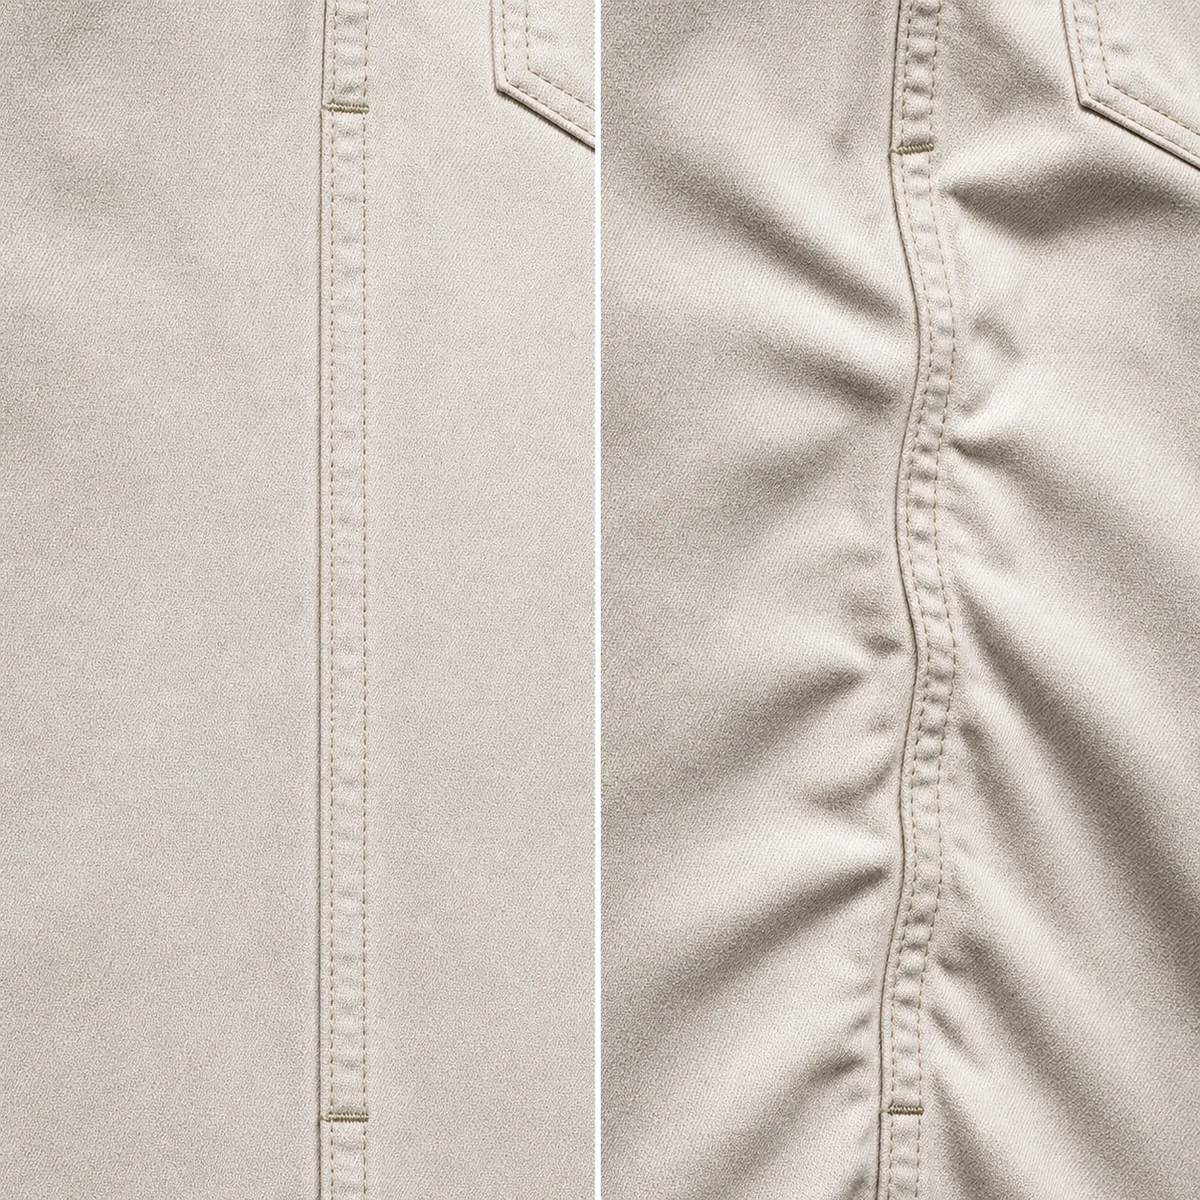
Seam pucker or size drift
Review residual shrinkage, thread and fabric interaction, dry route, stretch history and post-process measurements.
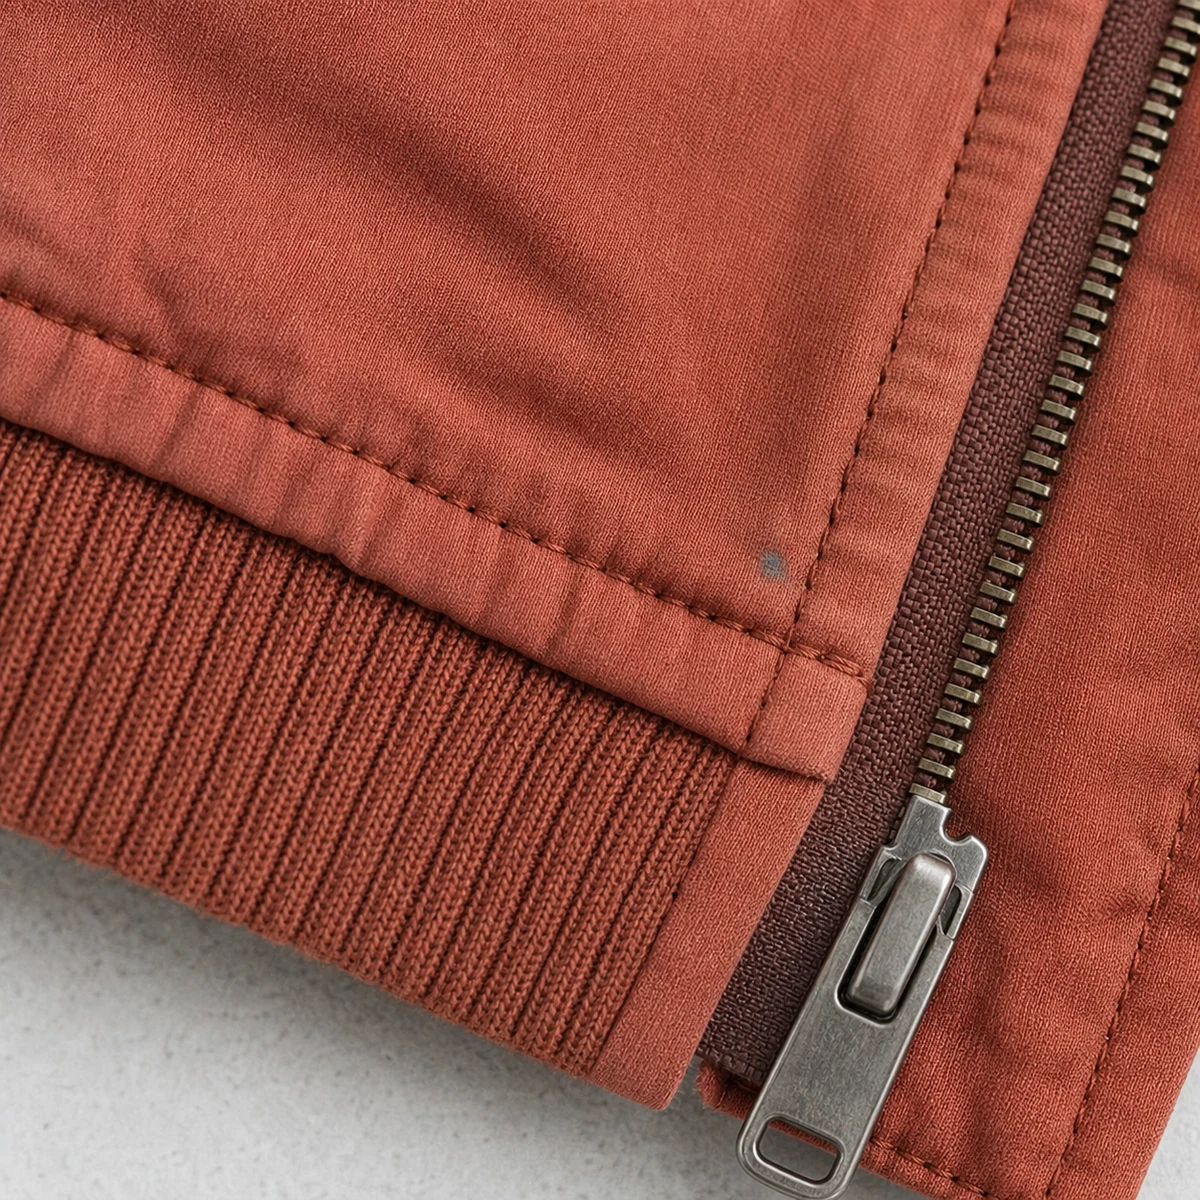
Component mismatch or staining
Review exact fibre, finish, component chemistry, attachment sequence and the processed component sample.
Fastness and pH
Agree the applicable rubbing, wash, staining and pH methods, care conditions and limits before testing.
BUYER FAQ
Questions before you garment-dye a style
Approve the complete processed garment, not a process name or a screen colour.
Every route remains conditional on the actual material, components, shade, equipment and sample.
01Is garment dyeing the same as garment washing?+
No. Garment dyeing applies the garment's colour after sewing. A garment wash may soften, pre-shrink, abrade or remove colour that already exists.
02Can every garment be garment dyed?+
No. Fibre, finish, construction, thread, rib, trims, elastic, hardware and the required process must all be compatible.
03Will thread and rib match?+
Only if their fibre and treatment are selected for that result. Approve the actual seam and rib on the complete garment.
04Can you match a Pantone colour?+
Use a physical reference to set the target and approve the processed garment against an agreed shade tolerance.
05Will the finished size change?+
It can. Approve length, width, torque, stretch and seam appearance after the full wet and dry process.
06Does garment dyeing reduce the MOQ?+
It can delay colour allocation, but material, style and machine limits remain. The usual MOQ is 100 pieces per style per colour, subject to material or specific-style variation.
07Is garment dyeing more sustainable?+
Not automatically. The actual machine, water, energy, chemistry, rework, wastewater and facility controls determine the impact.
08What must be approved before bulk?+
Approve the actual-material complete garment, physical shade range, component colour, finished measurements, seam, surface, hand, care route and agreed tests.
PROJECT BRIEF
Send the garment, material and colour details.
We confirm the dye route after reviewing the complete garment, material, components, shade and sample requirements.
Our usual MOQ is 100 pieces per style per colour. Material or a specific style may require a different minimum.
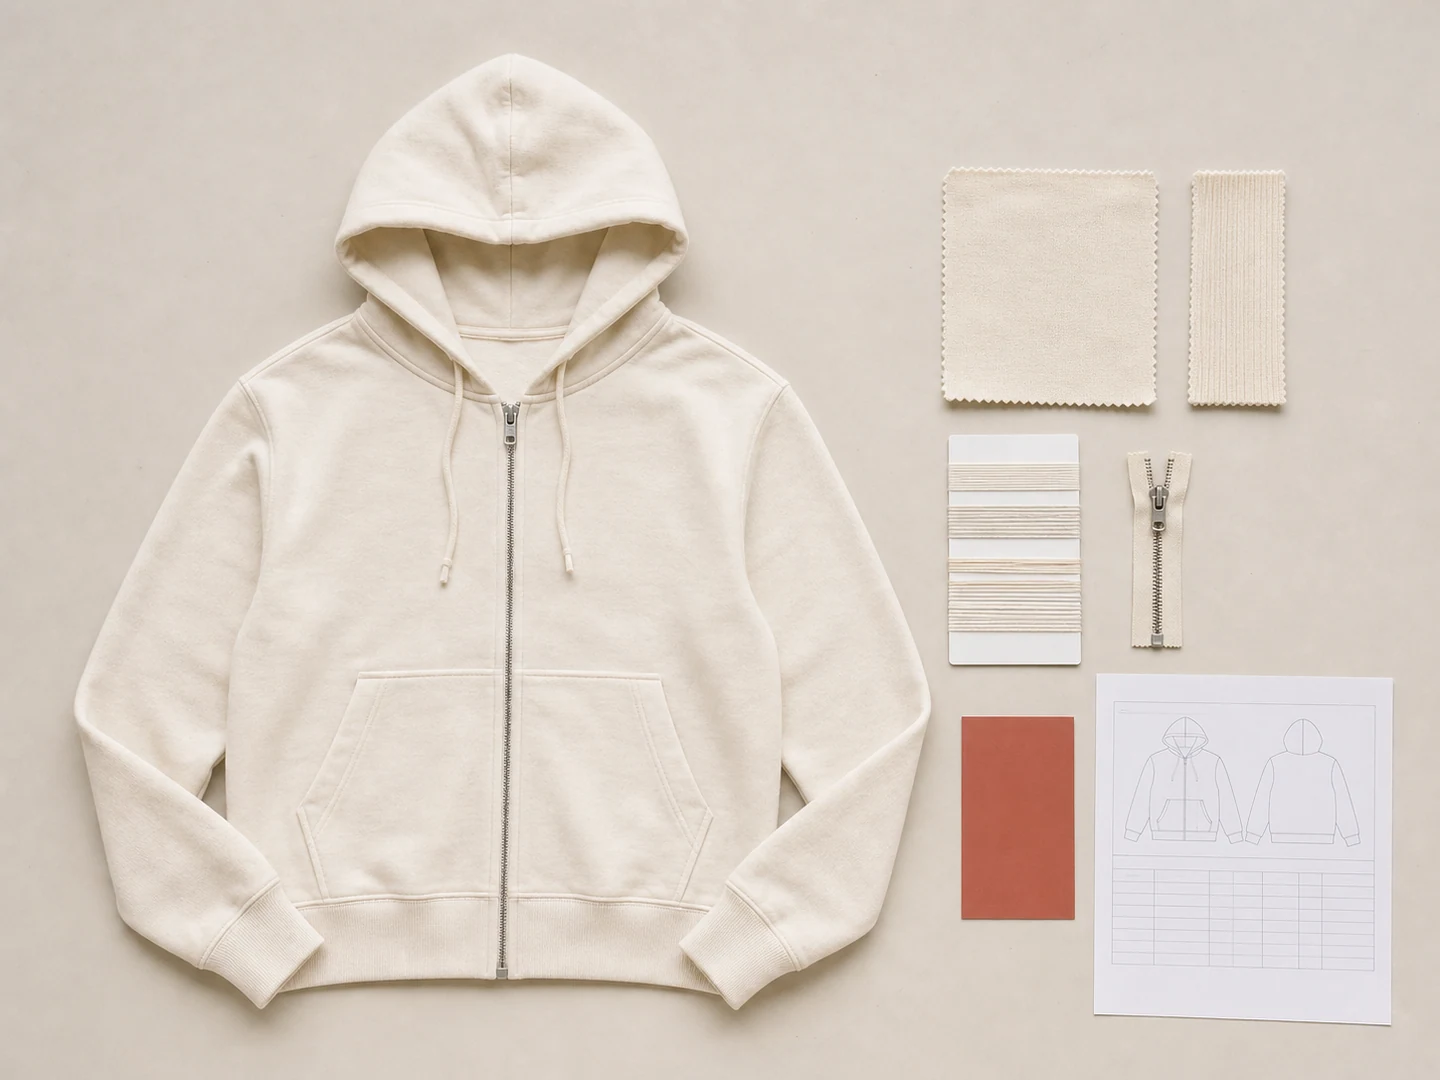
Garment
Garment type, tech pack or reference, construction notes and size range.
Material
Fibre composition, knit or woven construction, weight, preparation and prior finish.
Components
Thread, rib, pocketing, lining, interlining, zips, hardware, elastic, drawcord, labels and decoration, with match, tonal, contrast or add-later intent.
Colour and finish
Physical colour target, intended clean, tonal, pigment-weathered or overdye character, colour count and accepted component contrast.
Commercial and quality
Quantity per style and colour, delivery country, target date, finished tolerances and required tests.