ABRASION HAS A BUDGET
Stone Wash
Pumice-led tumbling removes surface fibre and colour. Stone grade, garment construction, load and motion must reach the worn look without crossing the strength or component limits.
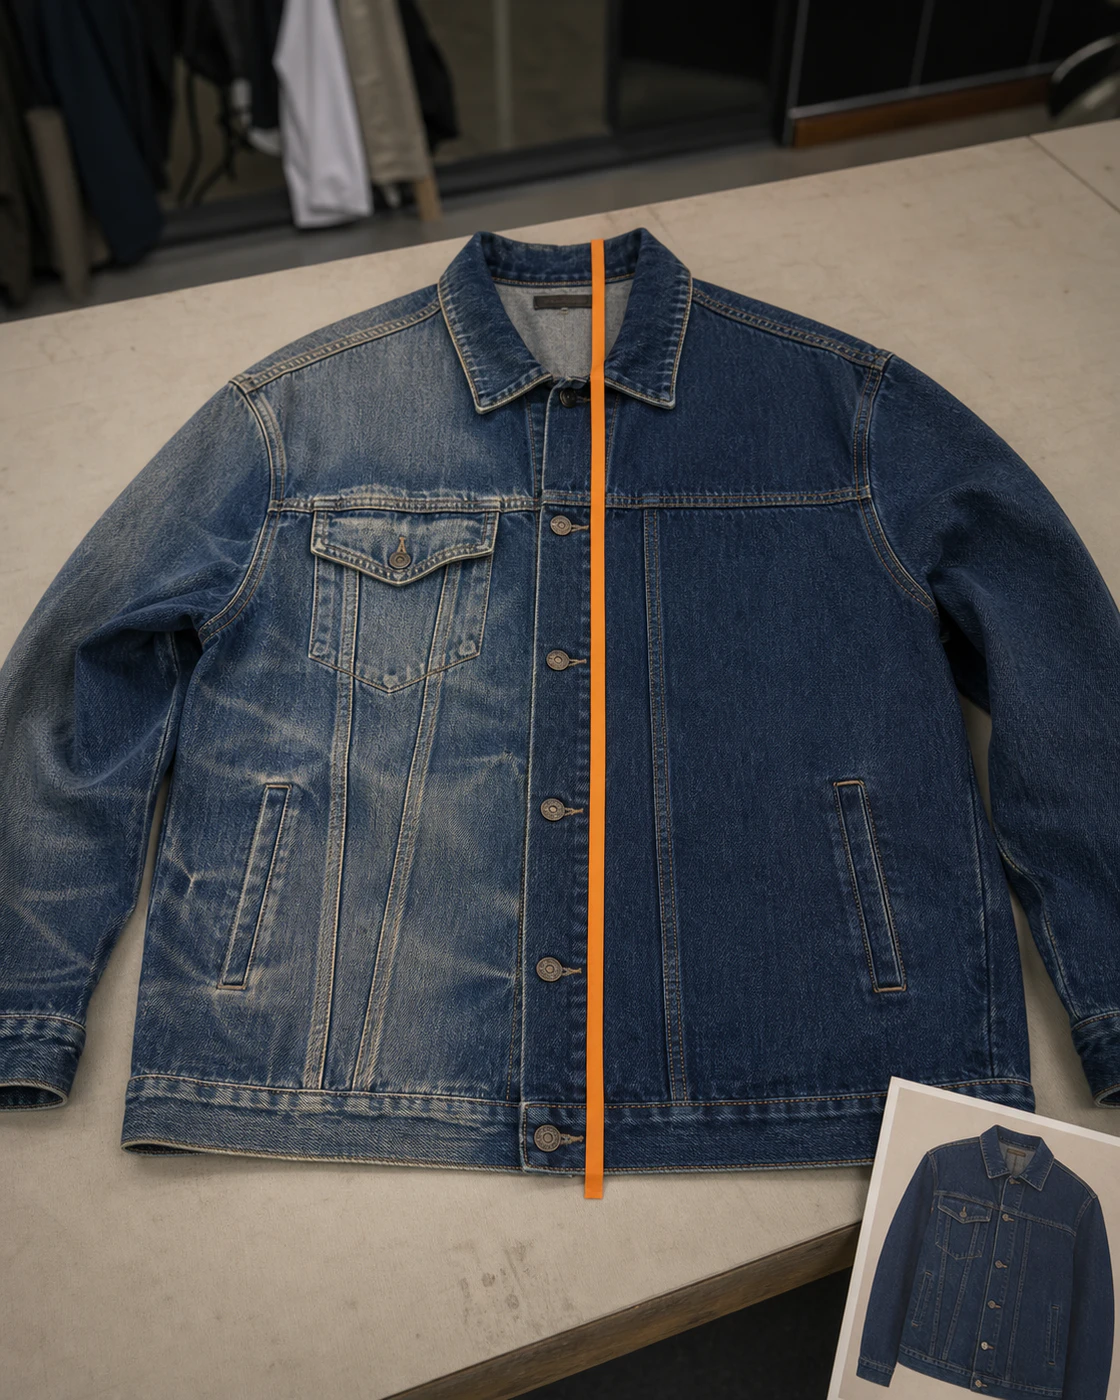
CHECK THE MARGIN FIRST
Can this garment spend abrasion margin?

Start with the complete garment, not only a wash reference.
Hold stretch, coated, decorated or cavity-heavy styles until the full route is tested.
Choose another route when the fabric cannot afford surface loss.
Candidate after sample
Robust denim or tested heavy coloured woven with an intentionally irregular wear target.
Hold and test
Stretch denim, cotton-rich blends, heavy sweatshirts, pigment surfaces, linings, trims and decorations.
Choose another route
Lightweight or delicate fabric, exact graphic placement, chemical discharge or newly added garment colour.
- Robust coloured denim and heavy cotton constructions are stronger starting candidates than lightweight, open or delicate structures.
- Strength, dimensions and stretch response must be checked on the exact processed construction.
DESIGN THE WEAR MAP
Mark the wear before selecting the stones
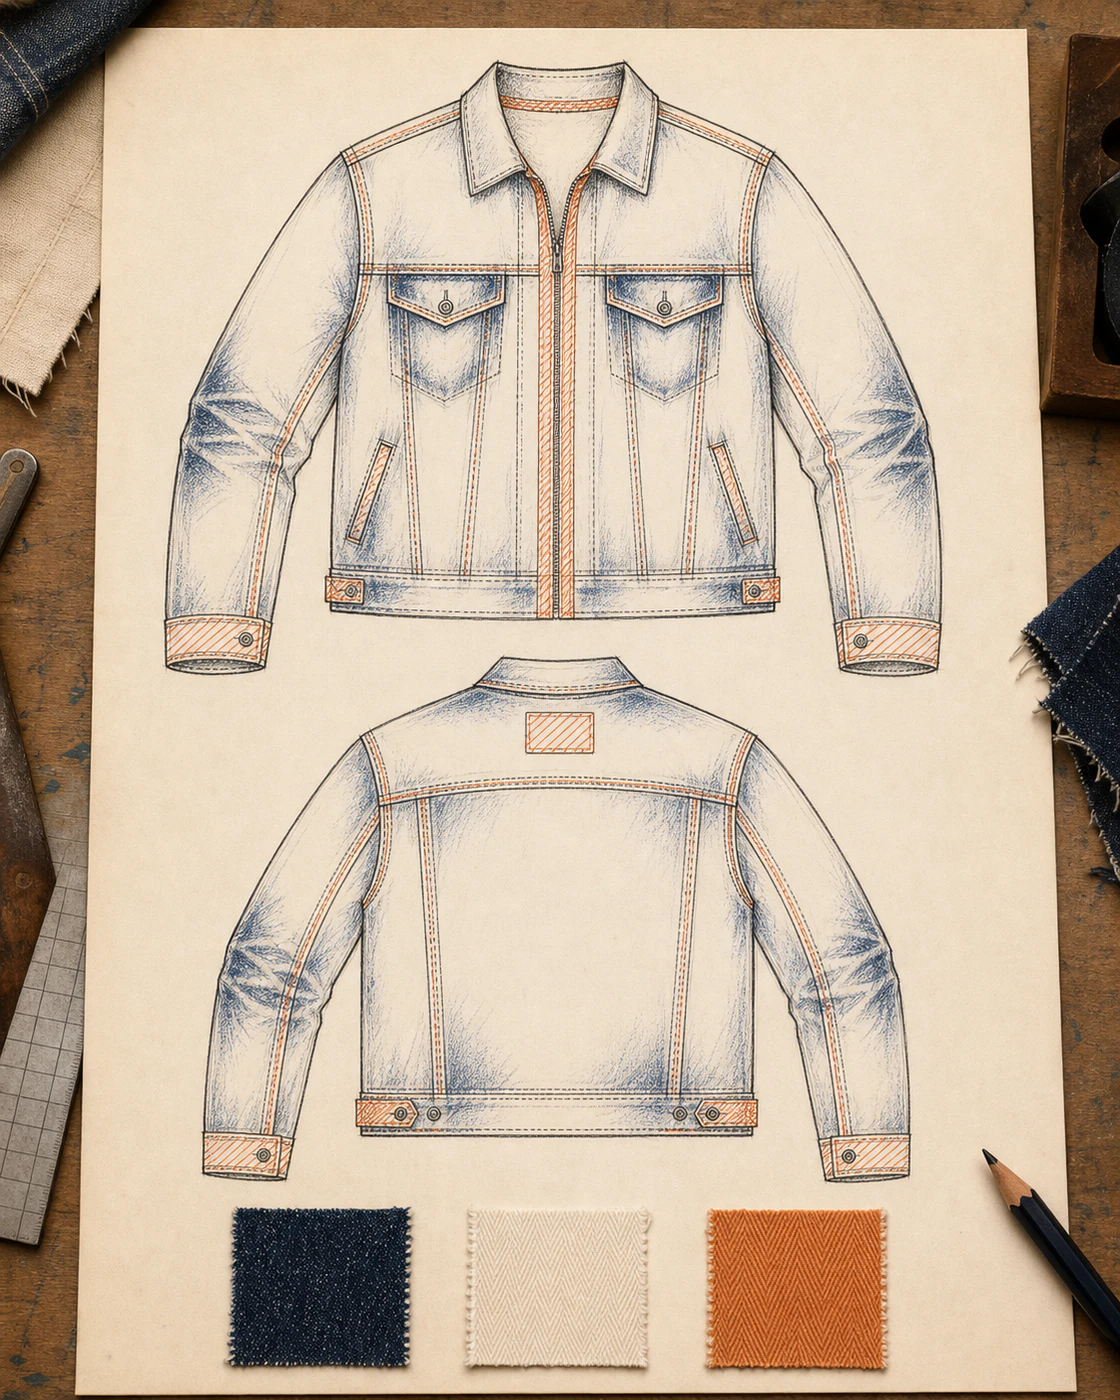
Mark seams, pockets, edges, knees, elbows or other areas that should show more character.
Protect strength-critical seams, stretch panels, ribs, zips, labels, coatings and clean interiors.
A wear map guides tumbling; it does not promise pixel-level placement.
Wear here
Define the zones that may show stronger high and low.
Protect here
Define the construction, component and performance limits that cannot be crossed.
Approve the range
Record minimum, target, maximum and reject garments plus finished measurements.
- Stone effects follow garment folds, exposed edges and mechanical contact rather than artwork pixels.
OPEN THE MEDIA BOX
Stone grade changes the collision
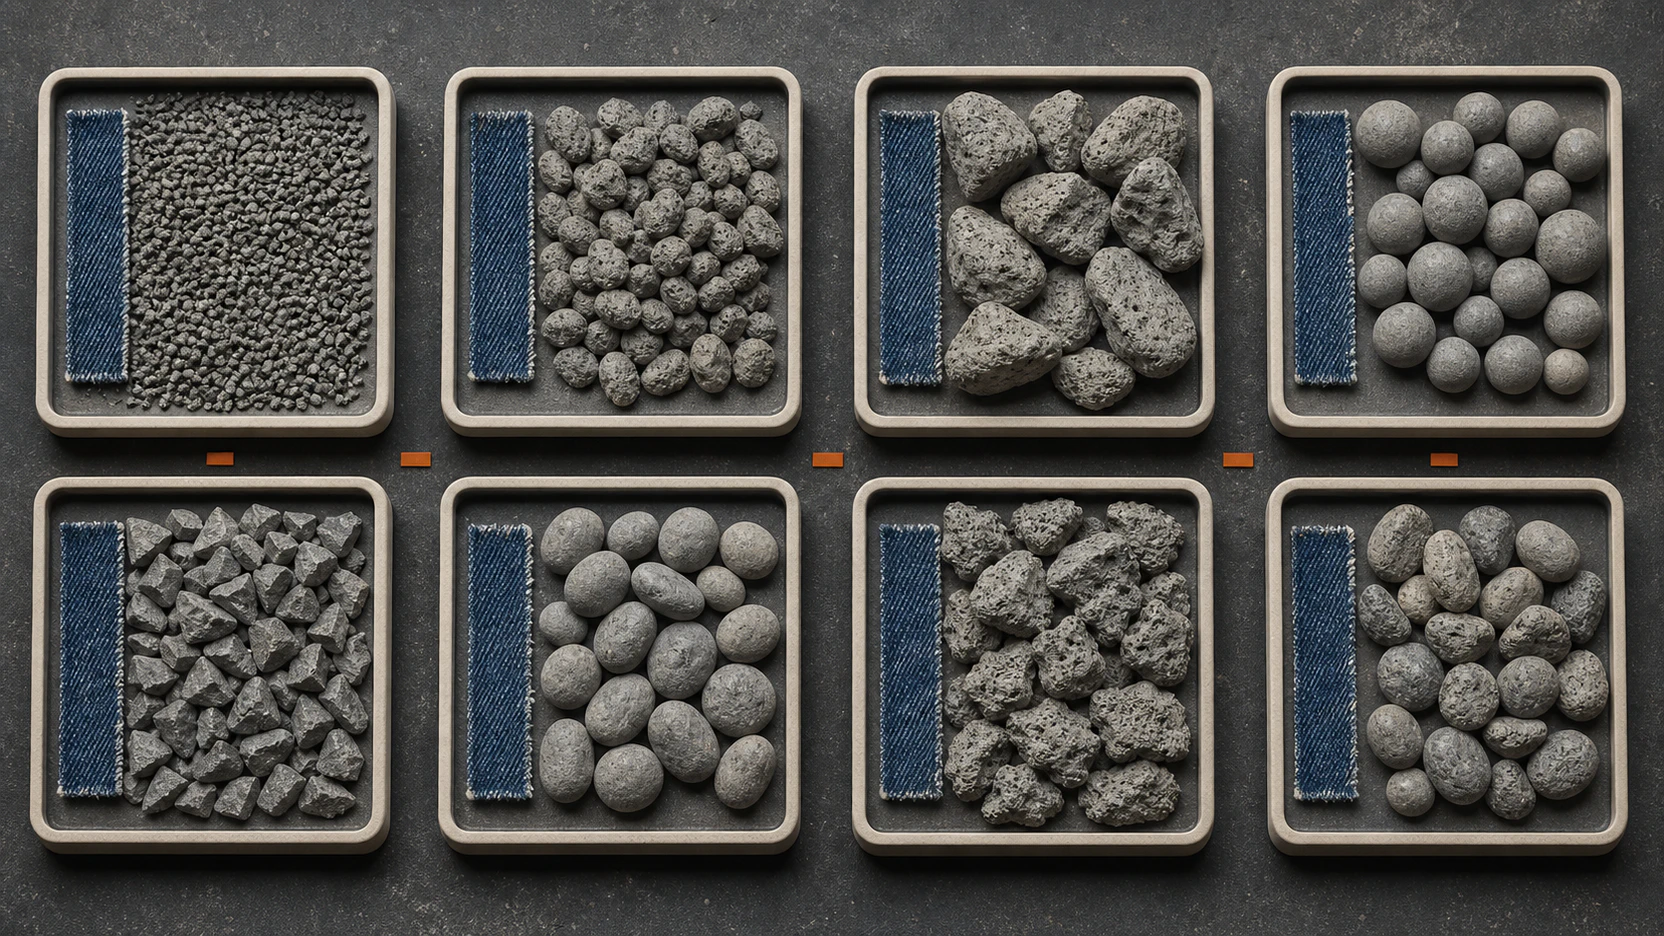
Natural pumice and synthetic media are not interchangeable labels.
Size, shape, roughness, porosity and condition change contact and breakdown.
Record the actual proposed media instead of asking for a universal best stone.
Size and shape
Change contact area, access to folds and pockets, and the distribution of marks.
Surface and porosity
Change abrasiveness, liquid uptake and the character of contact.
Strength and attrition
Change media edges, particles and performance as the process continues.
- Stone size, shape, smoothness, roughness, abrasiveness and porosity contribute to different garment effects.
- Stone properties and attrition can change through use and should remain part of the process record.
SET THE STOP LINE
Approve the effect before the garment crosses into damage
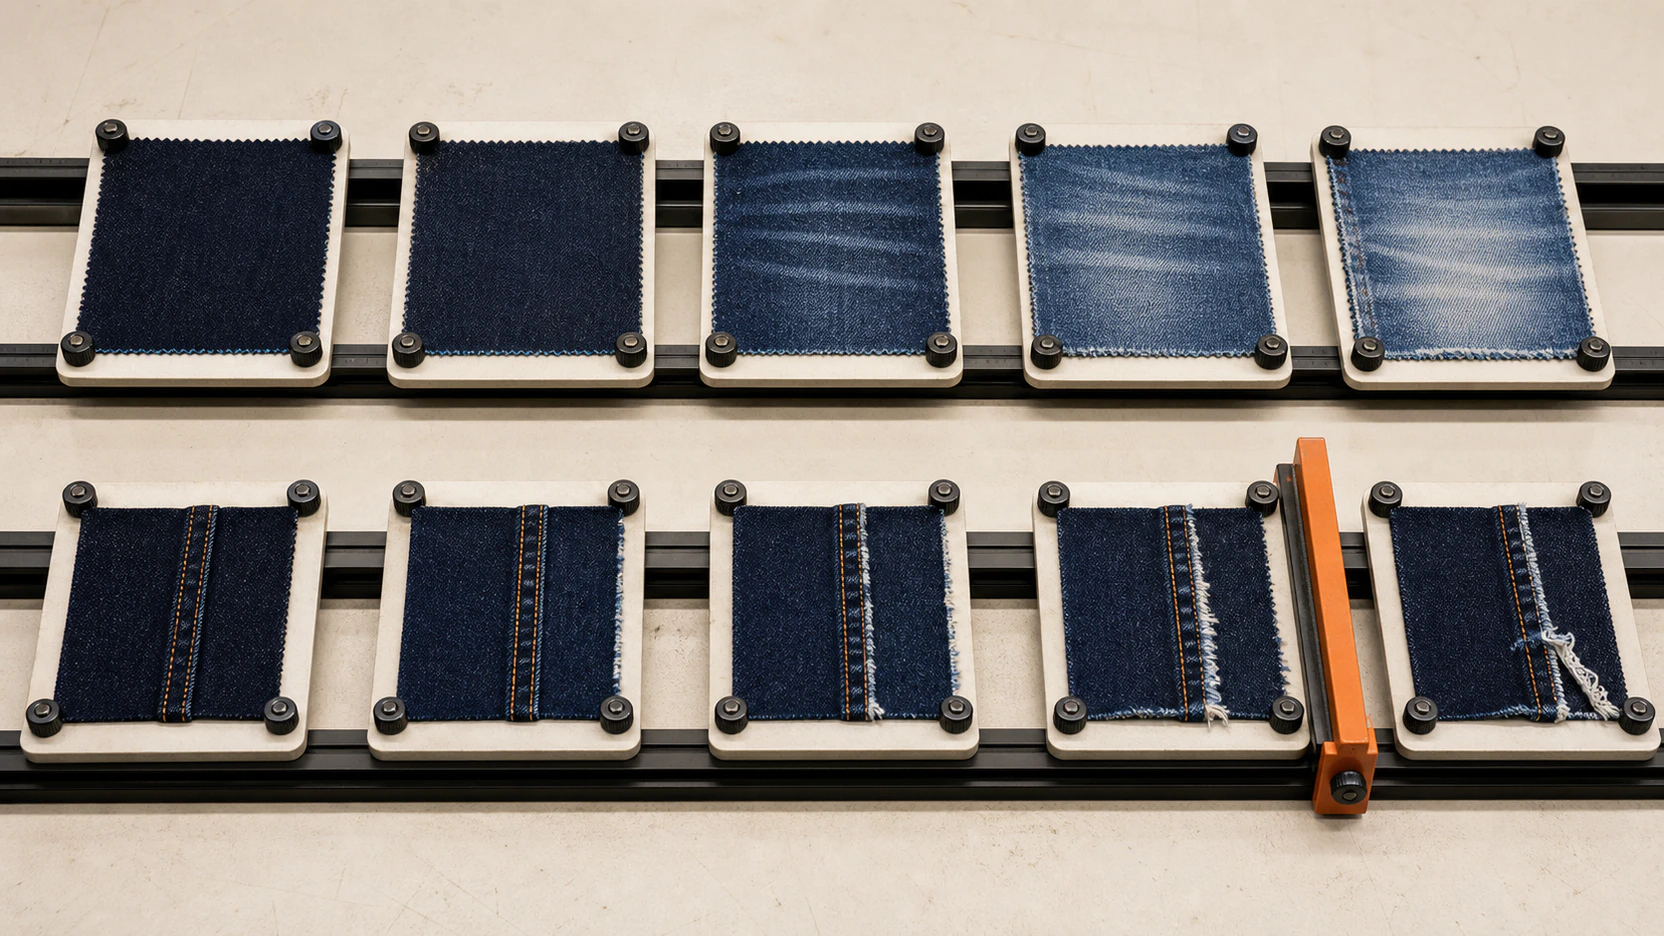
Visual gain can include fade, edge contrast, irregular character and a softer surface.
The same route spends surface fibre and may spend strength, seam life, recovery and component finish.
The approved garment—not a borrowed duration—defines the endpoint.
Visual gain
Light surface break, target fade and maximum accepted high and low.
Garment cost
Surface fibre, strength, seams, stretch and component risk.
Stop
Any protected zone may reach its reject boundary before the overall shade does.
- Pumice abrasion removes surface fibre and colour and can affect garment performance.
- The acceptable performance boundary depends on the exact product and cannot be expressed as one universal loss percentage.
START WITH DENIM EVIDENCE
Test the exact material and complete style

Indigo denim offers a strong high-and-low cue, but every denim construction is different.
Stretch, pockets, hoods, linings, hardware and decoration redistribute collision risk.
Unknown fibre, dye or finish information stops a defensible quotation.
Stronger starting fit
Robust cotton indigo denim jeans, pants, shorts or unstructured heavy-cotton jackets.
Hold and justify
Stretch denim, cotton-rich blends, heavyweight hoodies and pigment-coloured heavy cotton.
Weak fit
Lightweight, open, delicate, coated, laminated or unknown constructions.
- Indigo commonly forms a colour ring around the outer fibre or yarn bundle, leaving a lighter core that surface abrasion can expose.
- Stretch and performance response depend on the complete wet-processing and heat history of the exact construction.
- Product and technique compatibility remains conditional on material, colour, stretch, structure, design, quantity and sample results.
FOLLOW THE FULL ROUTE
The process continues after the drum stops

Lock material, colour, wear map and the complete garment before choosing the abrasive route.
Separate garments from media and clear every defined cavity before downstream processing.
Judge the final effect, shape and dimensions only after drying and conditioning.
Before abrasion
Lock the material, colour, wear map, garment BOM, incoming condition and proposed abrasive media.
Controlled abrasion
Use a production-relevant load and compare the endpoint with the approved physical range.
Clean exit and release
Separate, de-stone, rinse, dry, condition and inspect the completed garment by lot.
- Preparation, abrasive selection, tumbling, separation, de-stoning, rinsing and aftersteps form distinct controls.
CORRELATE SAMPLE AND BULK
Four control groups shape the bulk result
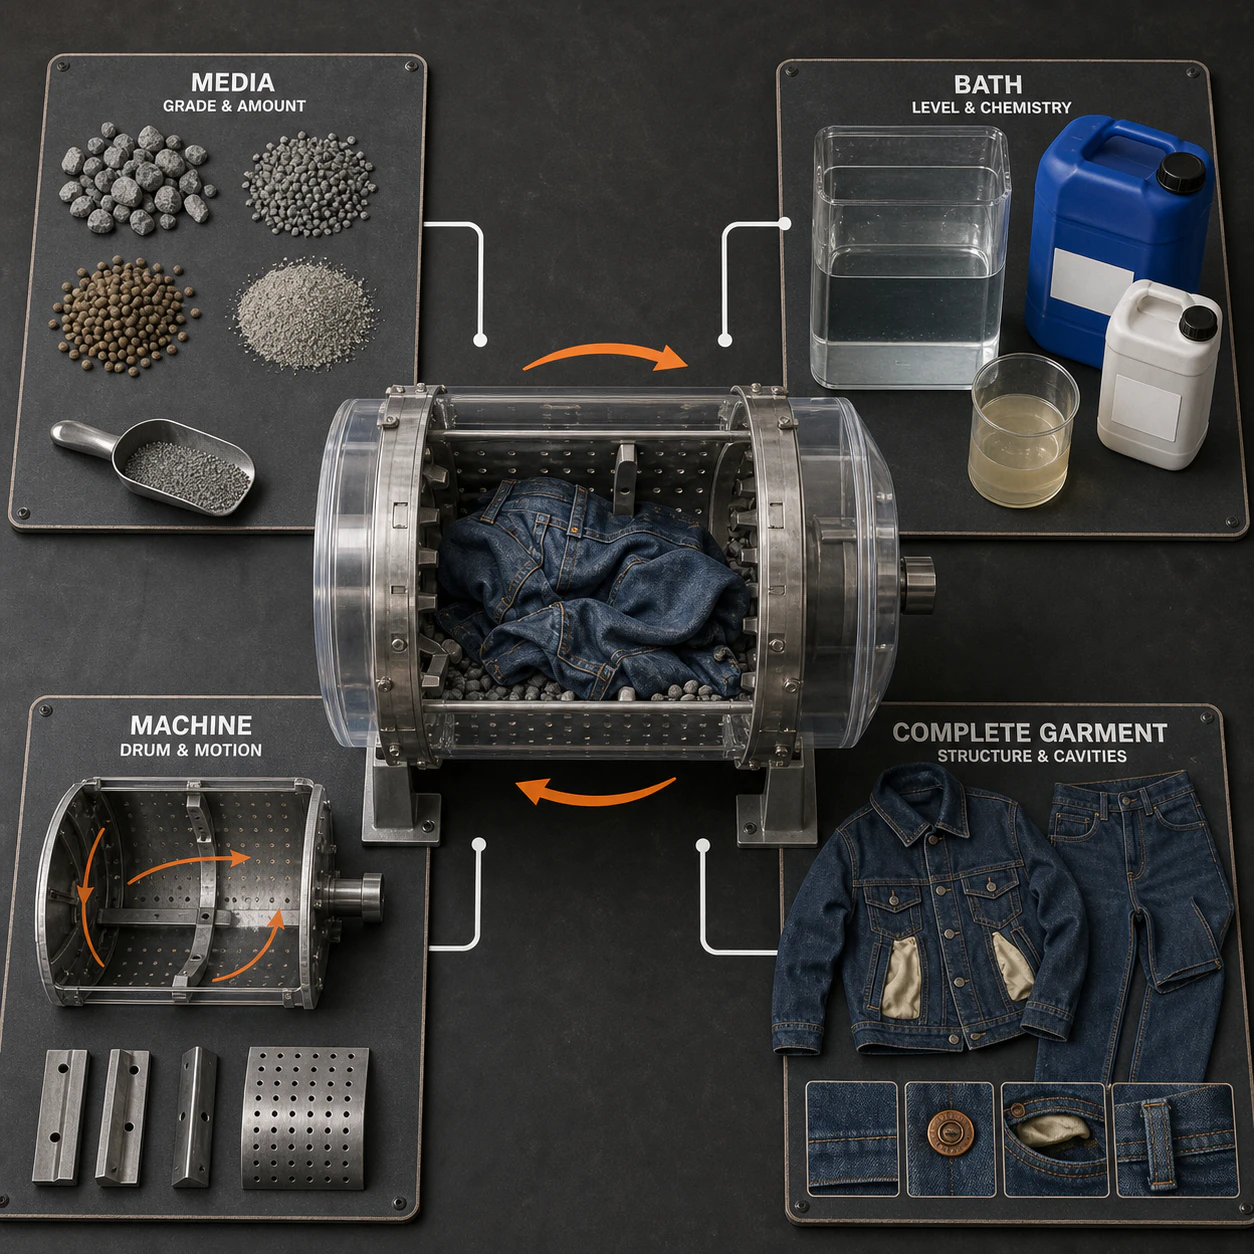
A single swatch cannot reproduce garment folds, trapped media, hardware contact or de-stoning.
Record the media, bath, machine and garment conditions used for each approval stage.
Do not copy an illustrative stone ratio, speed or time as a universal recipe.
Media
Type, supplier, grade, size, shape, roughness, condition and residue plan.
Bath and machine
Stone relationship, liquor, preparation, machine geometry, load and motion program.
Garment
Exact style, material lot, folds, cavities, hardware, weak zones and operation order.
- Stone relationship, liquor, washer geometry, load, chemistry, drum movement and time change abrasion behaviour.
- Stone properties and attrition can also change fabric and effluent outcomes.
REMOVE THE ABRASIVE
No garment leaves with the abrasive
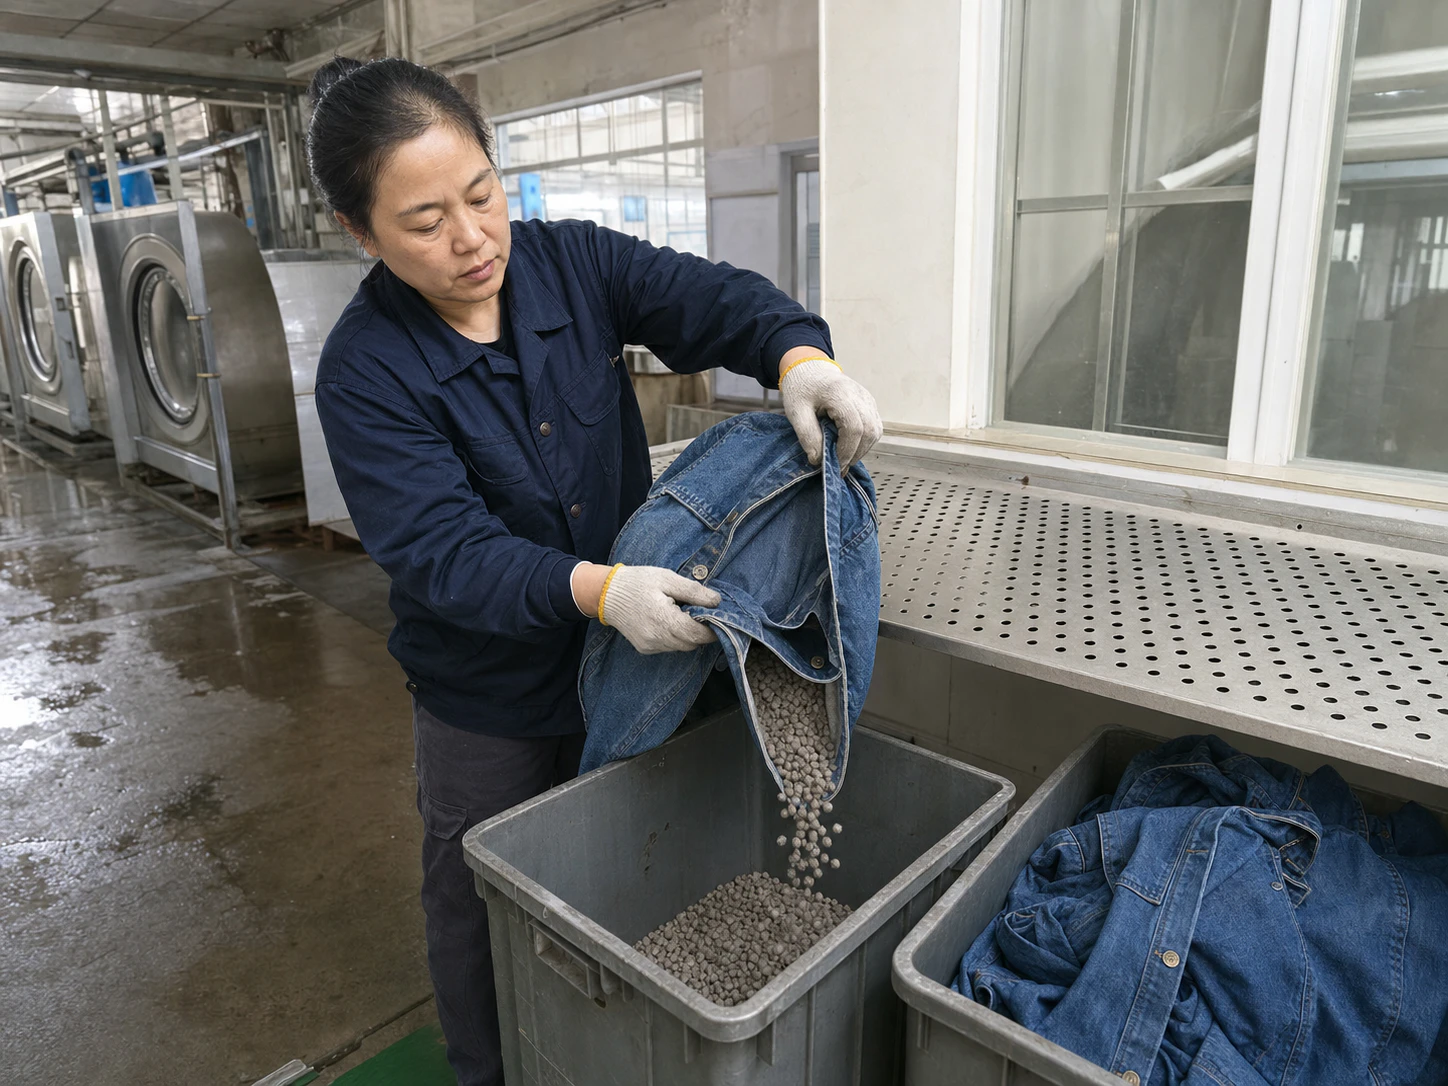
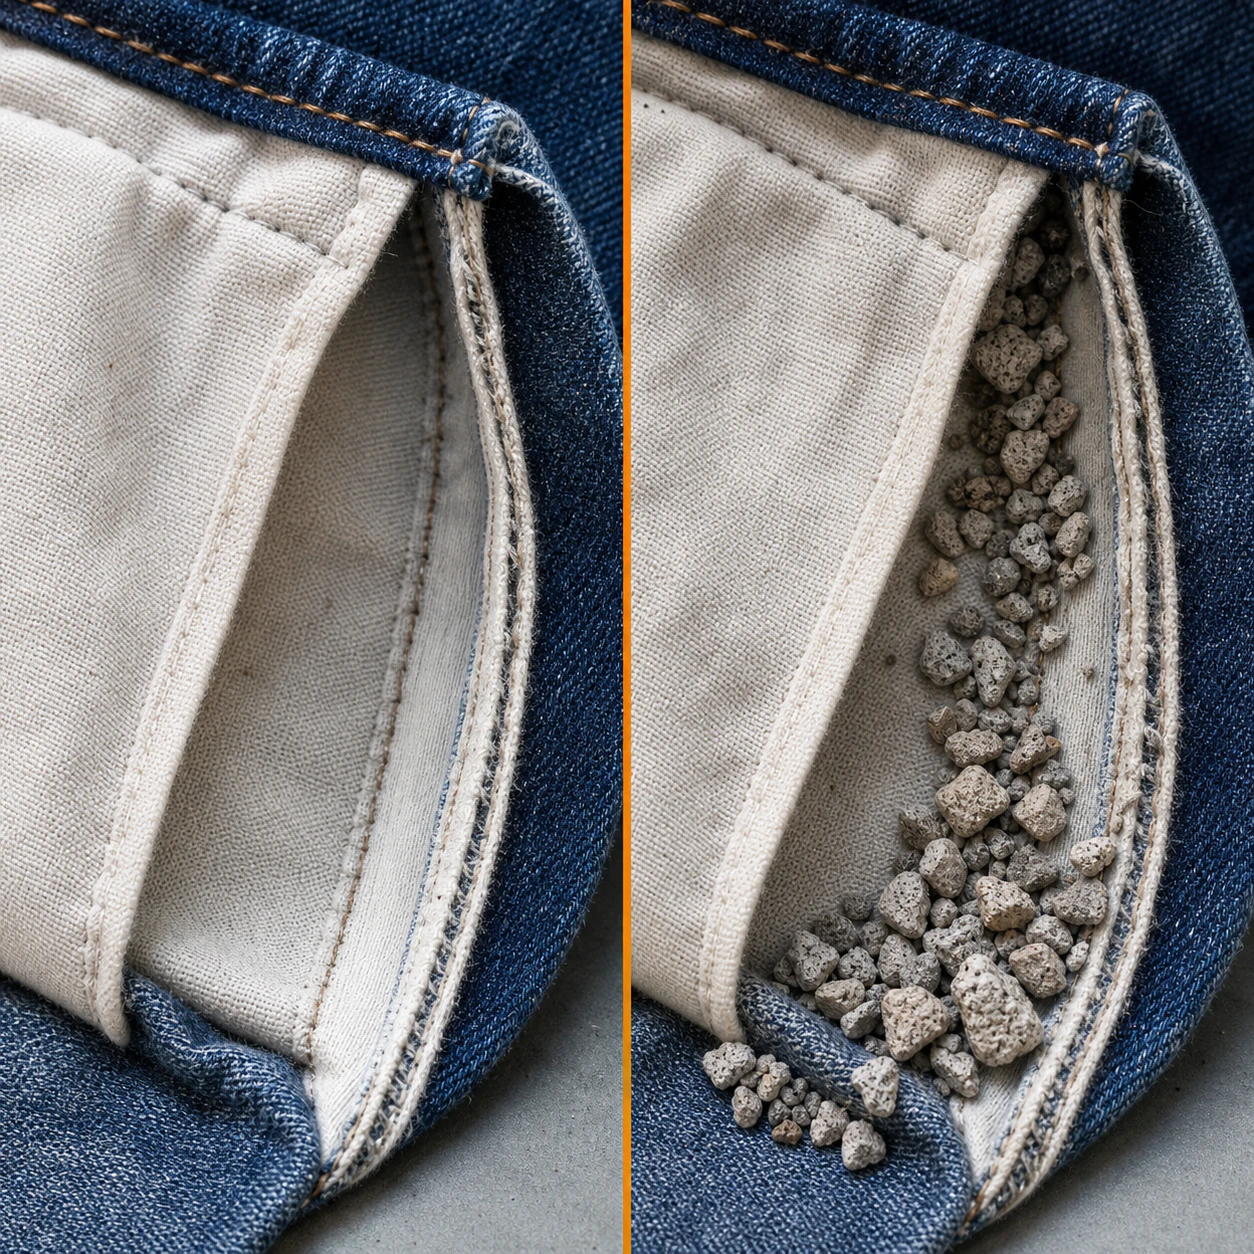
Unload and separate garments from the selected abrasive media.
Clear pockets, hoods, cuffs, channels, linings, labels, seams and hardware contact areas.
Protect the next washer, dryer and packing route from loose stone, grit and sludge.
Separate
Use the actual manual or mechanical route to remove garments from media.
Clear cavities
Inspect every named pocket, hood, cuff, channel, lining and seam cavity.
Protect downstream
Hold loose media, residue or garment damage before washing, drying or packing continues.
- Stone and abrasive residue can remain in garments and can damage downstream washers or dryers.
- Stone particles and sludge require facility-specific waste and wastewater controls.
COMPARE INTENT WITH CONTACT
Wanted wear and first-contact damage are not the same
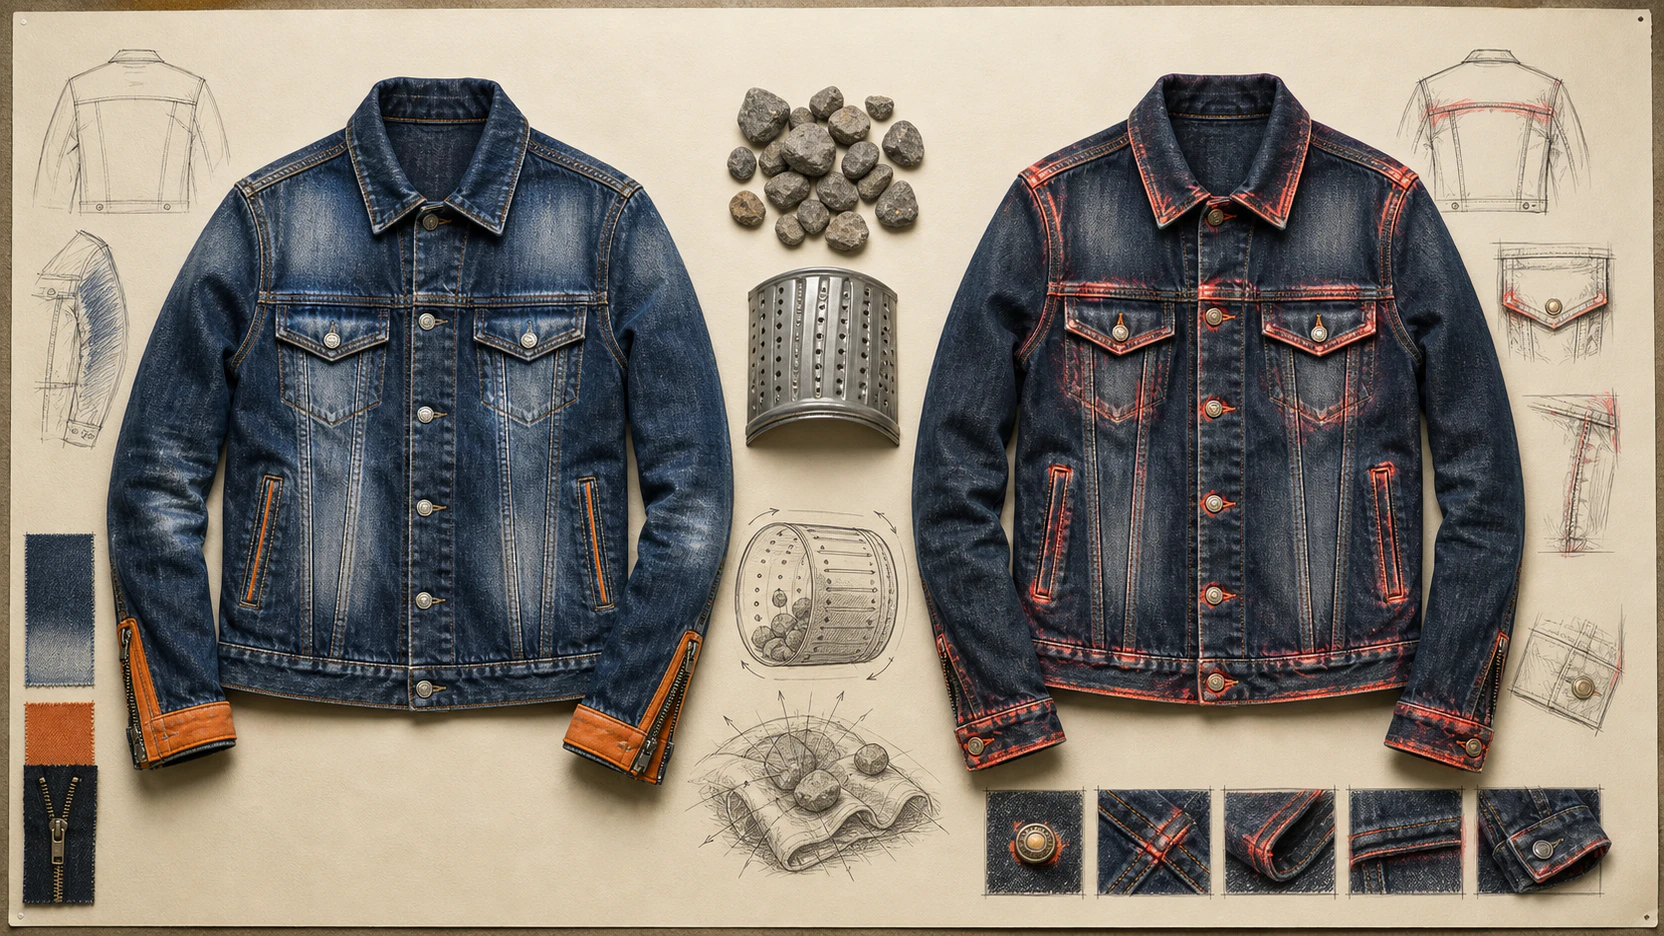
Seam ridges and pocket edges can create attractive high and low.
The same geometry concentrates collision at loops, corners, zips, ribs, stretch zones and decorations.
Approve both the wanted character and the reject boundary for every named zone.
Wanted character
Seam, yoke, pocket, knee, elbow, seat, hem, cuff or waistband high and low.
Collision boundary
Cut yarn, broken seam, torn loop, trapped media, scratched hardware or damaged decoration.
Approval
Compare the intended wear map with actual hotspots on the complete sample.
- Mechanical contact acts on exposed fabric, yarn, folds, seams and edges.
- Stretch and seam limits remain specific to the processed construction and product requirements.
READ BOTH SIDES
Physical wear creates physical obligations
Irregular high and low requires an approved variation range.
A softer, older surface still depends on substrate, afterfinish and drying.
Stone handling, machine wear, residue and sludge are part of the route.
Visual value
Irregular high and low, seam character, a softened surface and an accelerated aged look.
Garment control
Variation, strength, seams, stretch, dimensions and component condition.
Process control
Media, load, motion, stone attrition, de-stoning, machine wear and residue handling.
- Stone abrasion can deliver faded or softened character while consuming fibre and performance margin.
- Usually 100 pcs per style per colour; material or a specific style may change the minimum.
CHOOSE THE MECHANISM
Similar looks can come from different routes
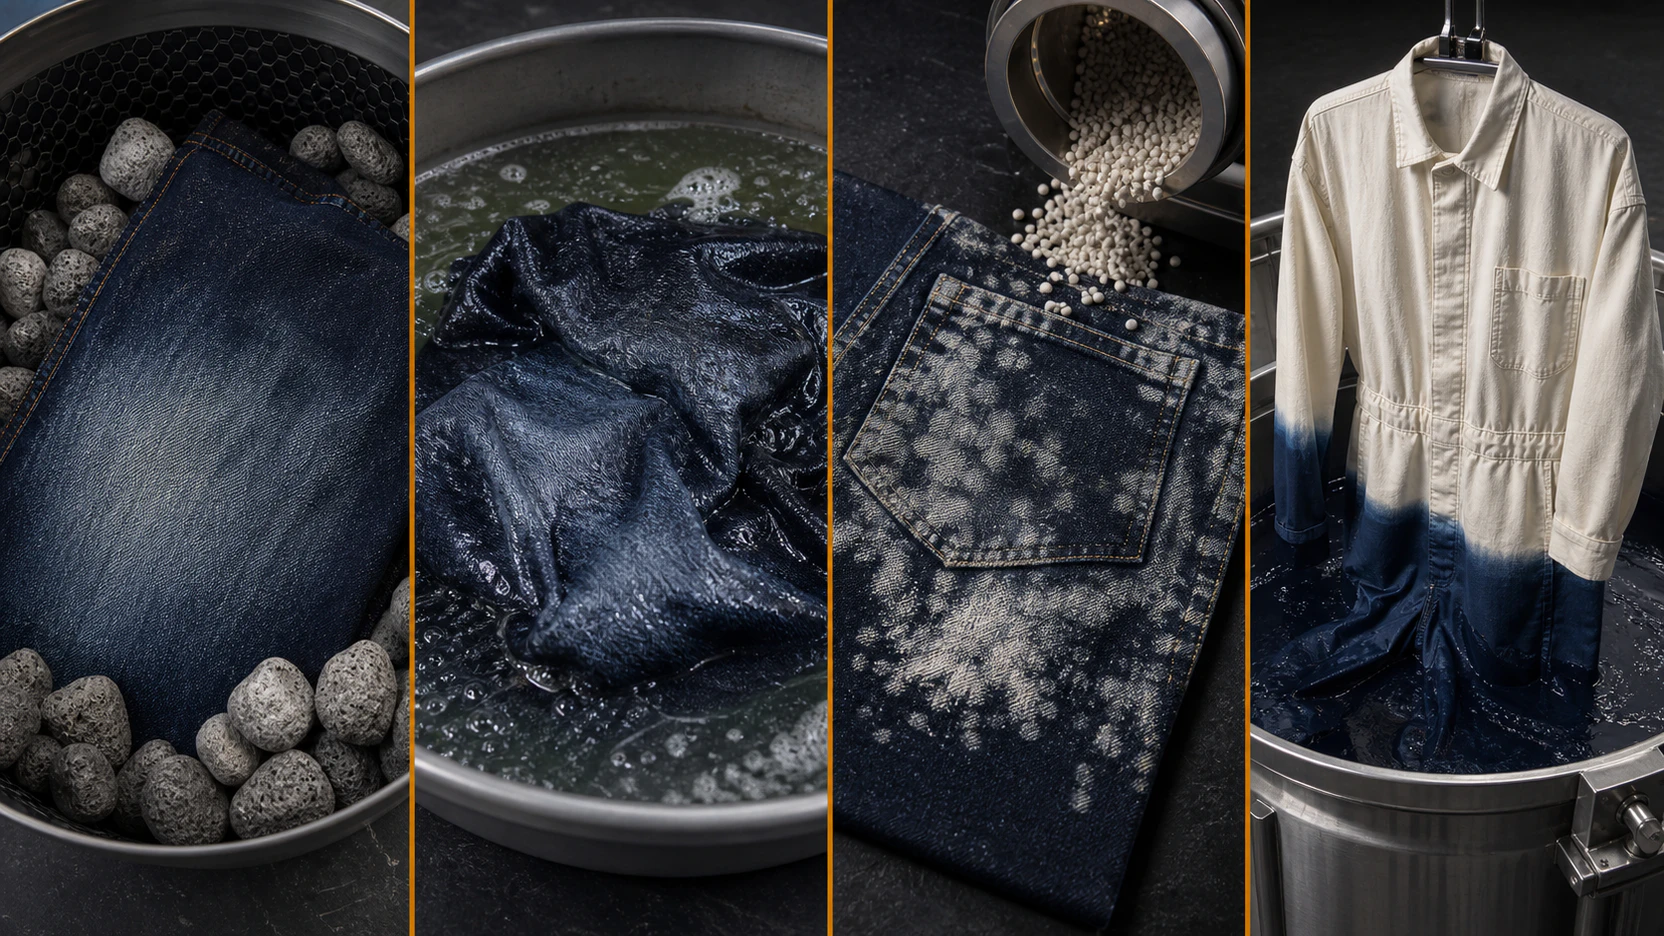
Use Stone Wash when the target is irregular physical wear from disclosed abrasive media.
Compare Enzyme Wash for controlled cellulosic surface change and Snow or Acid Wash for dramatic colour discharge.
Use Garment Dyeing when the task is to add a new colour after sewing.
Stone Wash
Pumice or disclosed abrasive-media mechanical cutting and abrasion.
Enzyme or discharge route
Cellulase surface change or controlled colour removal needs its own process controls.
Garment Dyeing
Adds colour after sewing instead of abrading an existing surface.
- Stone, enzyme and discharge routes have different primary mechanisms and control requirements.
- Indigo surface-colour behaviour helps explain the high-and-low result but does not make abrasion a dyeing process.
APPROVE THE COMPLETE GARMENT
A swatch cannot release a Stone Wash garment

Use a material swatch only to screen surface, colour and damage risk.
Approve the complete garment with a physical range and cavity checklist.
Correlate a representative pilot and first bulk-off before lot release.
Screen and develop
Material swatch, complete-garment sample and physical minimum, target, maximum and reject range.
Prove clean exit
Inspect exact pockets, hoods, cuffs, channels and seams after de-stoning.
Correlate bulk
Use a representative pilot, first bulk-off and documented lot release.
- Media, load, machine and garment construction interact and require production-relevant correlation.
- Finished dimensions, appearance, seams, strength, fastness and pH use product-relevant methods rather than one universal Stone Wash grade.
READ THE FAILURE
Do not increase abrasion before diagnosing the result
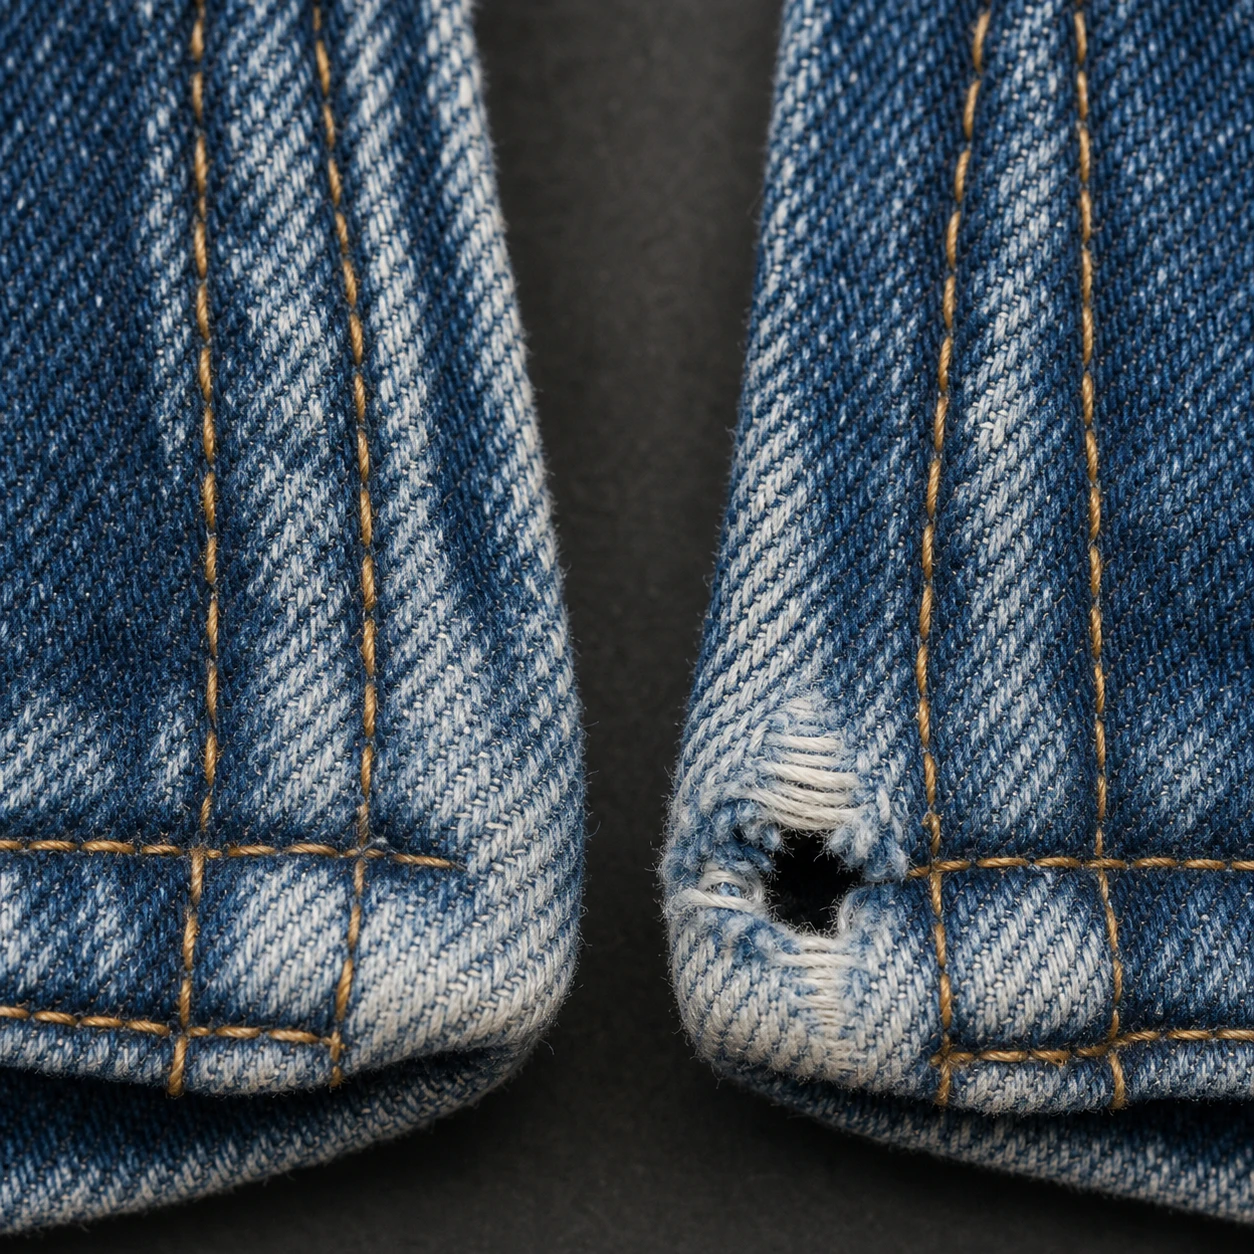
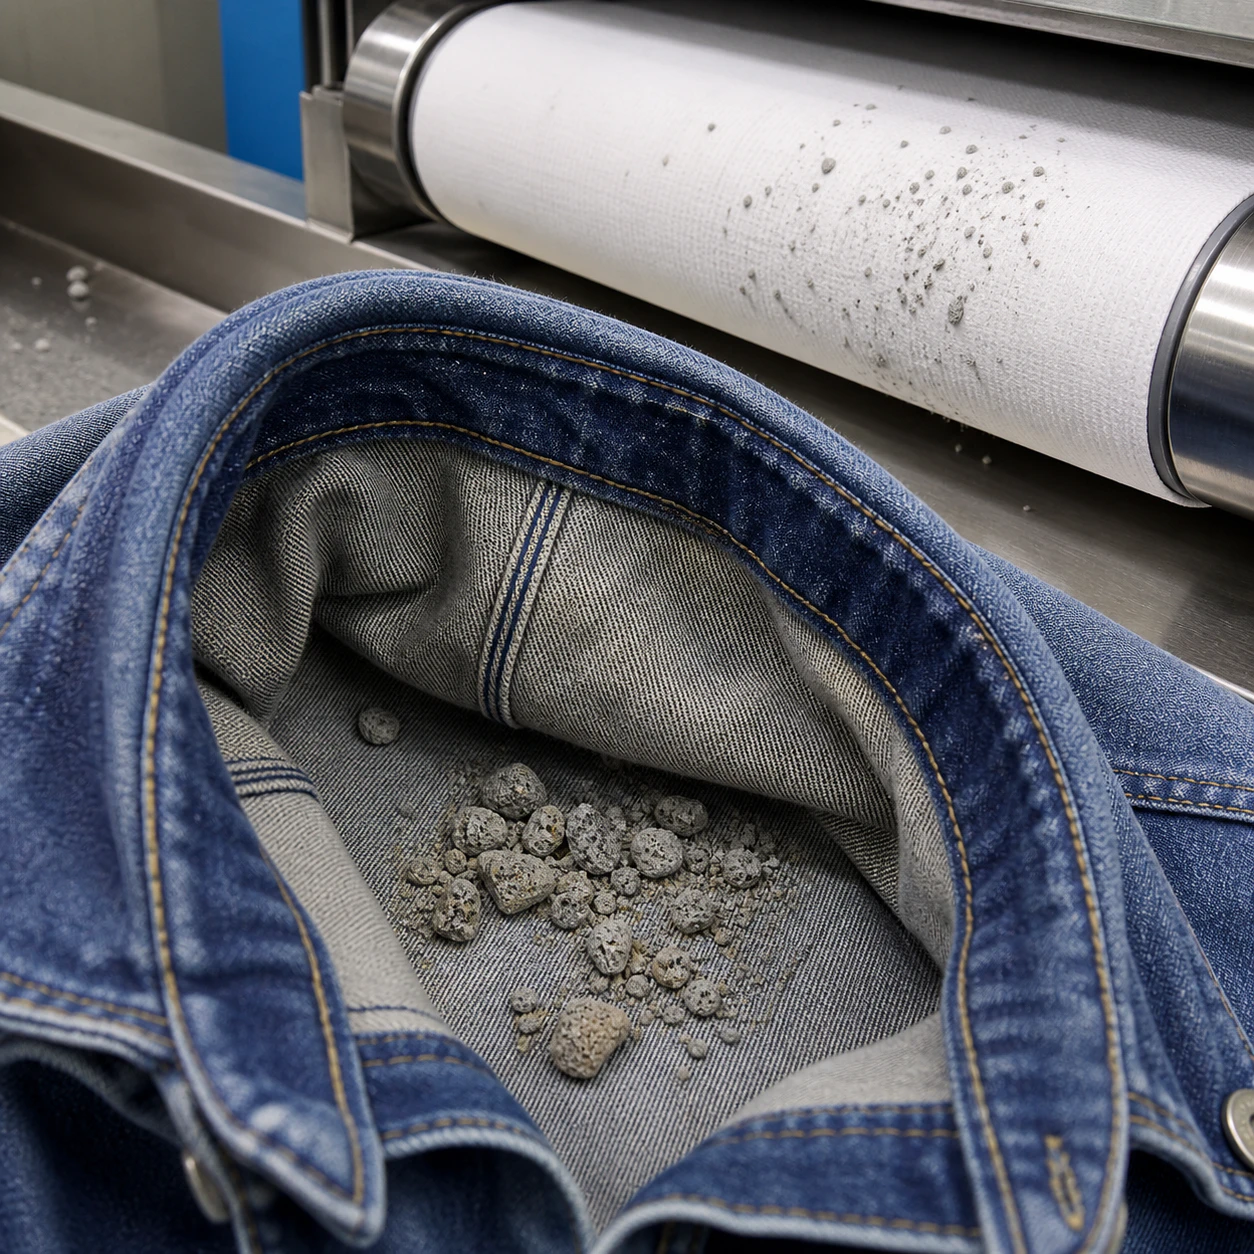
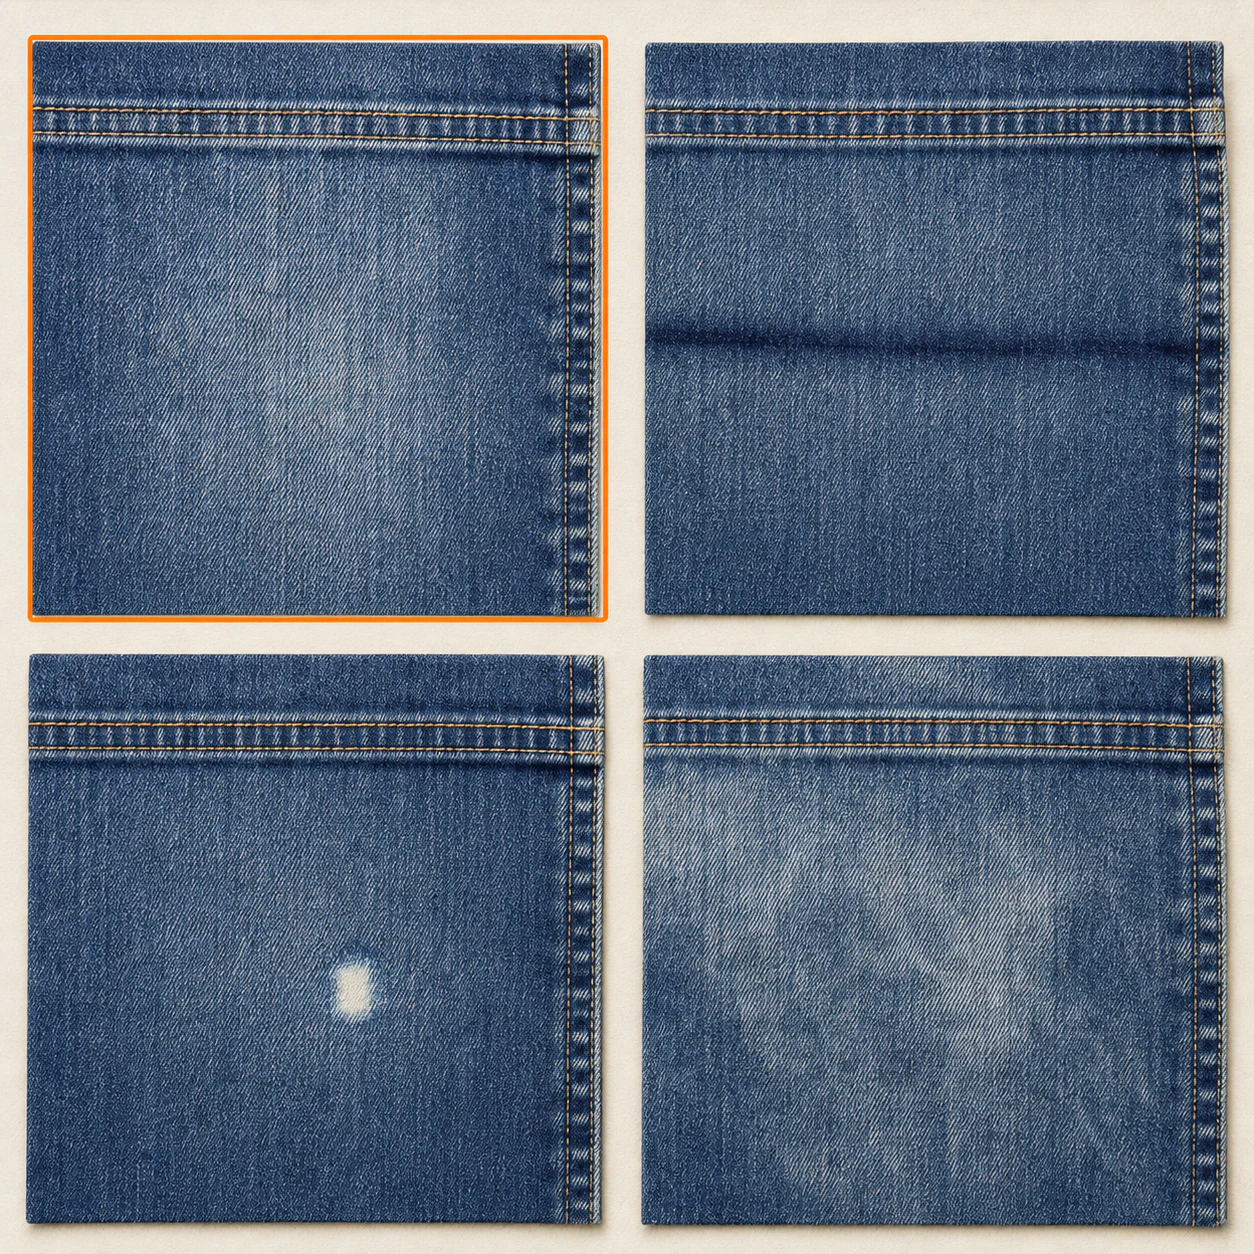
Map over-abrasion, holes, cut yarns and seam failure by location.
Treat retained stone and downstream grit as release failures.
Compare unapproved patches, fold marks and lot drift with media, load, motion and base-colour records.
Over-abrasion
Hold holes, thinned edges, cut loops, exposed seams and surfaces beyond the sealed range.
Retained media
Stop downstream handling, de-stone and reinspect every defined cavity.
Distribution drift
Compare locations, media condition, garment folds, load, motion and base-colour lots.
- Stone media, load, mechanical action and residue can create distinct failure families.
- Strength, dimensions, seams, stretch, colourfastness and pH require product-relevant investigation when a failure appears.
RELEASE AFTER DRYING
Inspect the finished garment—not the wet drum impression

Compare front, back, intended wear and protected zones with the sealed physical range.
Inspect garment cavities and all named components for loose stone, grit or damage.
Agree method, conditioning, sample size, frequency and pass value for every required measurement.
Visual and clean exit
Check the physical range, zone distribution, holes, fray, components and residue-free cavities.
Dimensions and shape
Condition after the full route and compare agreed points of measure, shape and recovery.
Relevant performance
Select only the strength, seam, abrasion, fastness or pH methods required by the product.
- Dimensional change, washed appearance and spirality have established method frameworks but no universal Stone Wash pass grade.
- Tensile, tear, abrasion, seam force, laundering, rubbing, colour difference and pH methods are selected by the product and buyer requirement.
- Stretch garments need construction-specific finished-dimension and recovery checks after the complete route.
QUESTIONS BEFORE SAMPLING
Close the process questions before the first garment
The answers stay short, conditional and tied to the actual garment.
FAQ structured data is allowed only when every answer is visibly rendered.
Does Stone Wash always use natural stone?01
No. Ask whether natural pumice, synthetic abrasive or a named combination is proposed.
Can every piece look identical?02
Approve a physical range and a production-representative first-off instead of expecting a zero-variation promise.
Why can stones remain in pockets?03
Media breaks down and can stay in cavities; de-stoning and cavity inspection are part of release.
What should be approved before bulk?04
The dried complete garment, abrasion range, wear and protect map, clean cavities, dimensions, components and required tests.
- Pumice or a disclosed abrasive substitute mechanically removes surface fibre and colour.
- Usually 100 pcs per style per colour; material or a specific style may change the minimum.
- Environmental performance depends on the actual media, process, facility, water, energy, particles, sludge and wastewater controls.
SEND THE DECISION INPUTS
Send the garment, wear map and stop line together

Include the tech pack, exact fibre and construction, colour route, complete BOM and proposed operation order.
Attach the desired washed reference plus minimum, target, maximum and reject garments or images.
State quantity, destination, sample timing, finished measurements and required product tests.
Material and garment
Fibre, construction, weight, stretch, colour route, finish history, tech pack and complete BOM.
Wear and approval
Wear and protect map, physical effect range, residue limit, measurements and relevant tests.
Commercial context
Size and colour quantities, destination market, sample date and bulk delivery window.
- A complete garment and exact process inputs are needed because media, load, construction and de-stoning interact.
- The project accepts images and PDF with a 10 MB per-file and 25 MB total upload limit.