Apparel decoration & finishing
Techniques
Compare print, embroidery, dye and wash options before the garment sample is approved.
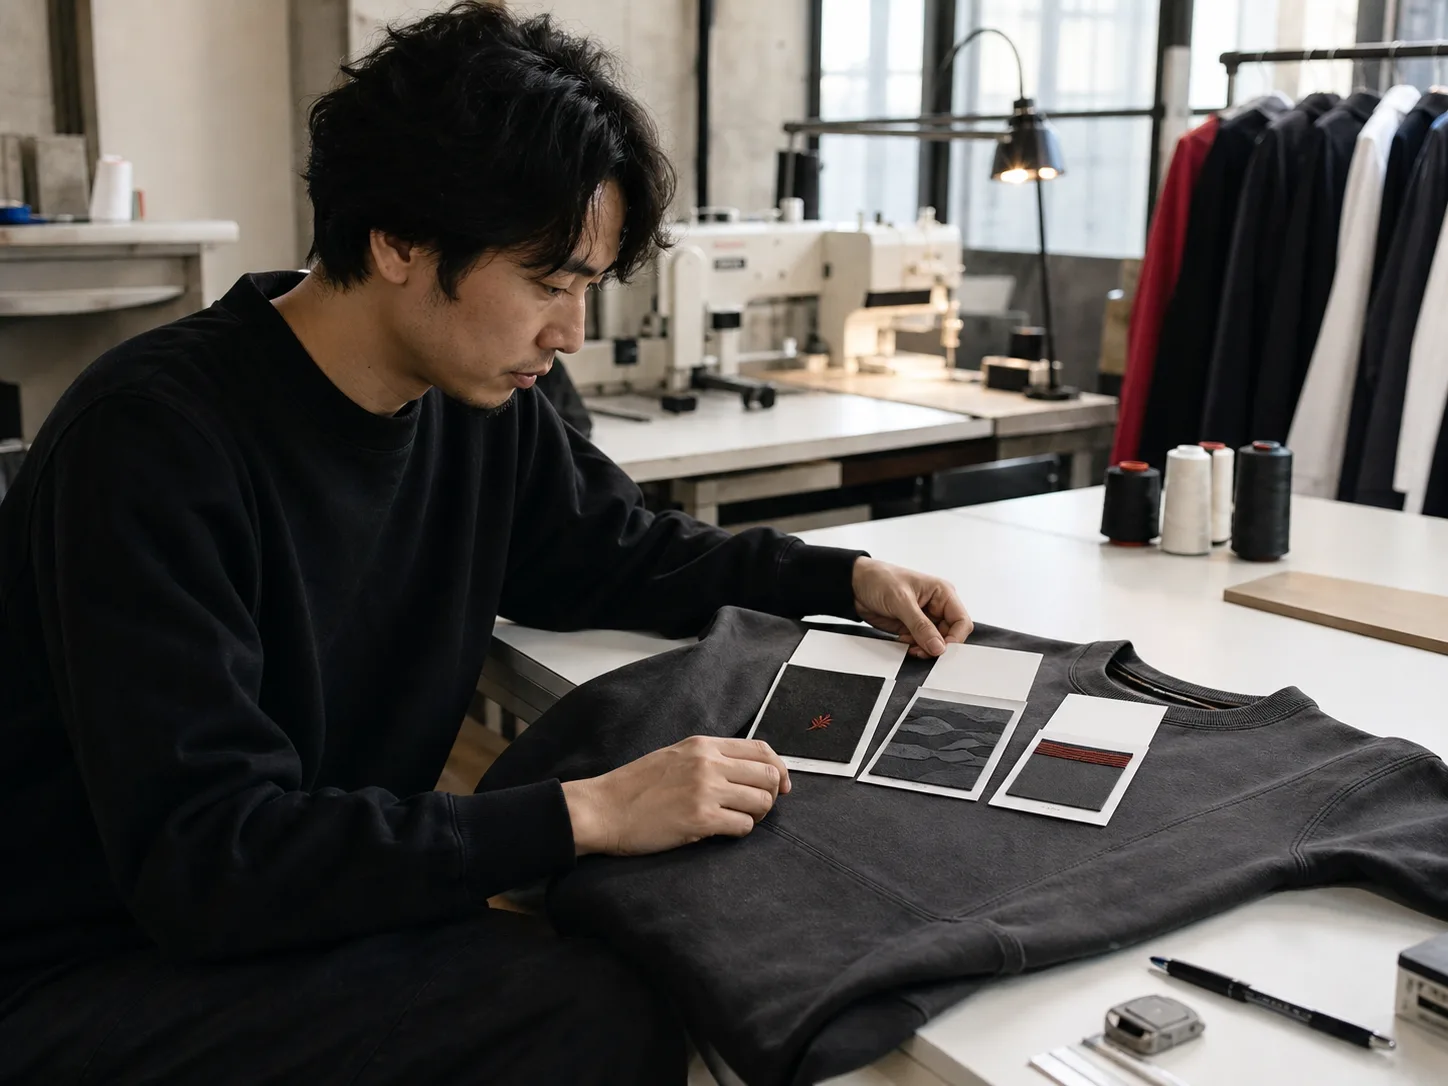
Technique families
Choose by Process
Start with the result you want, then confirm whether the fabric and garment can support it.
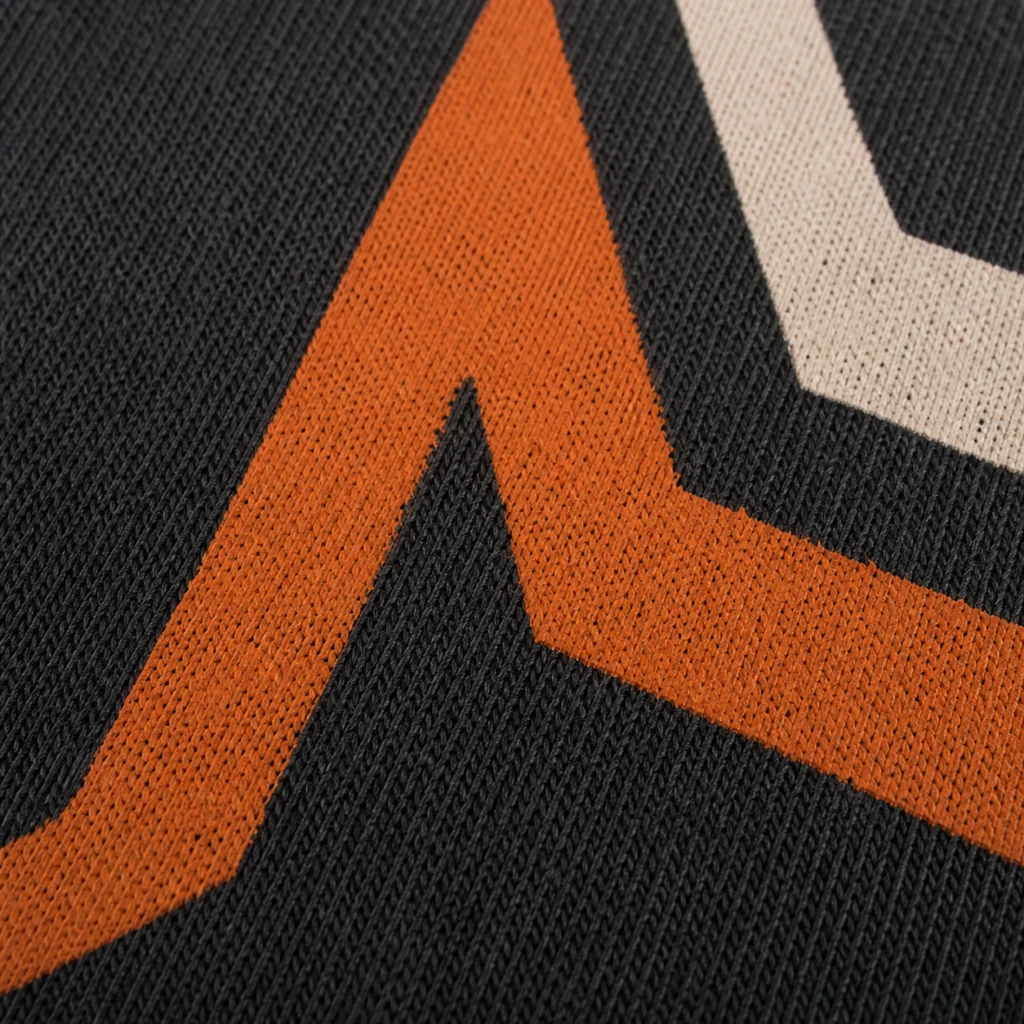
Printing
Add colour, artwork, texture or a raised surface to selected garment areas.
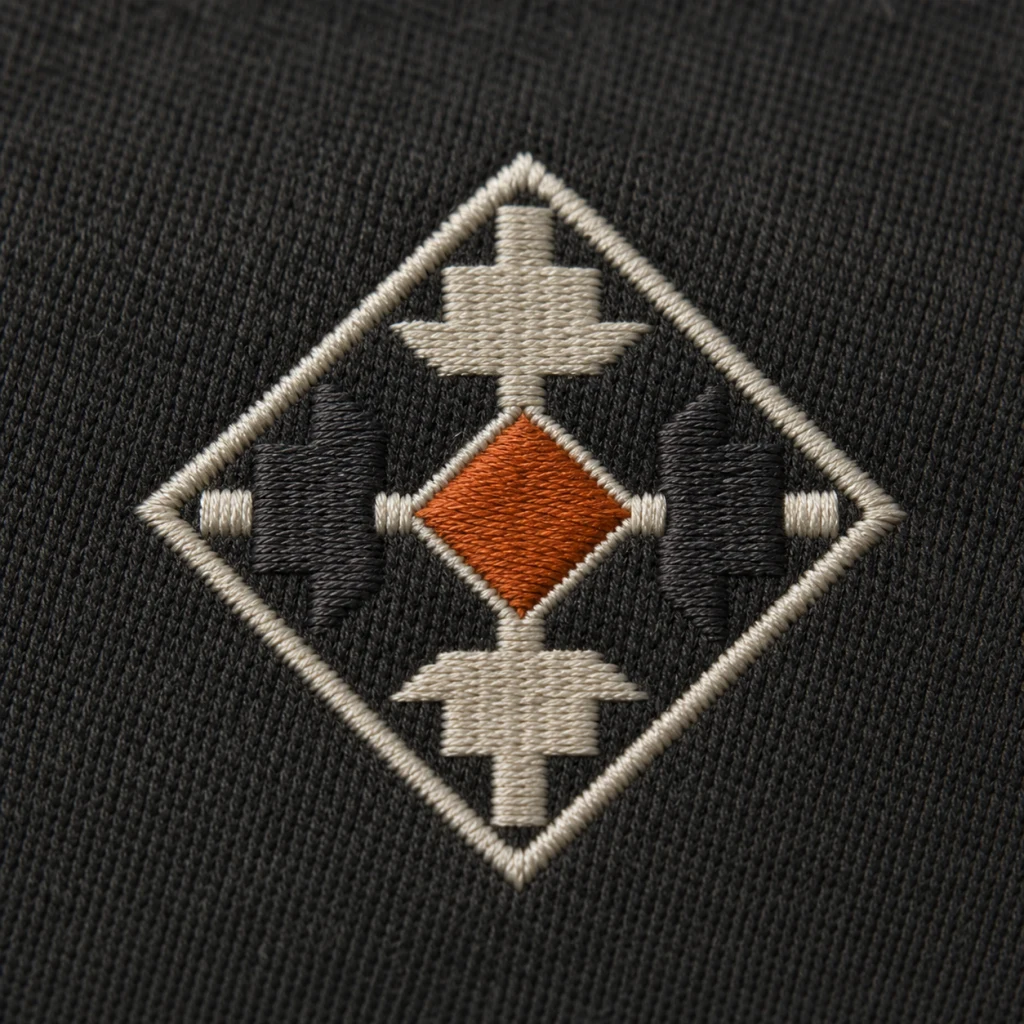
Embroidery
Build logos and motifs with thread, stitch direction and backing.
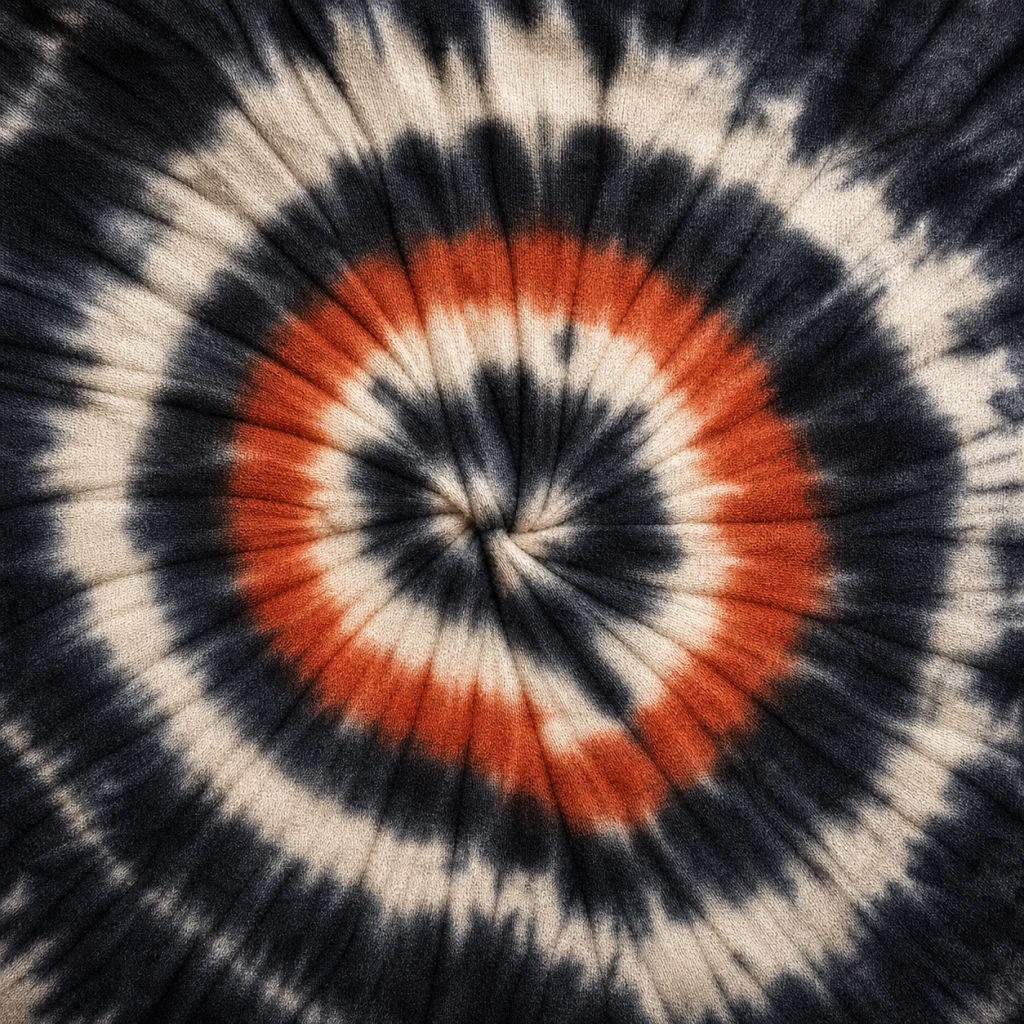
Dyeing
Change garment colour or create deliberate piece-to-piece variation.
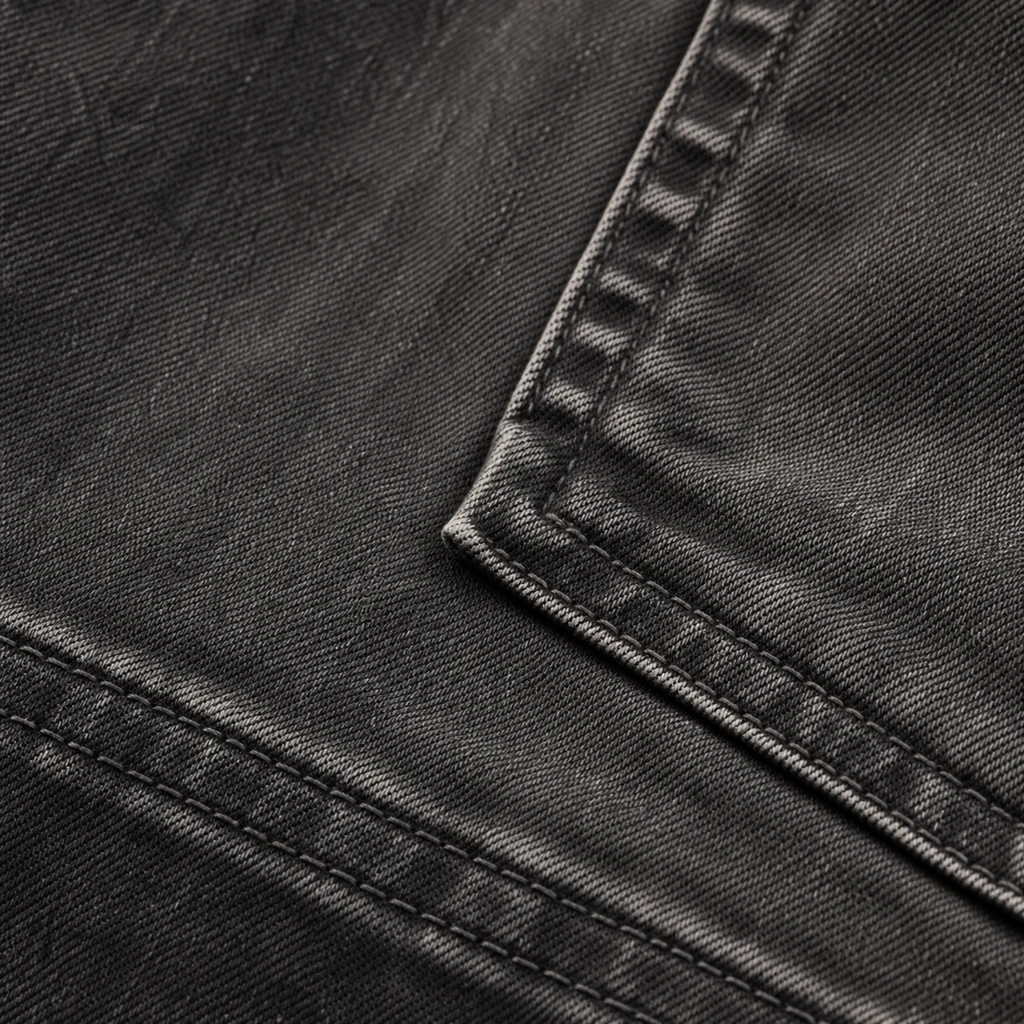
Washing
Adjust handfeel, surface abrasion and the degree of an aged finish.
Effect selection
Start With the Result
The same artwork can look very different when it is printed, stitched, dyed or washed.
Flat colour
Screen or digital routes may be reviewed first.
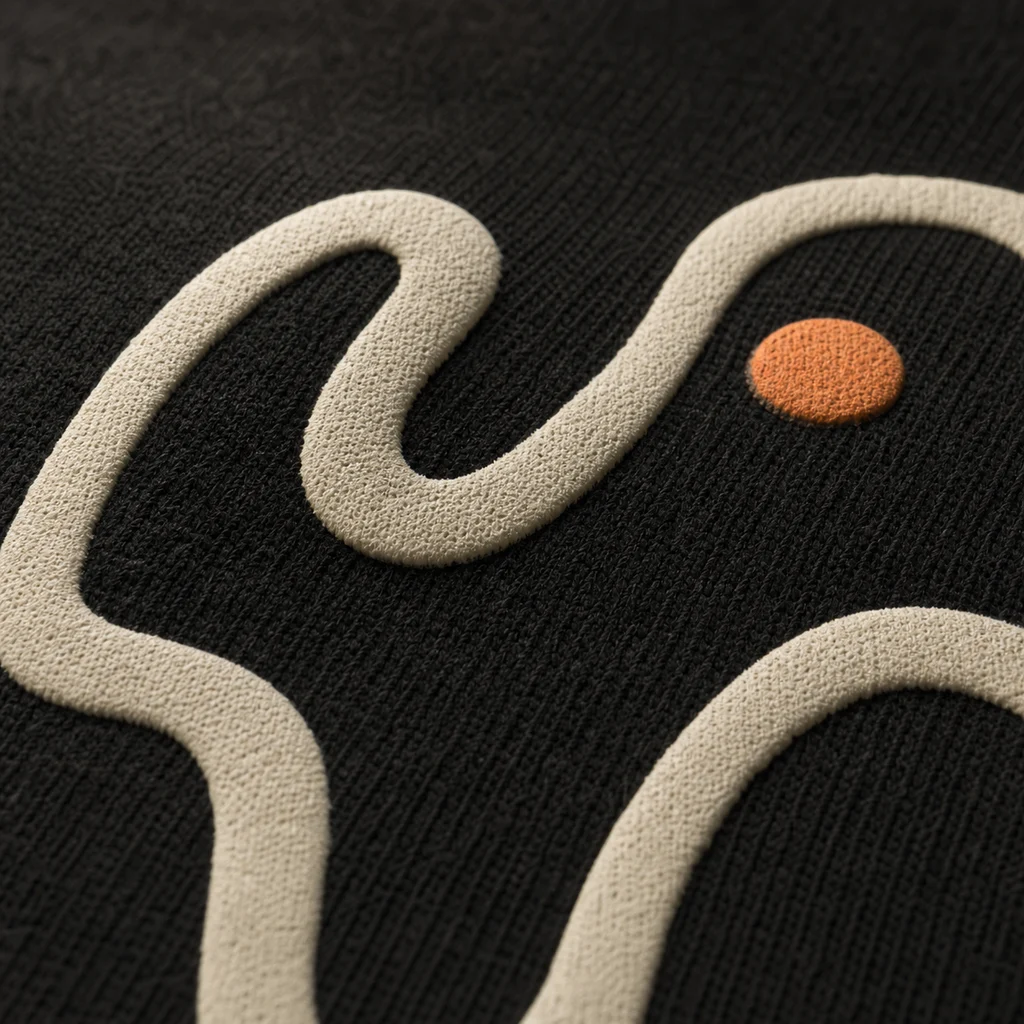
Raised surface
Puff, flock or silicone can add height and texture.
Thread texture
Embroidery builds the design with stitches.
All-over colour
Dye and wash routes change the garment itself.
Compatibility
Check the Real Fabric
Composition, surface, stretch, colour and heat tolerance can change the suitable process.
Sampling
Approve the Physical Result
A screen image is not the approval standard. Review colour, scale, placement, handfeel and durability on a real sample.
- 01Reference
Define the intended effect.
- 02Strike-off
Check process and colour.
- 03Garment sample
Review placement and garment behaviour.
- 04Bulk standard
Lock the approved reference.
Quality checkpoints
Inspect What Can Change
The inspection scope follows the selected technique. It is agreed before production, not invented after a problem appears.
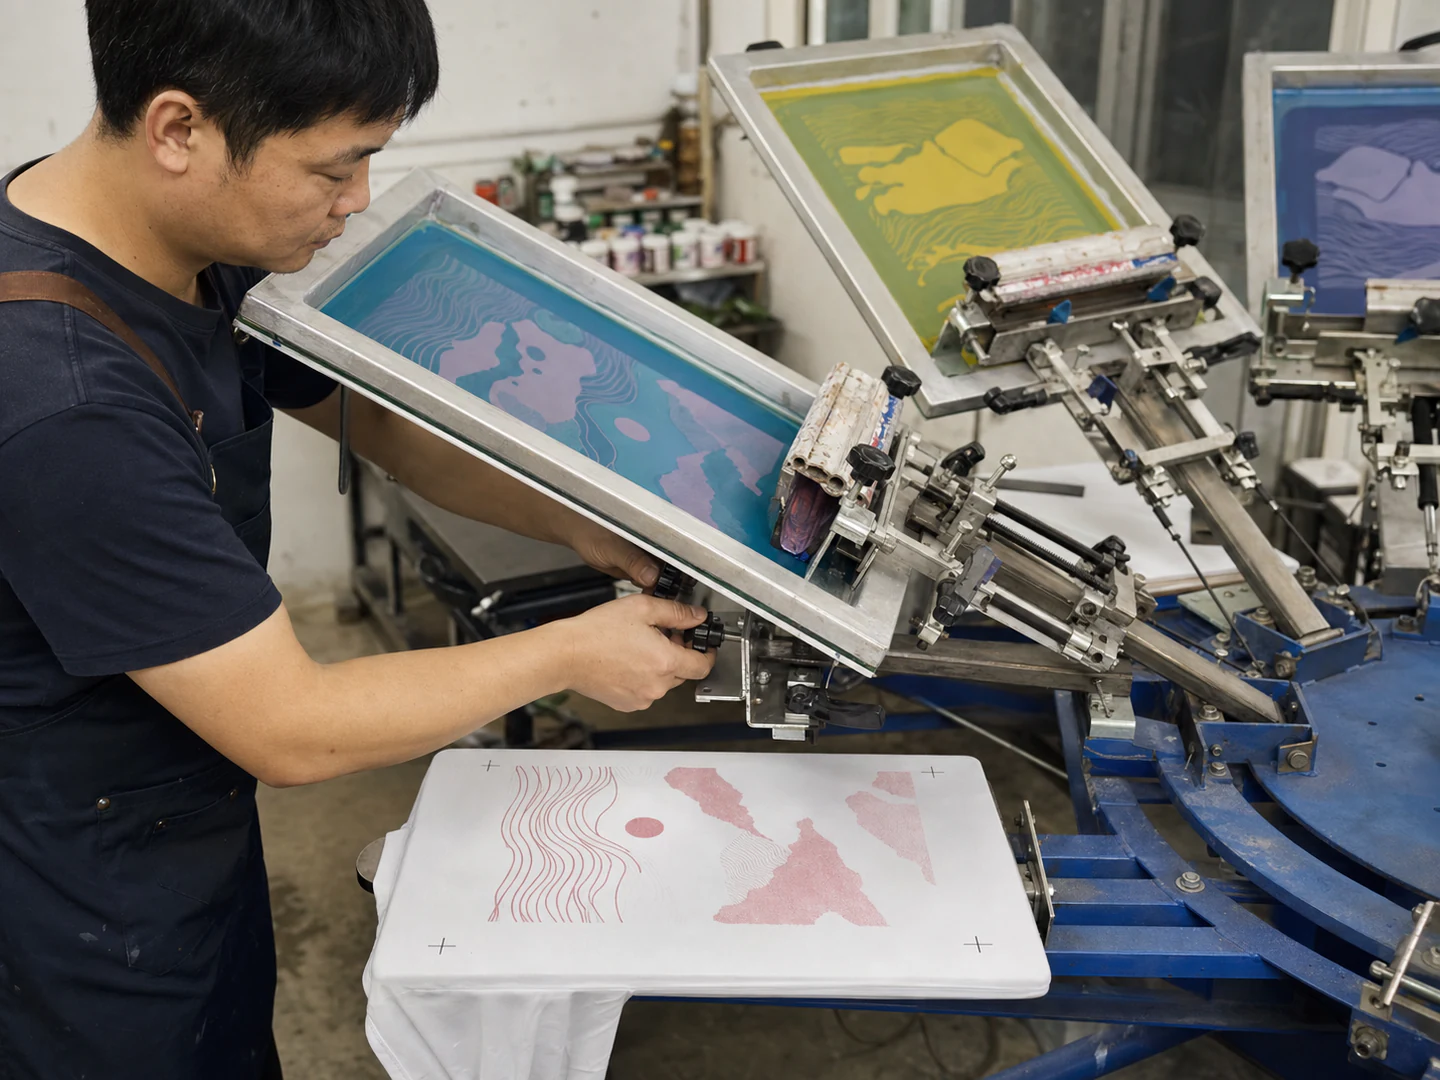
Colour & position
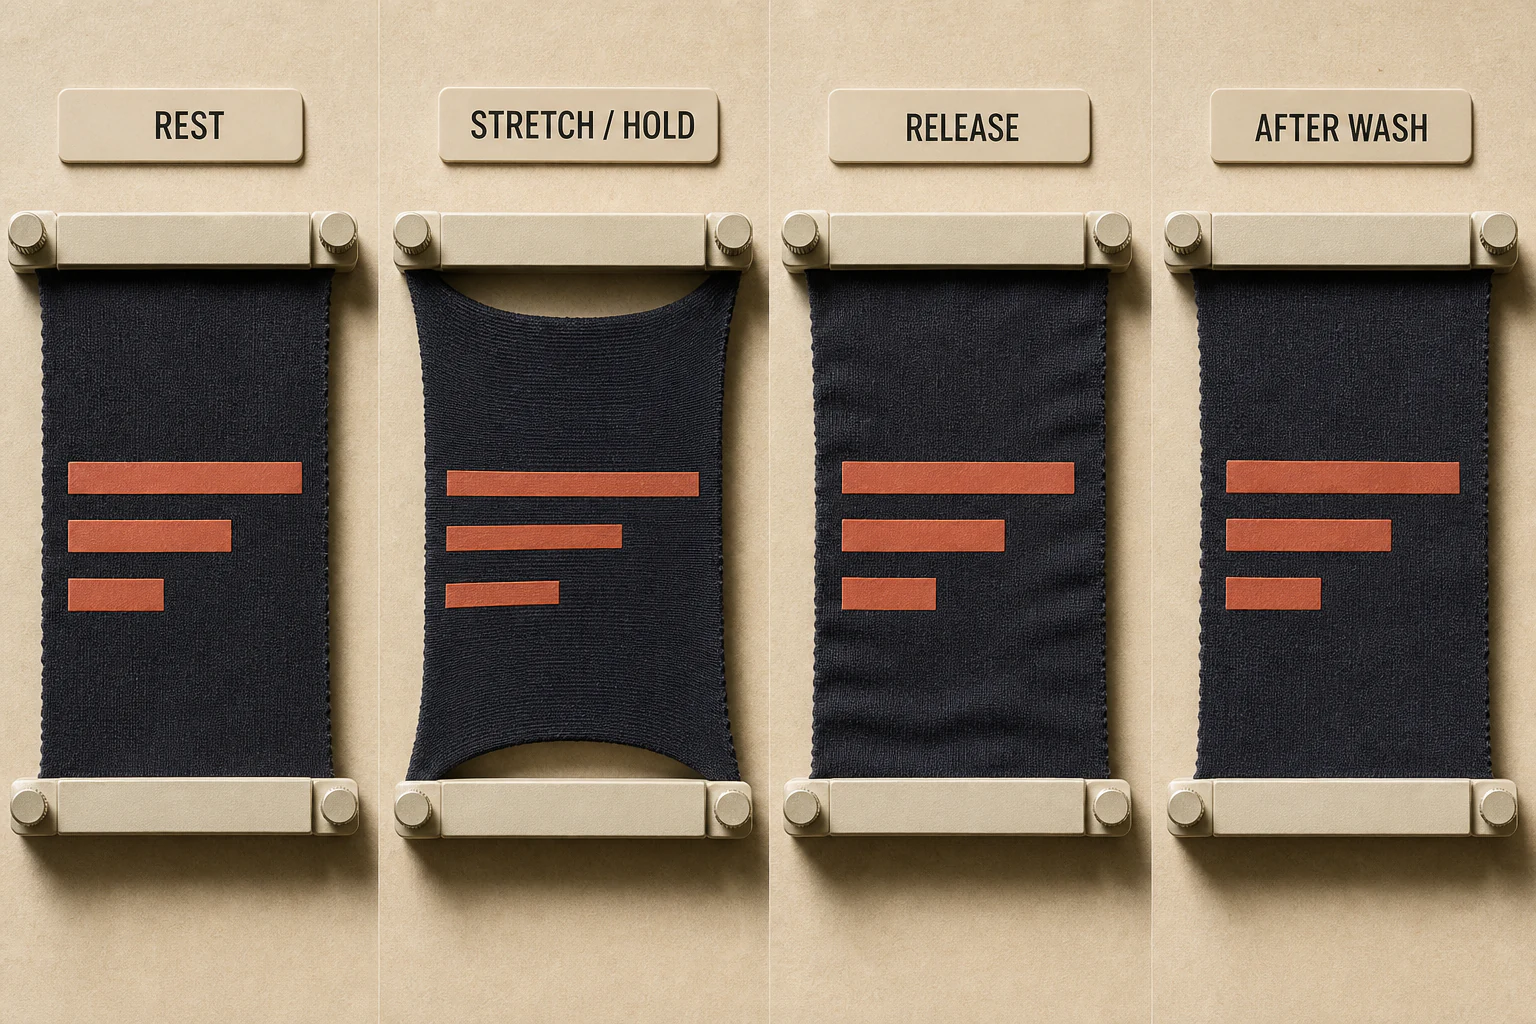
Surface & handfeel
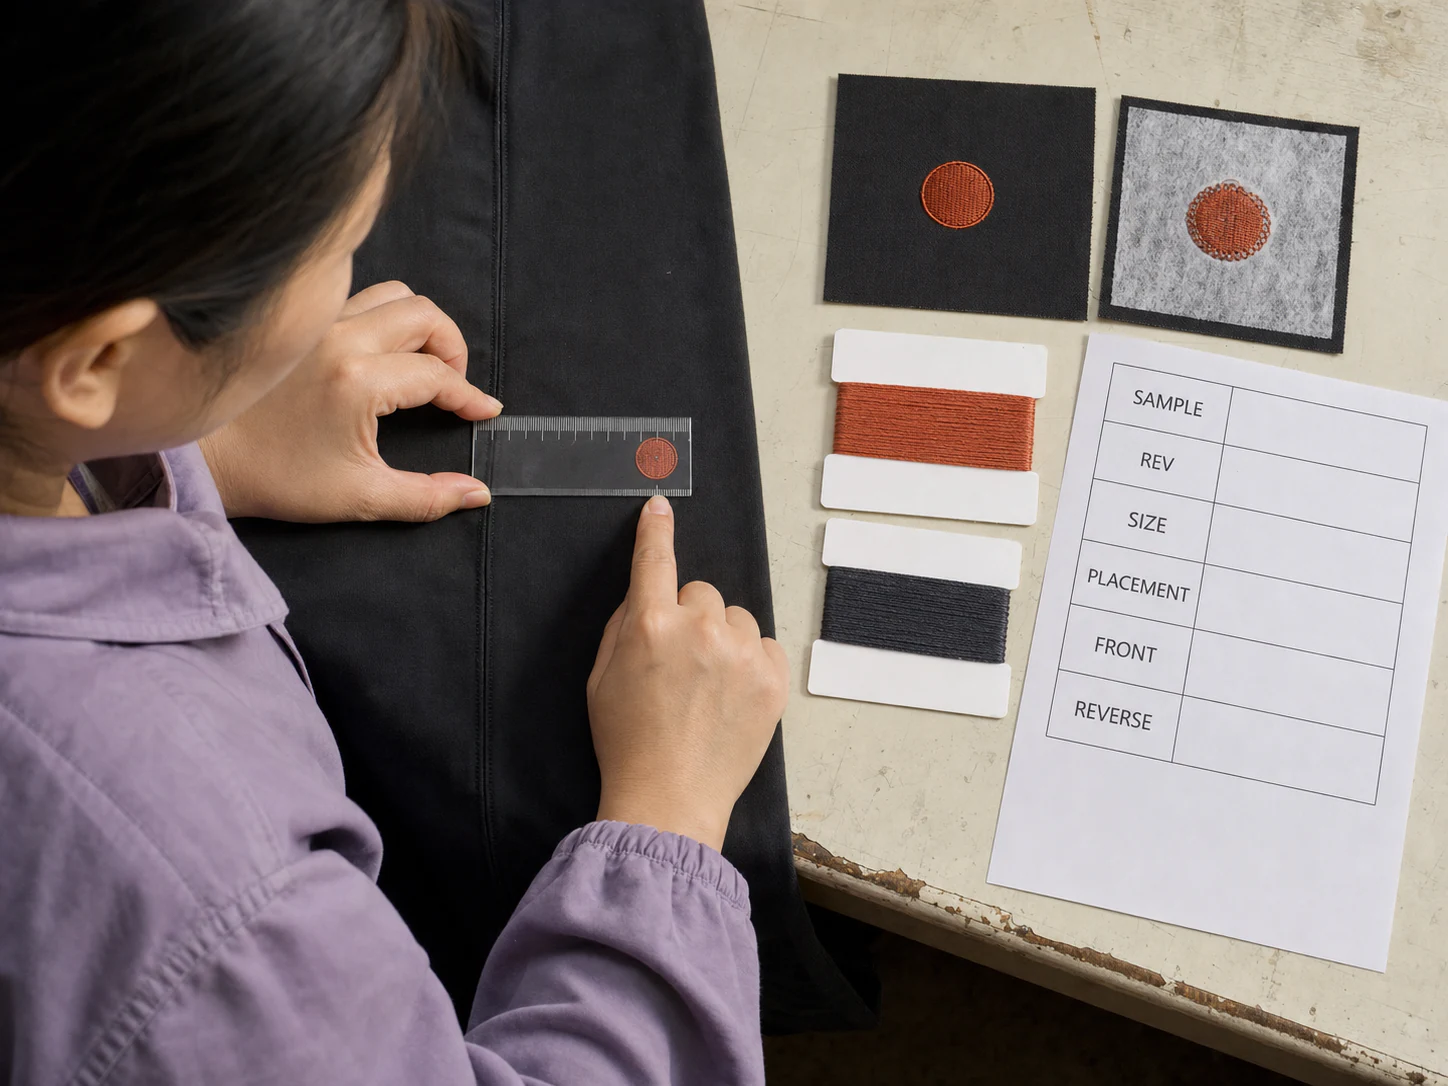
Adhesion or stitch
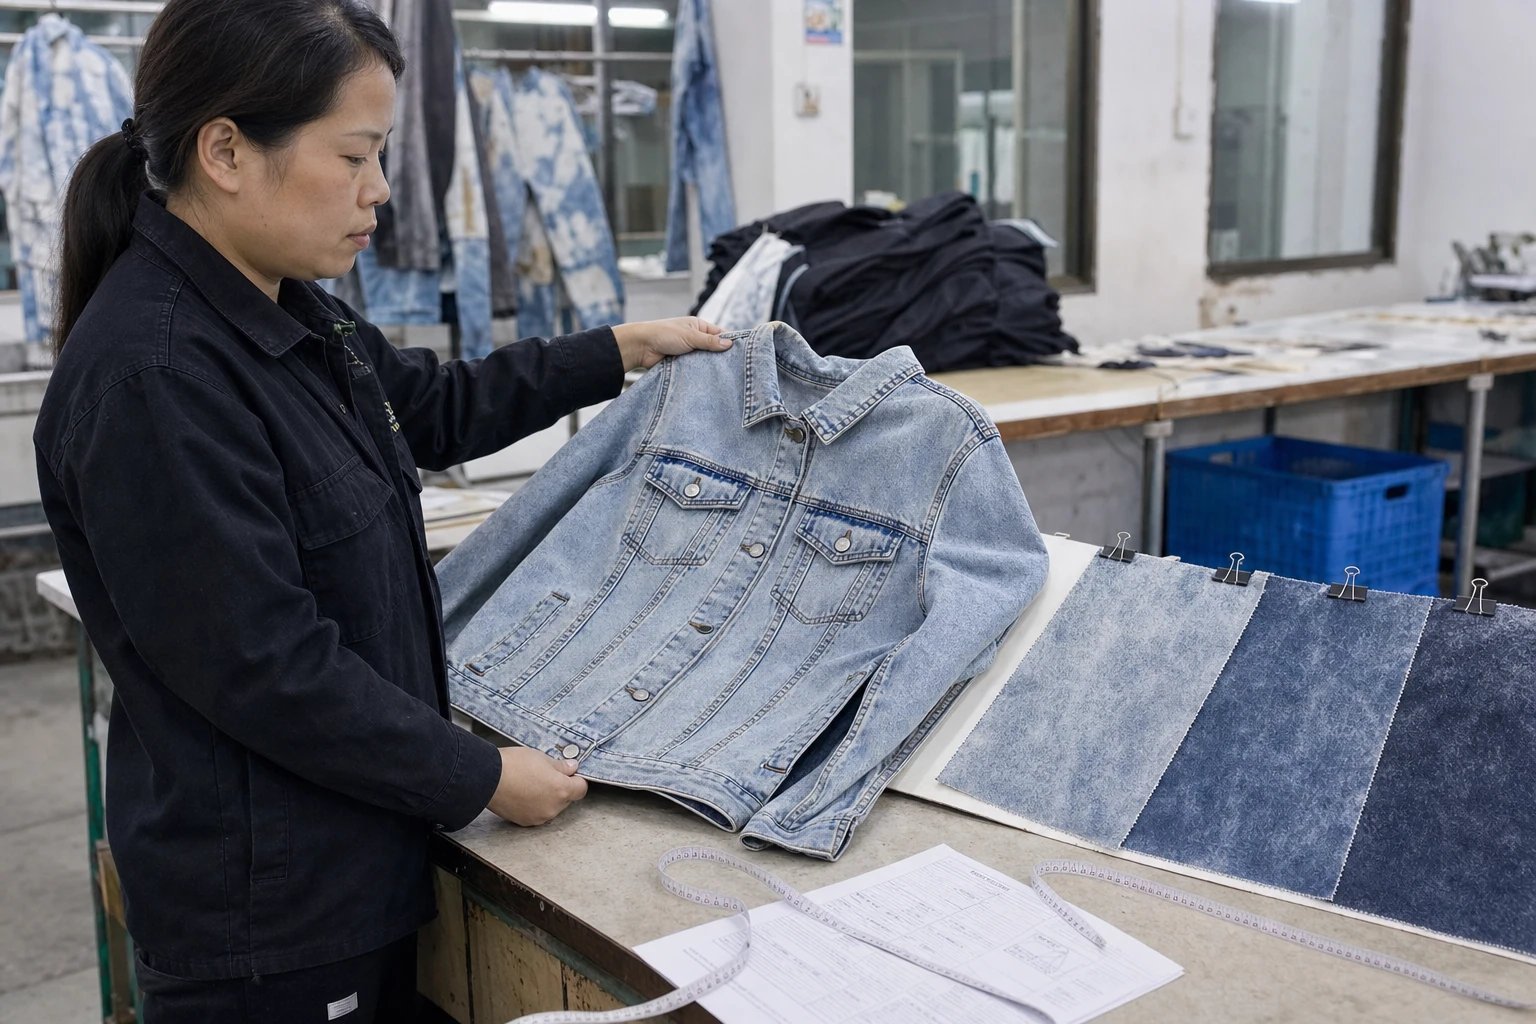
Wash result
Before choosing
Practical Questions
These answers set the decision boundary. A sample confirms the final process.
Which technique is best?+
There is no universal best technique. Start with the intended result, fabric, quantity, artwork and wash requirement.
Can the same artwork use several techniques?+
Yes, but each route may need different artwork preparation, line weight and dimensions.
Will the colour match my screen?+
Not exactly. Use a physical colour reference and approve the result on the real material.
Can I skip the sample?+
A sample or strike-off is the practical approval standard before bulk production.
Project brief
Discuss a Technique
Send the garment, artwork or effect reference, quantity and delivery country. We will review the technique with the actual material and product.
Talk on WhatsApp